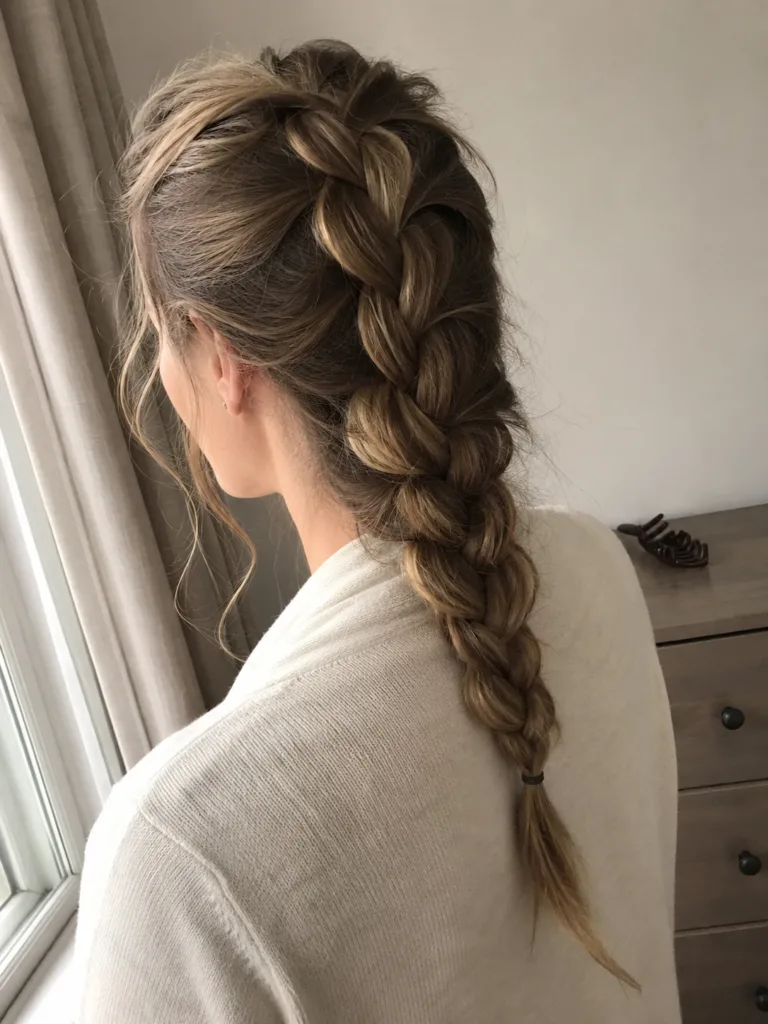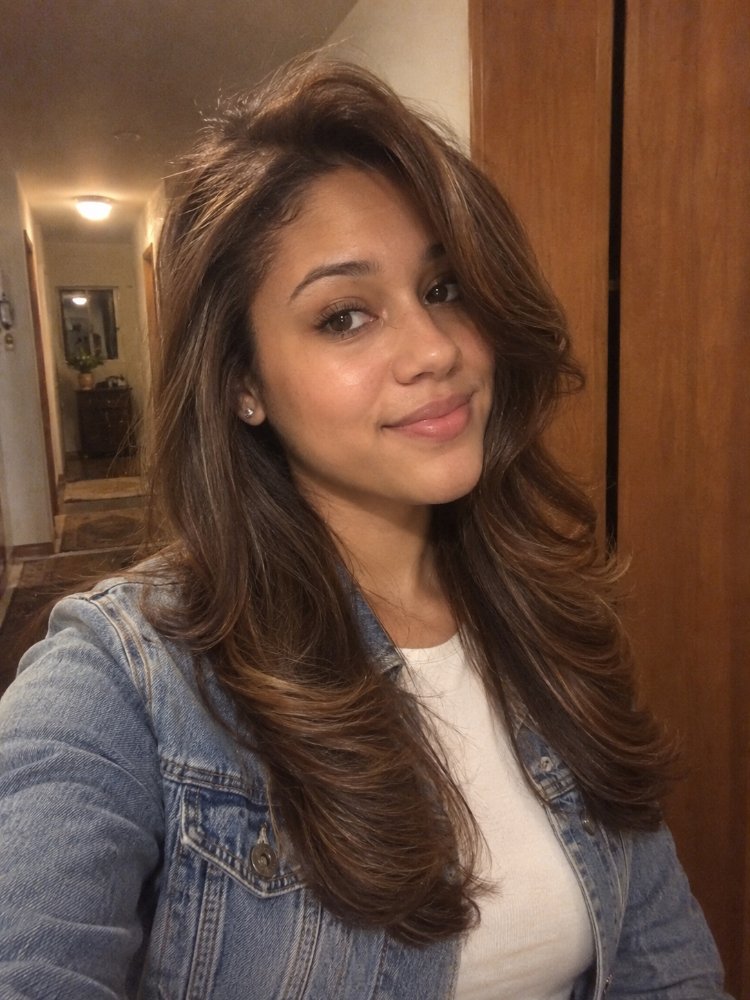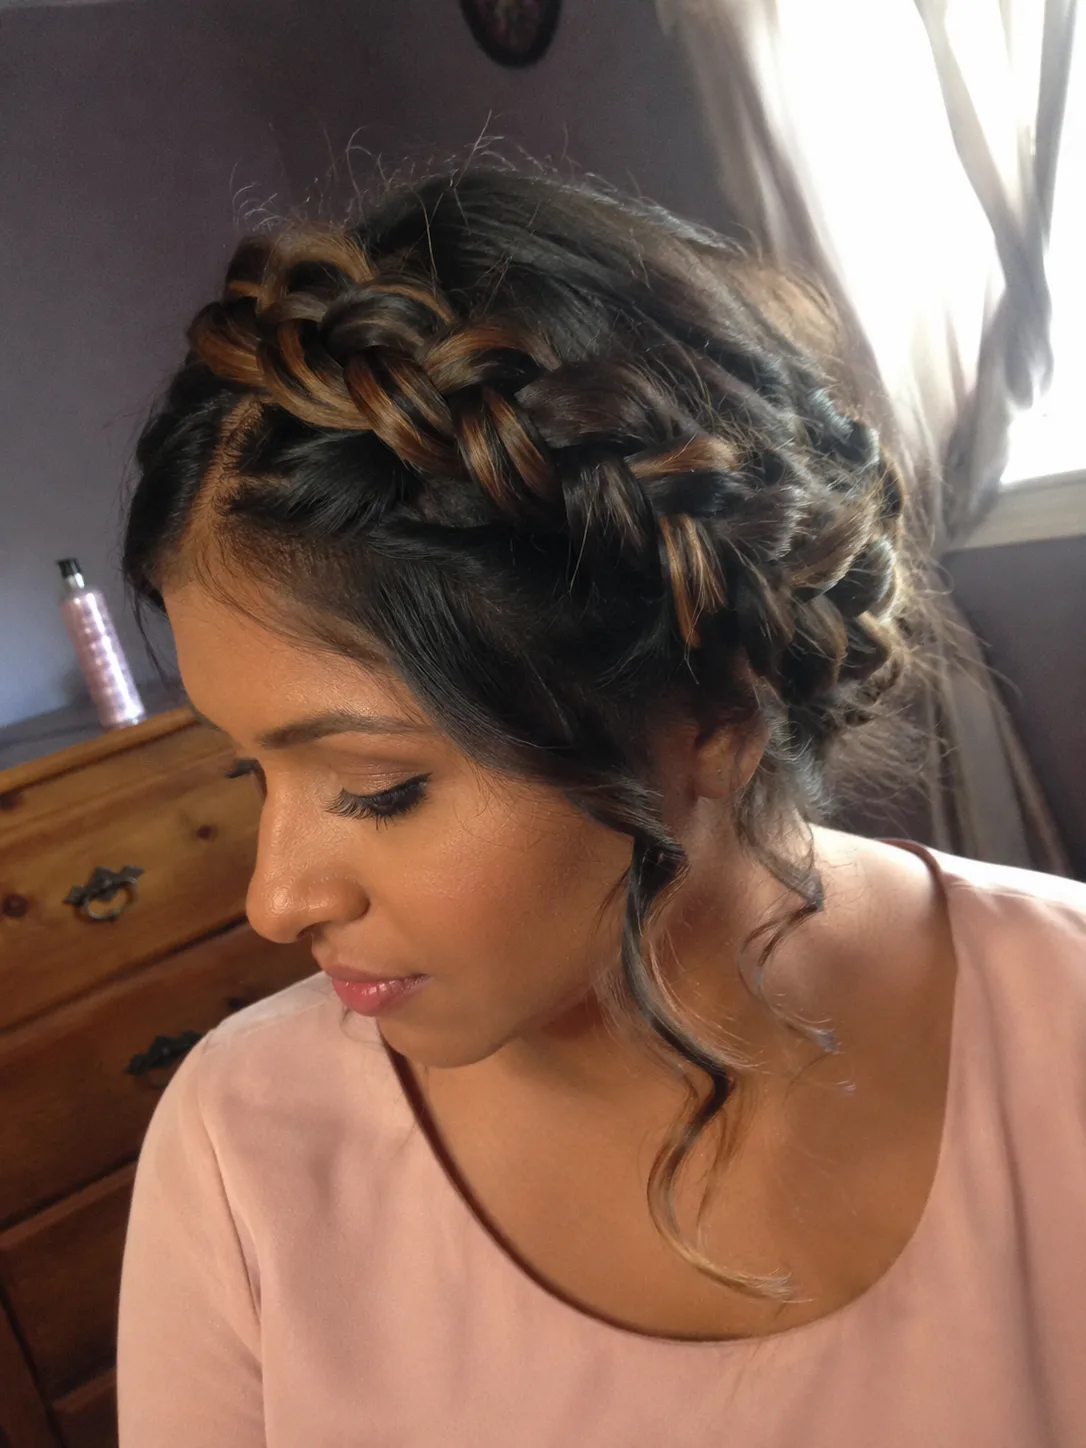
Easy Prom Hairstyles You Can Do Yourself: Complete Styling & Placement Guide
An easy DIY prom hairstyle should look special without depending on complicated braiding, perfect symmetry, or a dozen steps you’ve never practiced before. The smartest choice is usually a familiar hairstyle with one formal upgrade: a wrapped ponytail, a cleaner bun, a pinned curl pattern, or a braid used where it actually helps the construction.
Your starting hair matters too. Straightened hair behaves differently from a wash-and-go, stretched coils need different handling from freshly defined curls, and fine strands aren’t the same as low-density hair. Work with the state you can recreate comfortably on prom day.
The strongest DIY options also survive ordinary movement. You’ll sit against a car seat, turn your head for photographs, hug people, dance, and possibly deal with humidity. A hairstyle that only looks good from the front of a mirror is a poor bargain.
Here’s a quick way to narrow the list.
Polished Styles With Very Simple Construction
Wrapped Low Ponytail
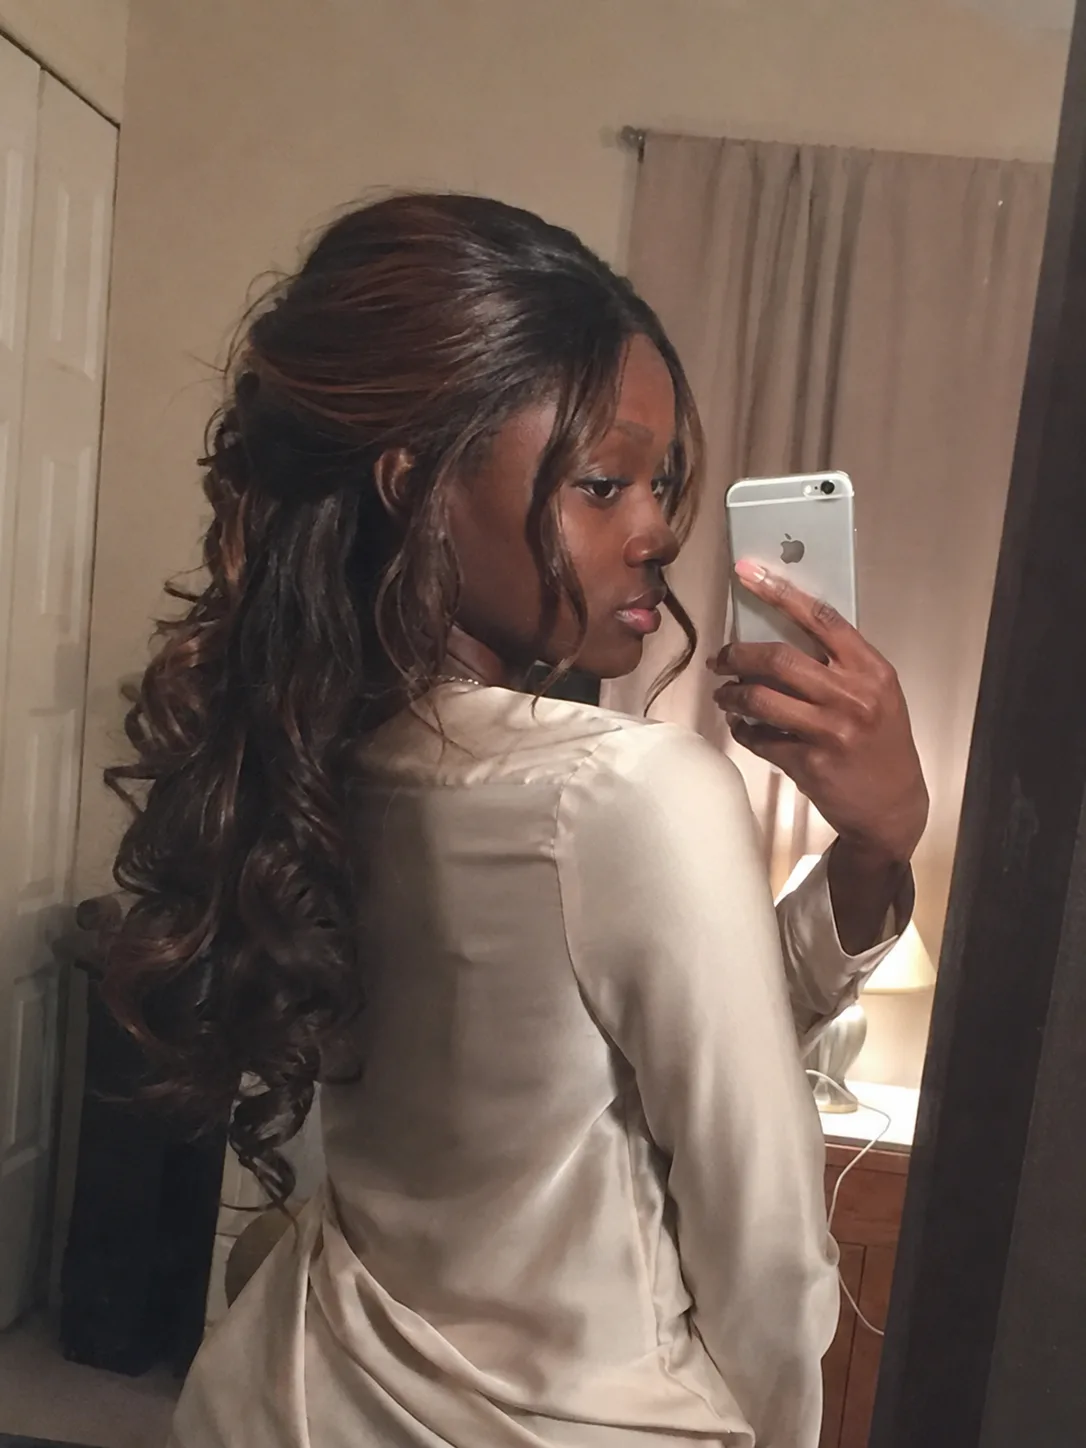
A low ponytail is one of the safest DIY choices because the construction is already familiar. Create your preferred part, smooth the hair toward the nape, and secure it with a fabric-covered elastic. Take a small section from underneath the ponytail, wrap it around the elastic, and pin the end beneath the base. Keep the tail straight, softly curled, or naturally textured. A clean base and deliberate part make this feel far more formal than an everyday ponytail.
Bubble Ponytail
A bubble ponytail gives you a more decorative result without asking you to braid or build an updo. Start with a secure ponytail, then add elastics down the length. Gently expand each section between the elastics so the shapes look full instead of tightly cinched.
This works especially well on longer hair because the repeated sections become the main visual feature. Hair that feels slippery may benefit from a little styling product before you build the bubbles. Keep the expansion soft and even; aggressively pulling each section apart can make the shape look ragged instead of airy.
Twisted Low Bun
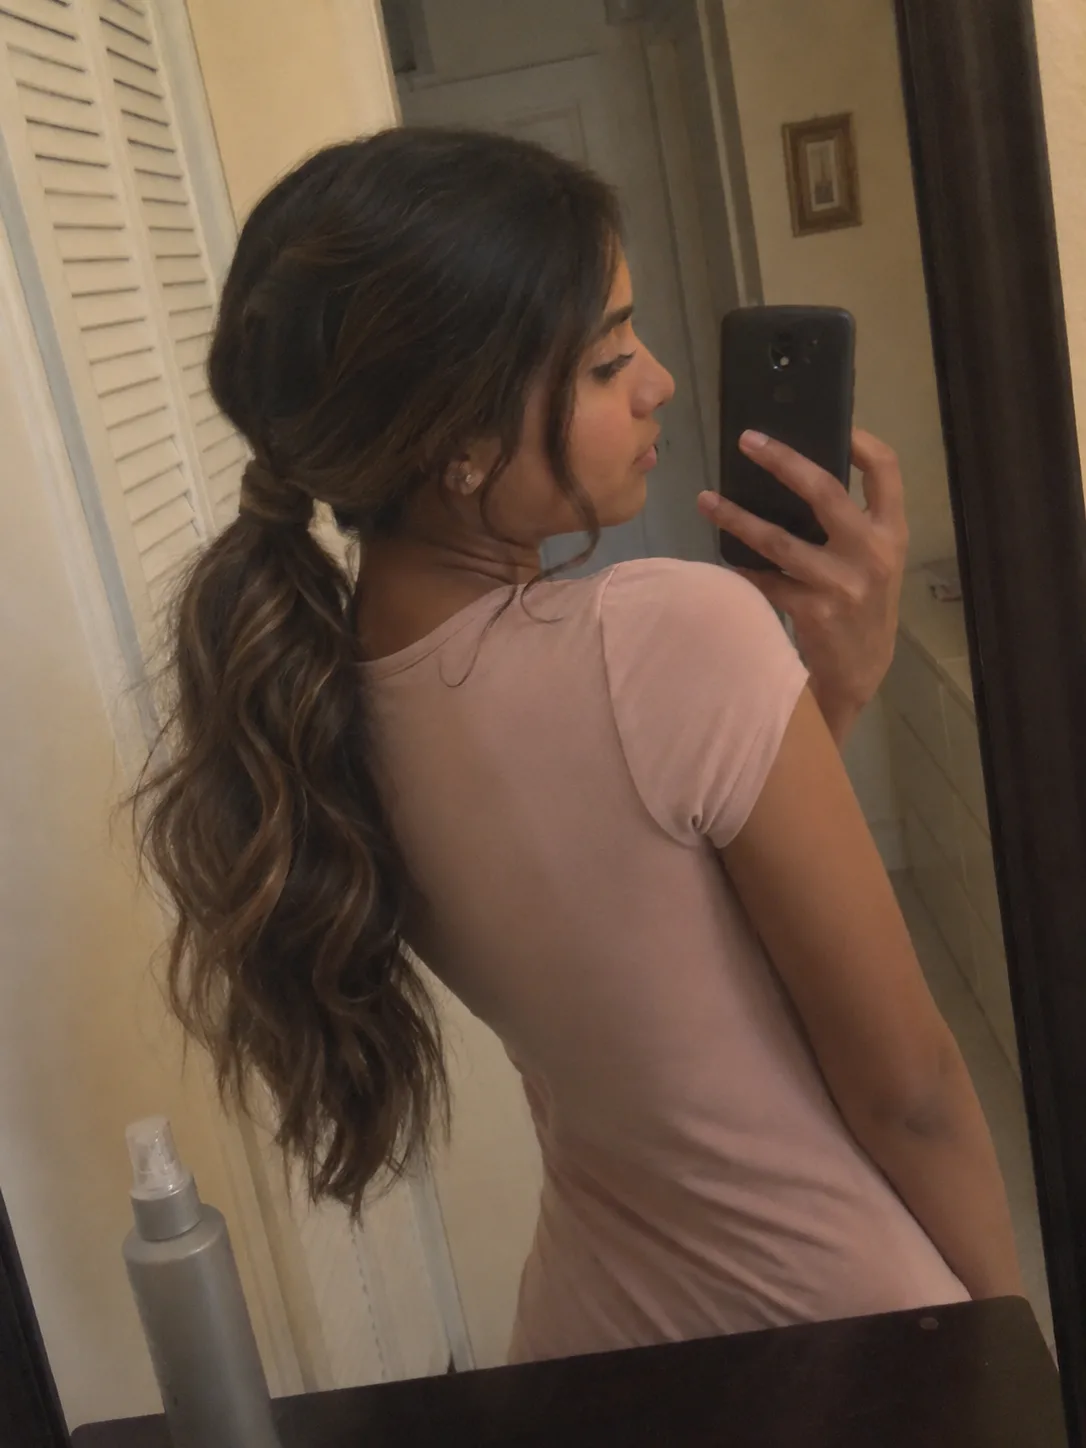
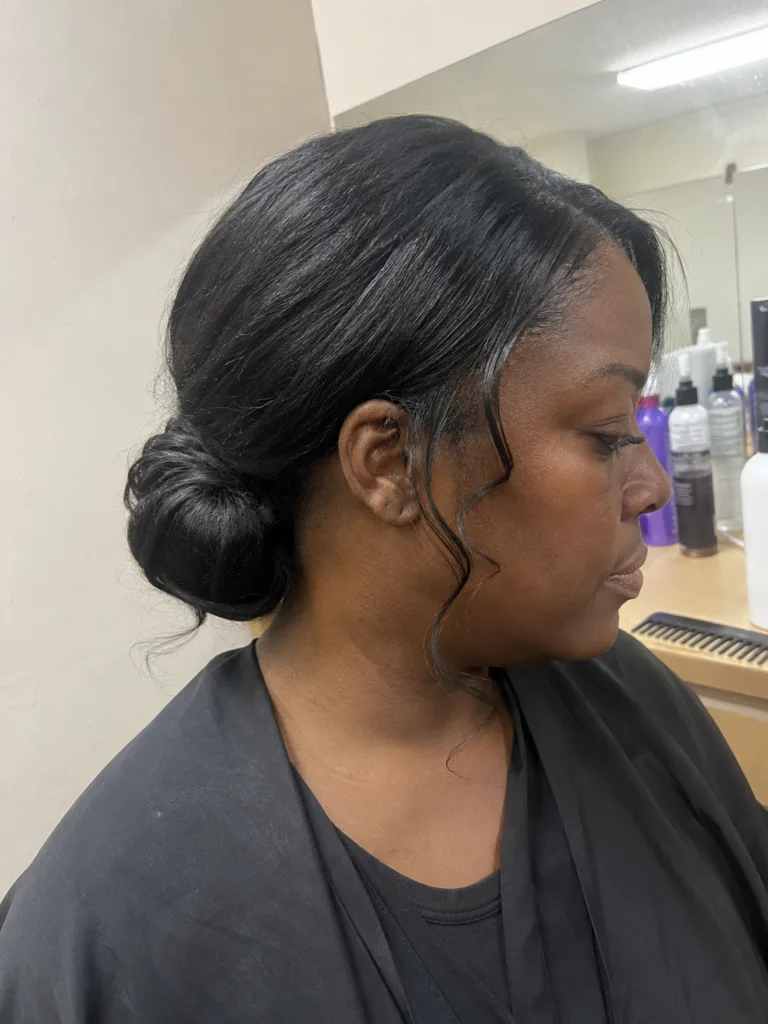
Choose this when you want your hair completely up but French twists and intricate braided updos feel unrealistic. Gather the hair low, form a ponytail, twist the length, then coil that twist around the base. Add bobby pins through the outer edge of the bun and into the hair underneath rather than pushing every pin straight toward the scalp.
A slightly looser twist produces a fuller bun. A tighter twist gives you a smaller, cleaner shape. Neither version requires the surface of the hair to be glass-smooth; soft texture around the crown can work beautifully with the compact bun.
Before calling it finished, turn your head in both directions and gently press the back of your head against a chair. A large low bun can land exactly where a headrest hits, which is easy to miss while styling at a bathroom mirror.
Sleek High Bun
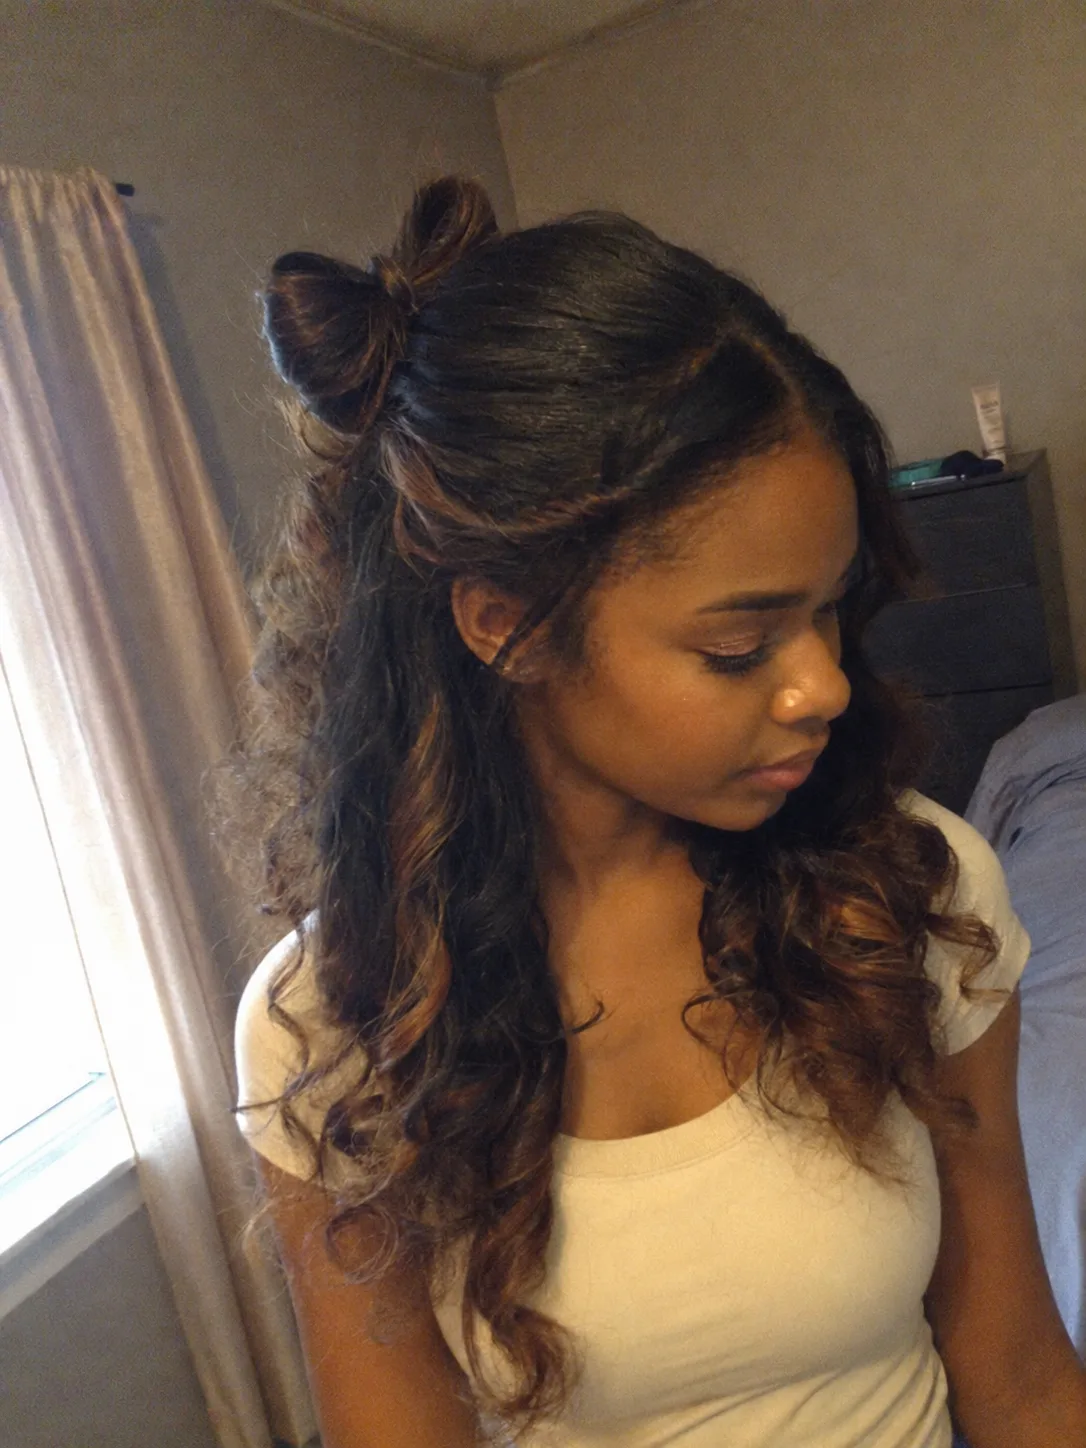
A high bun makes earrings, dress straps, and an open neckline much more visible. Build it from a high ponytail you can secure comfortably, twist or loosely braid the tail, and wrap it around the base. Bobby pins can hold the outer edge while the elastic carries most of the structure. Keep the hairline as soft as you prefer; forcing every short or fragile hair into the ponytail is unnecessary.
Half-Up Prom Hair Without Complicated Braiding
Half-Up Twisted Crown
This is one of the stronger options for someone who wants formal hair without losing the movement of loose lengths. Take a section from each side near the temples, twist both sections away from the face, and join them at the back with pins or a small elastic hidden beneath the hair.
The position of that meeting point changes the effect. A higher connection creates more lift around the crown, while a lower one feels softer and lets more hair fall naturally around the sides. Curl, wave, or define the remaining length in the way your hair already responds to well.
Half-Up Braided Crown
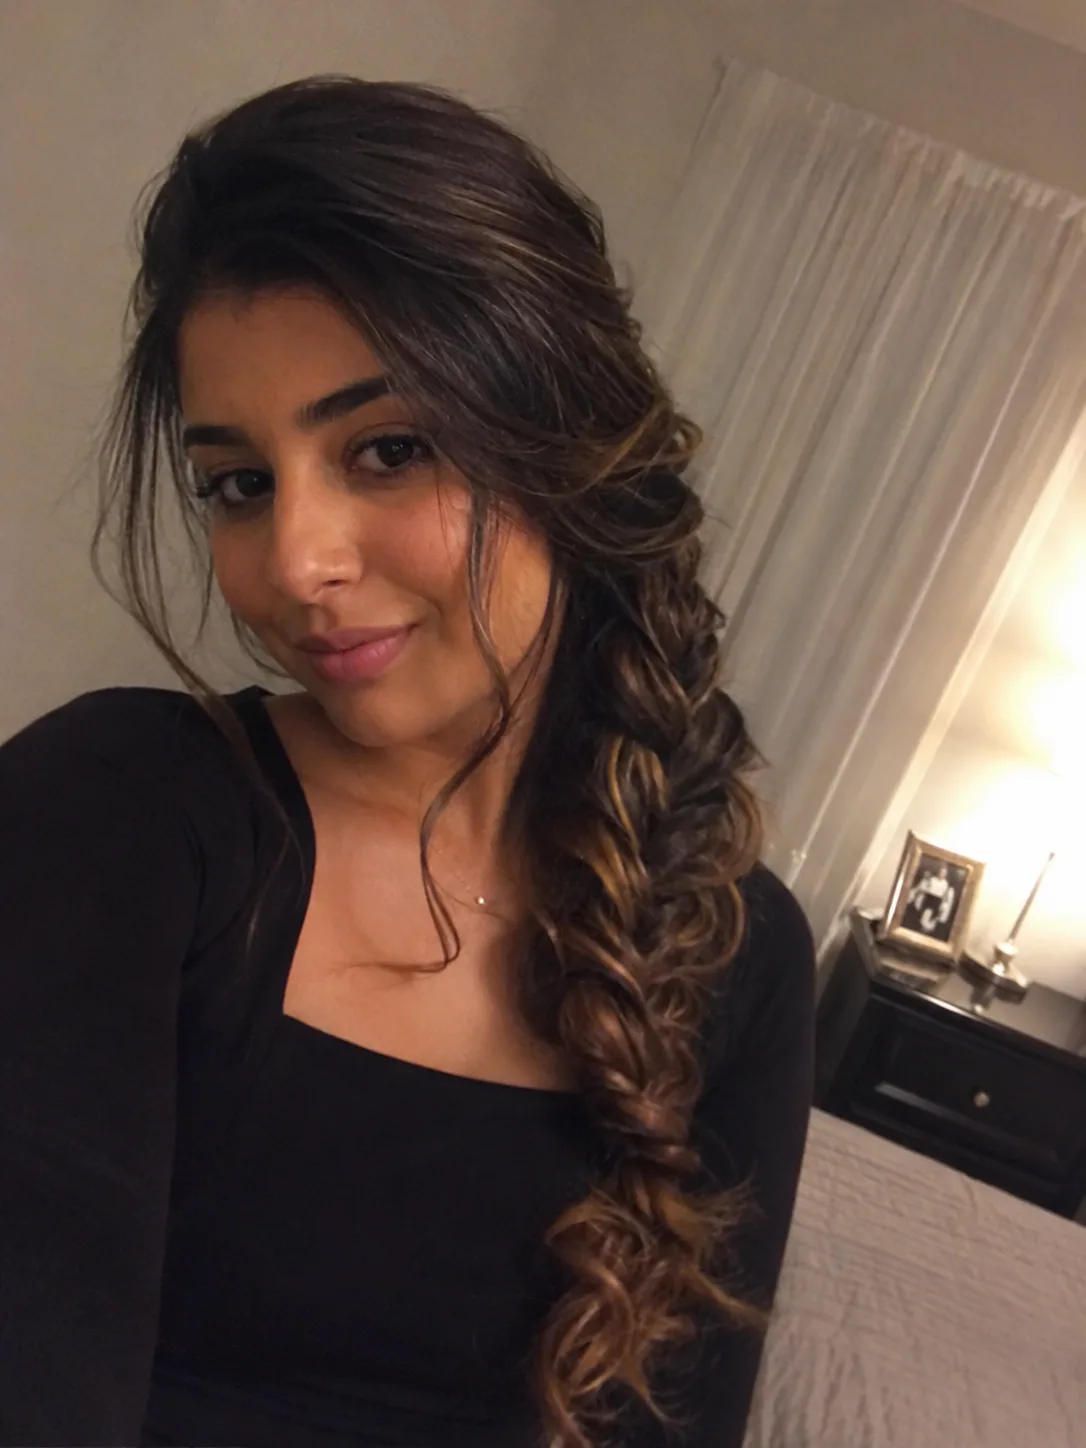
A small braid on each side gives a half-up style more detail without requiring you to braid the entire head. Create two simple three-strand braids from the front or temple area, guide them toward the back, and pin one over the other. Leave the lengths loose beneath them. This is easier to control than a full crown braid because each braid only has to travel a short distance.
Half-Up Mini Bun
There’s a useful middle ground between wearing everything loose and committing to a full topknot. Gather the upper section of your hair around the crown, secure it, and wrap that section into a compact bun. The remaining hair stays down, so the style still shows length and texture.
Pay attention to how much hair you take into the bun. Too little can leave the bun looking tiny compared with the loose lengths. Taking a very large top section removes much of the fullness below. Start around the crown and expand the section only if the proportions look unbalanced.
The mini bun can stay clean and rounded or slightly loosened for a softer finish. This choice is particularly useful when loose hair tends to fall into your face during dancing but you still want the back of your hair visible in photographs.
Easy Prom Styles That Keep the Hair Loose
Deep Side Part With Soft Waves
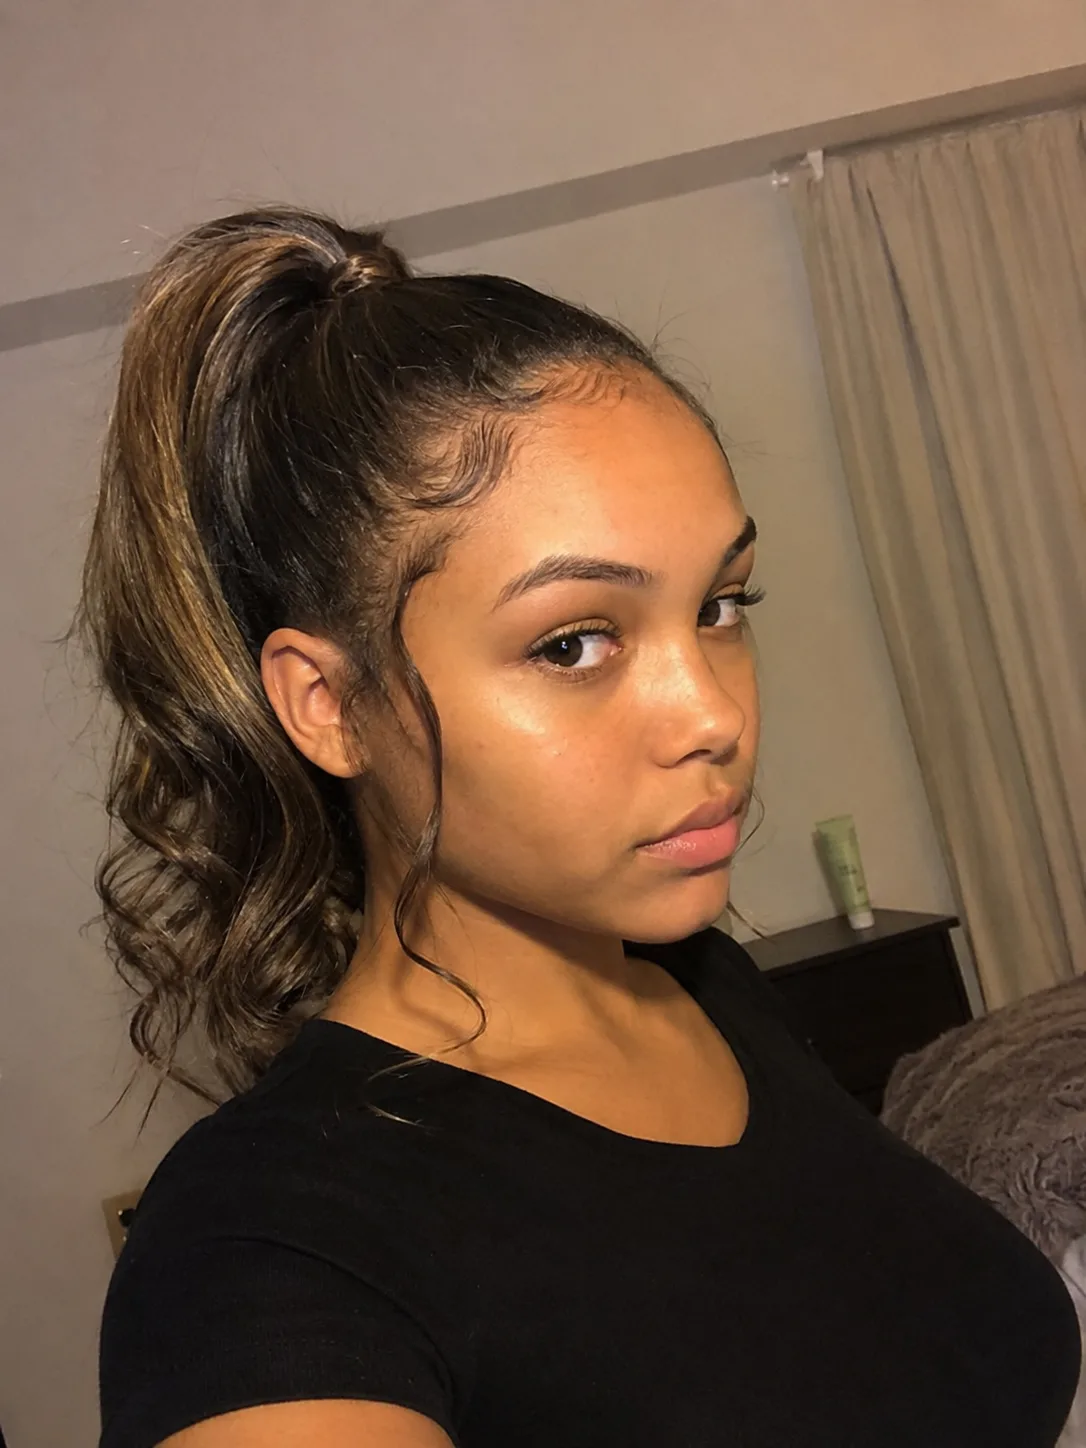
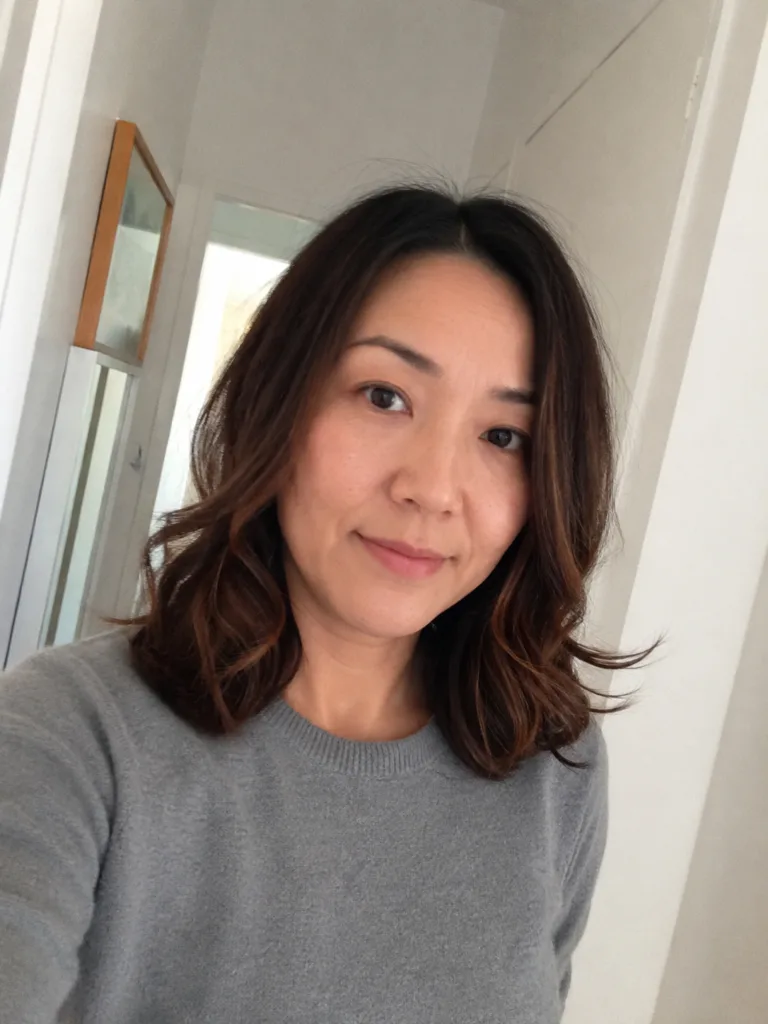
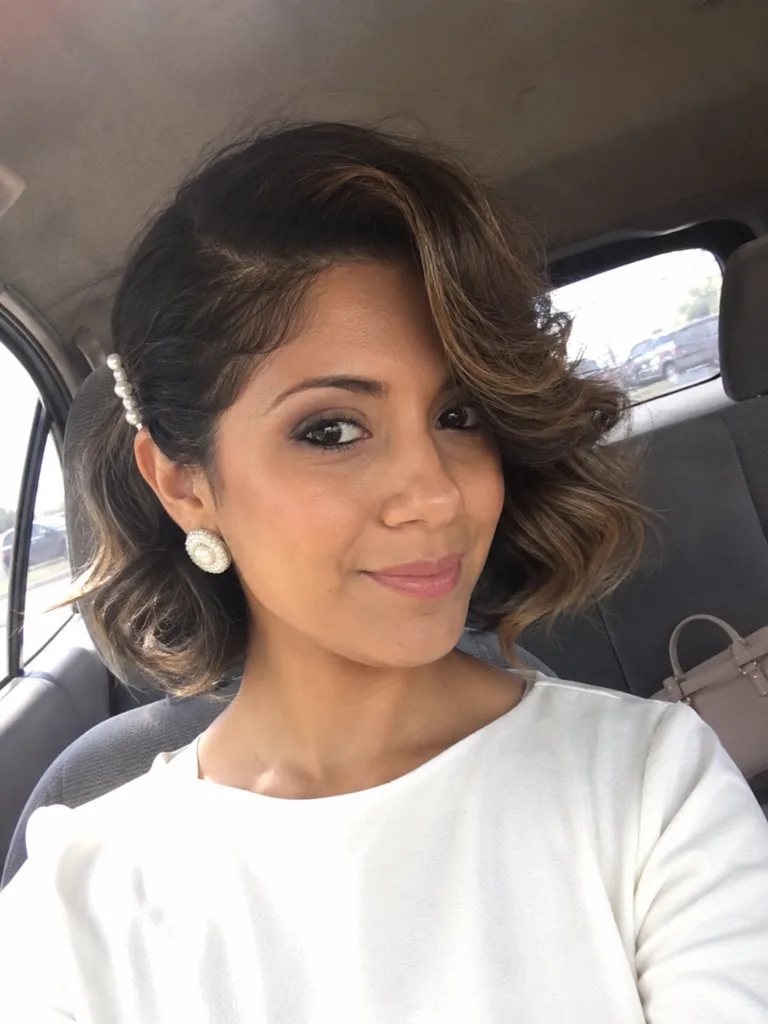
The styling technique can stay simple when the part does more of the visual work. A deep side part shifts volume toward one side and makes ordinary waves look more event-ready. Style the lengths with the heat or heatless method that already works reliably for your hair, then arrange the fuller side over the shoulder or behind it.
Avoid learning an unfamiliar curling technique on prom day. Consistent, slightly imperfect waves usually photograph better than a complicated curl pattern that keeps collapsing because the method is new to you.
Side-Swept Curls With Hidden Pins
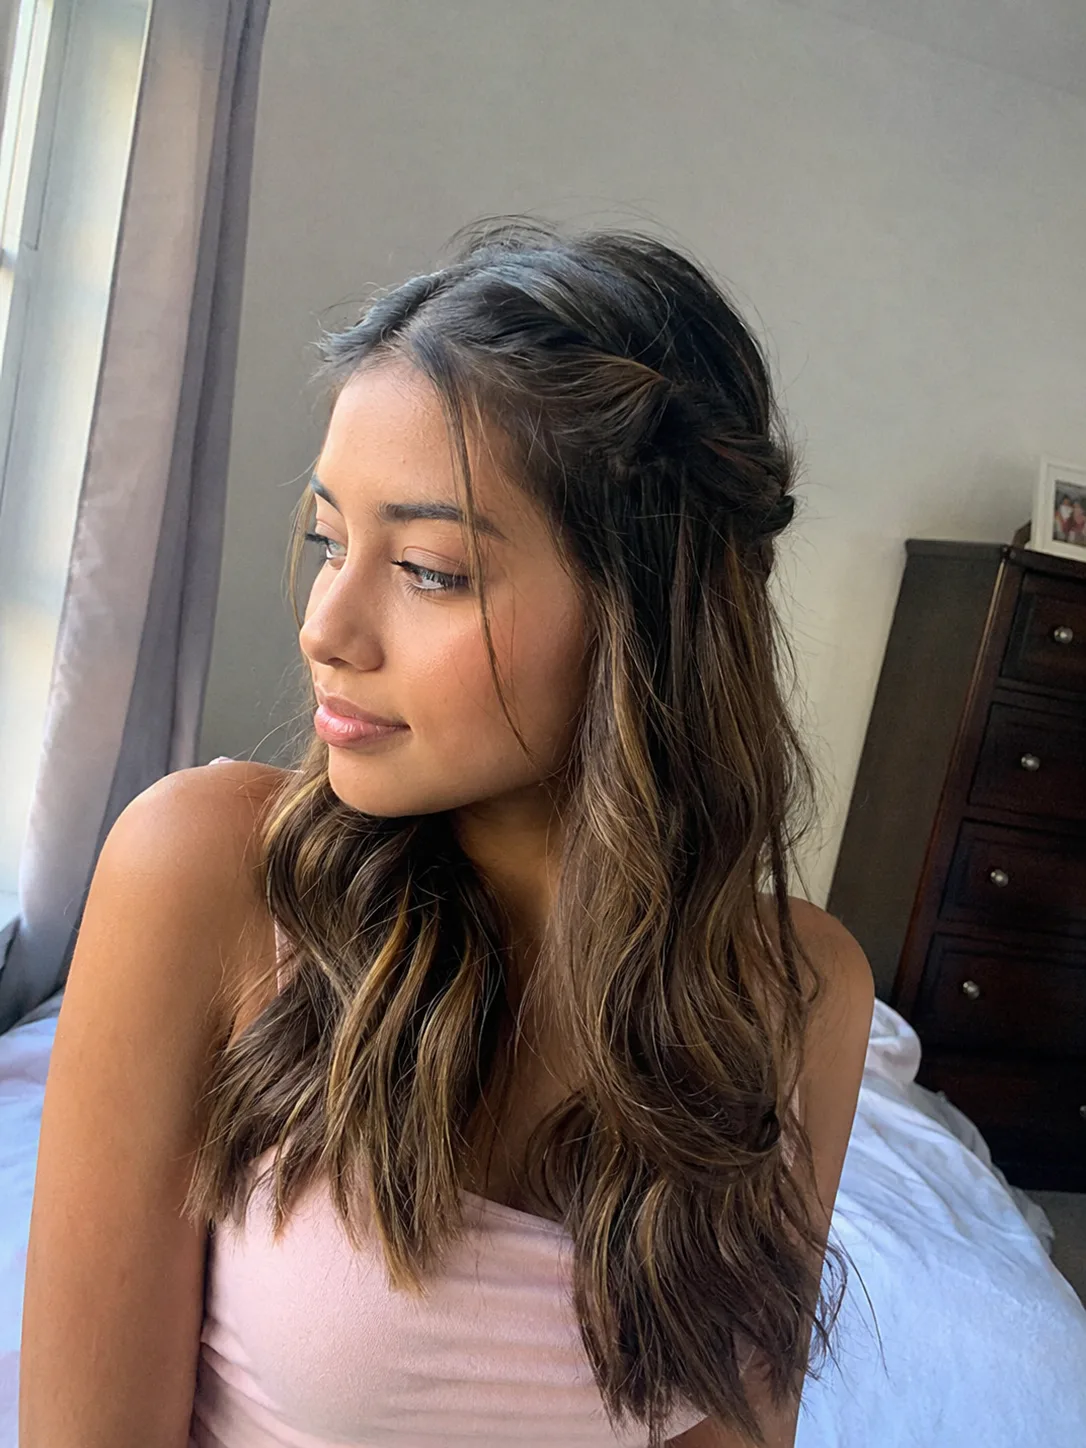
Want a glamorous look without building an updo? Style your curls or waves first, sweep one side back behind the ear, and secure that section with crossed bobby pins hidden beneath the top layer. The asymmetry creates the drama. This also gives a statement earring room to show and keeps one side of the hair away from your face.
Heatless Waves With a Pinned-Back Front
Loose waves become much easier when the texture can be prepared without curling every section immediately before the event. Use a heatless setting method your hair already tolerates, release the set carefully, and separate only enough to create the amount of fullness you want.
Then concentrate your actual prom styling on the front. A small section from each temple can be pulled back and pinned, or one front section can sweep diagonally toward the back of the head. The simple pinning gives the waves a clear shape rather than leaving them hanging like everyday loose hair.
Humidity, porosity, and your starting texture will affect how long a stretched wave pattern stays visible. Work with that reality instead of repeatedly restyling the hair in pursuit of perfectly uniform waves.
Curly and Coily DIY Prom Hairstyles
Defined Curls With Decorative Side Clips
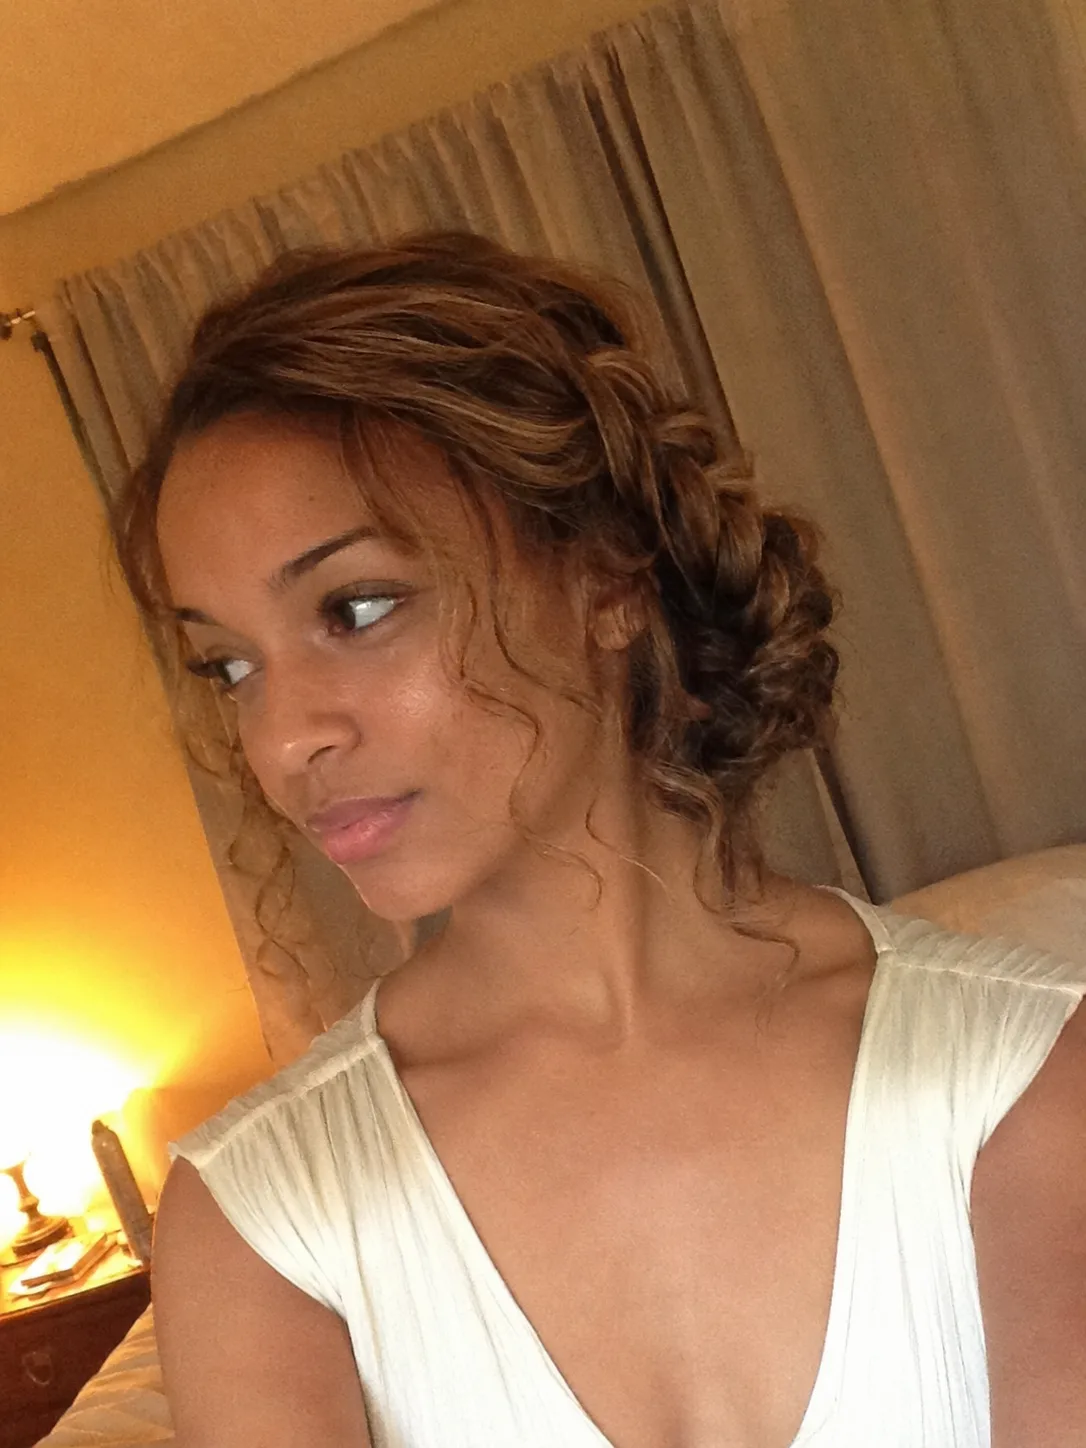
Sometimes the easier choice is to keep a successful curl pattern intact. Wear your usual defined curls or coils, create a side part, and secure one side with a barrette or a small group of pins. You get asymmetry and a clearer face-framing shape without disturbing the curl pattern across the rest of the head.
The style also translates well across different lengths. Shorter curls can stay close to the head while longer curls fall over one shoulder. Give the pinned section enough support that an accessory isn’t carrying the entire weight of dense hair.
High Puff With a Wrapped Base
A high puff lets the texture itself become the formal feature. Start from curls, coils, or stretched natural hair in a state that feels comfortable to gather. Bring the hair upward without aggressively pulling the perimeter, secure the base, and arrange the puff so the shape looks balanced from the front and sides. A scarf wrapped briefly around the base during styling can help organize shorter surface hairs, and a decorative wrap or small section of hair can disguise the fastening once you’re finished.
Two-Strand Twist Updo
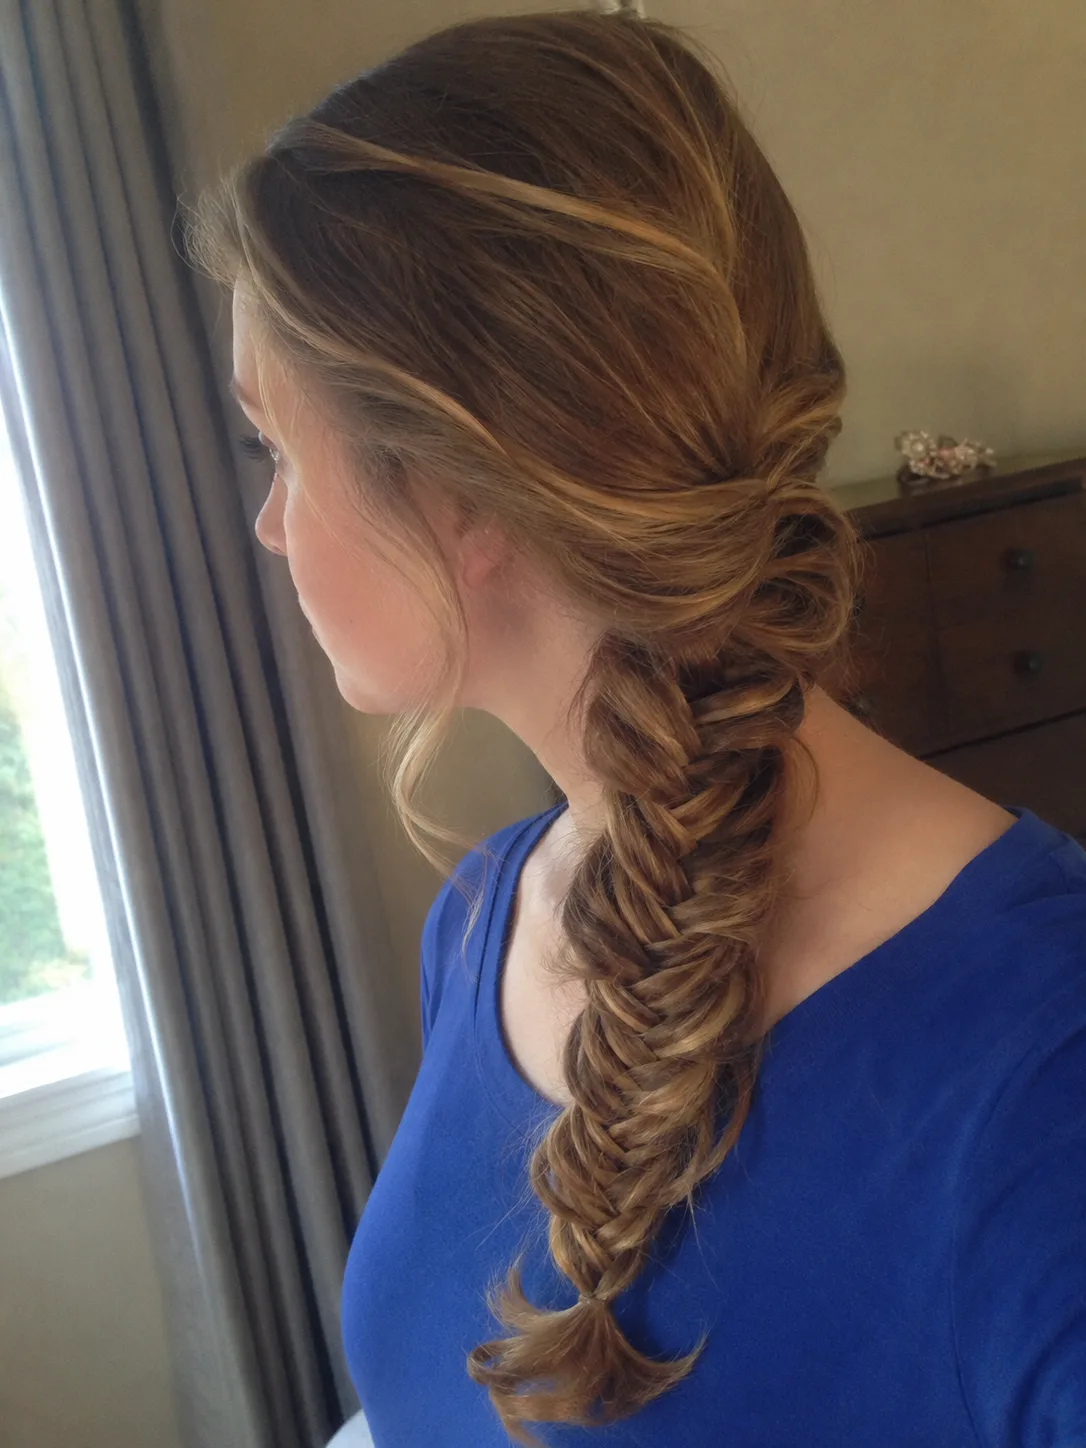
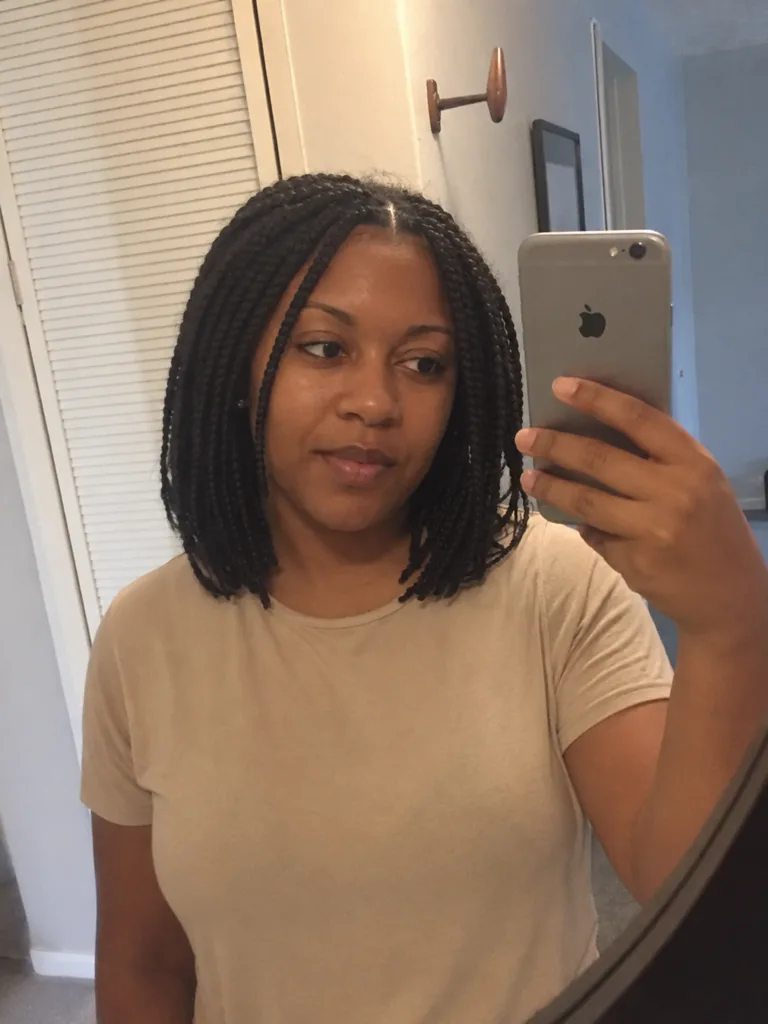
Two-strand twists are more forgiving than elaborate braids and can create a surprisingly detailed updo. Make several twists from sections of hair, guide them toward the back or crown, and pin the lengths into a clustered shape. The twists provide visible texture, so the finished arrangement doesn’t depend on every section being perfectly smooth.
This is particularly useful on natural or stretched curly and coily hair because the hair can retain some of its texture instead of being pressed solely for the updo. Make sure the twists are fully dry if you begin with damp styling; dense roots can remain damp after the surface feels dry.
DIY Updos Worth a Little Extra Practice
Braided Low Bun
A basic three-strand braid solves one of the most annoying parts of a bun: controlling loose ends. Make a low ponytail, braid the tail, secure the end, then wrap the braid around its base. Tuck the end underneath and add pins around the perimeter.
Compared with a loose twisted bun, the braid creates more visible detail and keeps layered pieces more contained. It’s a strong choice for hair that tends to escape while you’re trying to coil it into place.
The braid doesn’t need to be extremely tight. A slightly expanded braid produces a broader bun, while a compact braid gives you a cleaner, smaller knot. Practice the pinning from behind before prom because that’s usually harder than making the braid itself. A second mirror or phone camera can help you check whether the bun is sitting level.
Rolled Headband Updo
This style uses a headband as part of the construction rather than purely as decoration. Place an elastic headband over the hair, then tuck sections of the length upward and around the band until the ends disappear into a soft roll at the back. Add pins where sections feel loose. It works particularly well when you like a romantic, slightly undone finish because perfect symmetry isn’t necessary.
Which DIY Prom Hairstyle Is Actually Easiest for You?
The easiest style is the one that starts closest to what you already know how to do. Someone comfortable making a smooth ponytail has a short path to a wrapped ponytail, bubble ponytail, or bun. Someone who regularly wears curls may get a stronger result by refining the shape and pinning one side than by straightening everything for an unfamiliar updo.
Your dress can narrow the choice further. Hair fully up exposes a detailed neckline, open back, or larger earrings. Loose waves and curls add softness around strapless and simple necklines. Half-up styles give you some of both.
Hair condition and density matter more than a reference photo suggests. Fine strands refer to strand diameter, while low density means fewer strands overall. A very large teased shape may expose more space in low-density hair instead of making it appear fuller. Clean sections, controlled placement, and a shape that suits the amount of hair you actually have are usually more convincing.
Make Your Prom Hairstyle Easier to Recreate
Practice the construction before you worry about making it look formal. You need to know whether you can create the ponytail straight, whether the bun stays centered, and whether your pins actually hold the amount of hair you’re asking them to support.
A few generic tools cover most of these styles: fabric-covered elastics, small clear or hair-colored elastics, bobby pins, a comb or brush suited to your texture, and whichever styling product you normally use for smoothing, definition, or light hold. An accessory is optional. It should decorate a hairstyle that already works instead of rescuing unstable construction.
Take photographs from the back and both sides during your trial. Mirrors make it surprisingly easy to miss a crooked ponytail, a visible elastic, or a gap in a rolled updo.
Also test the style while moving. Sit down, turn your head, put on your dress if practical, and check where the hairstyle meets the neckline. A low bun that constantly rubs a high collar or a large bun pressed against a car headrest can become irritating long before you reach the dance floor.
Keeping a DIY Prom Style Neat Without Overworking It
Prom hair doesn’t need to feel stiff to look finished. Concentrate your effort on the parts that define the style: the ponytail base, the edge of a bun, the visible braid, the pinned side, or the shape around the crown. Chasing every small flyaway can lead to repeated brushing, added heat, or so much product that the hair loses movement.
Carry only the items that solve realistic problems. A couple of spare pins and an elastic are more useful than trying to transport your entire styling setup. Curlier styles may simply need gentle repositioning with your fingers rather than constant brushing.
Comfort counts as part of the finished hairstyle. Pins shouldn’t stab the scalp, and a ponytail or bun shouldn’t require painful tension to stay in place. Persistent pain, stinging, sores, sudden shedding, or a concerning change in density deserves more attention than a styling fix; loosen or remove the source of pulling and talk with a dermatologist or another qualified healthcare professional when symptoms persist or concern you.
Related Hairstyles to Explore
- Hairstyles for prom
- Prom hairstyles for medium length hair
- Prom hairstyles for long hair
- Quick and easy hairstyles for kids
FAQs
What is the easiest prom hairstyle to do by yourself?
A wrapped low ponytail is the easiest starting point for many people because it relies on a familiar ponytail and only adds one finishing step. A twisted low bun is another practical choice when you want the hair completely up. Pick the option closest to a style you can already create consistently.
Can I do an easy prom hairstyle on short hair?
Yes. Short hair often needs less construction, not more. A deep side part with waves, defined curls with one side pinned, or a small half-up twist can create enough change for a formal event. Short pieces that don’t comfortably reach an elastic can stay out instead of being pulled tightly toward an anchor.
What easy prom hairstyles work for naturally curly or coily hair?
Defined curls with side pins, a high puff, half-up styles, and two-strand twist updos all allow natural texture to remain visible. Choose the style according to whether you’re wearing the hair shrunken, stretched, or freshly defined, since each state changes the apparent length and how easily sections reach the anchor.
Should I wash my hair right before doing my prom hairstyle?
Base the decision on your scalp, hair condition, styling method, and how your hair behaves after cleansing rather than following a universal schedule. Some styles are easiest on freshly styled curls, while others are easier once the hair has been stretched or prepared in advance. Whatever starting state you choose, make sure the hair and scalp are appropriately clean for you and that damp sections are able to dry thoroughly.
Hair Texture & Upkeep Style Matcher
Select your natural hair texture and daily maintenance window to get an instant styling formula and heat safety cap.
Heat Cap: 320°F (160°C)
A versatile three-strand braid beginning at the parietal ridge, securing the top half while allowing natural wave texture to flow freely around the shoulders.
Conclusion
The most convincing DIY prom hair usually comes from upgrading a technique you already understand. A simple ponytail with a wrapped base can look more finished than an elaborate updo you spend the evening repairing, and well-shaped natural curls can make a stronger statement than forcing your texture into an unfamiliar style.
Choose the construction first, practice the back view, and make sure you can sit, turn your head, and move comfortably while wearing it. Once those pieces work, the formal finish is the easy part.
Editorial Standards & Hair Health Guidance
Every style featured on Tress Atlas is curated with a focus on real-world wearability, scalp tension management, and cuticle preservation. When trying protective styles or tight updos, ensure perimeter hairline sections remain tension-free to avoid traction stress on delicate follicles. For heat styling, cap tools below 350°F (180°C) to prevent thermal keratin denaturation.
Scientific Sourcing: Practices aligned with the American Academy of Dermatology (AAD) on traction alopecia risk reduction and cosmetic trichology research on hair tensile strength.