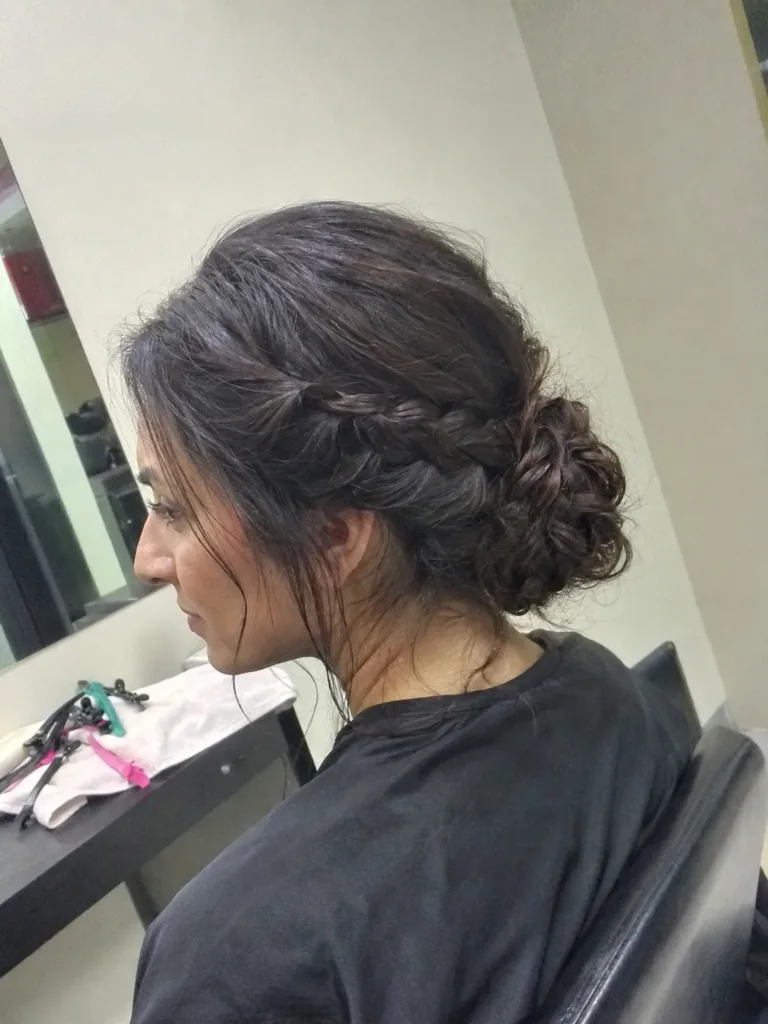
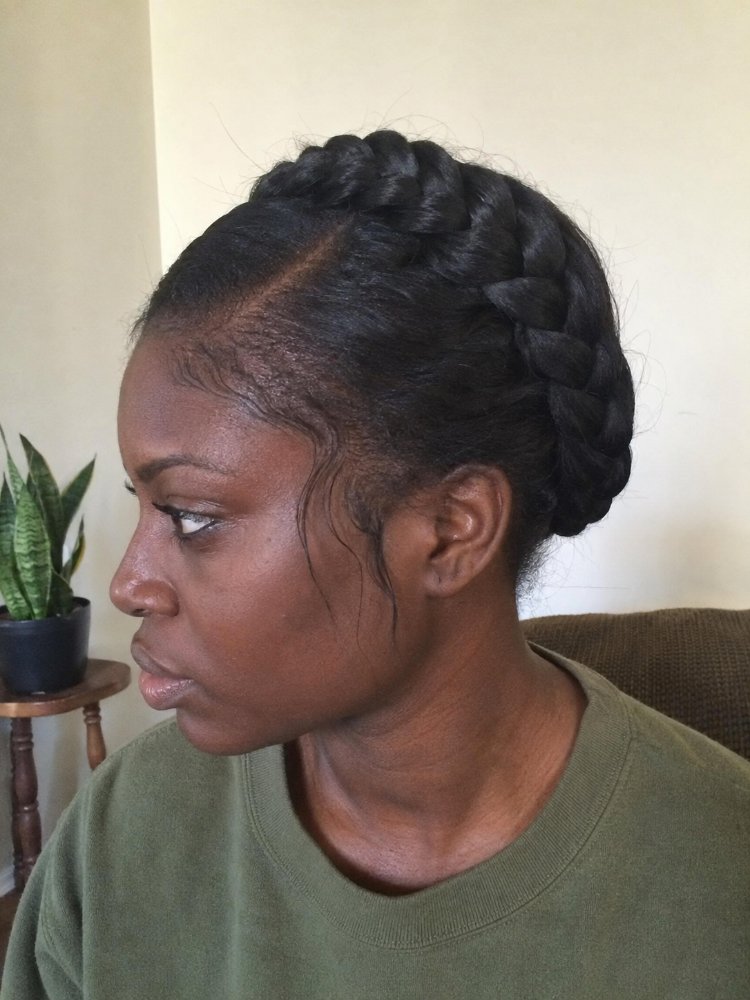
Braided Up Ponytail: Shape, Tension, Styling, and Upkeep
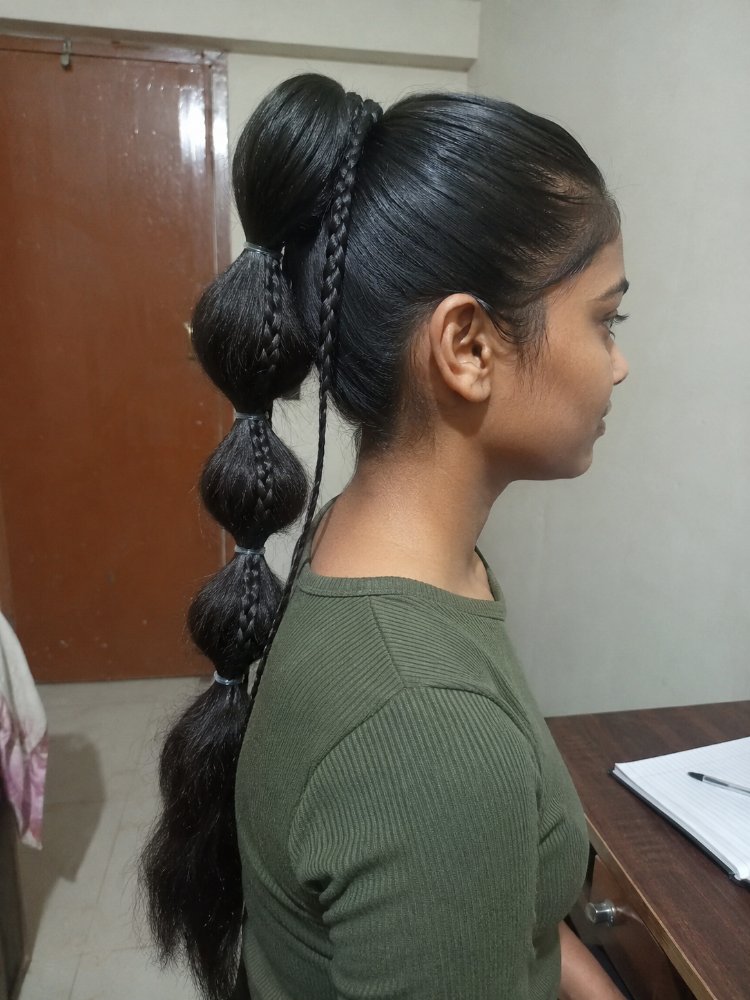
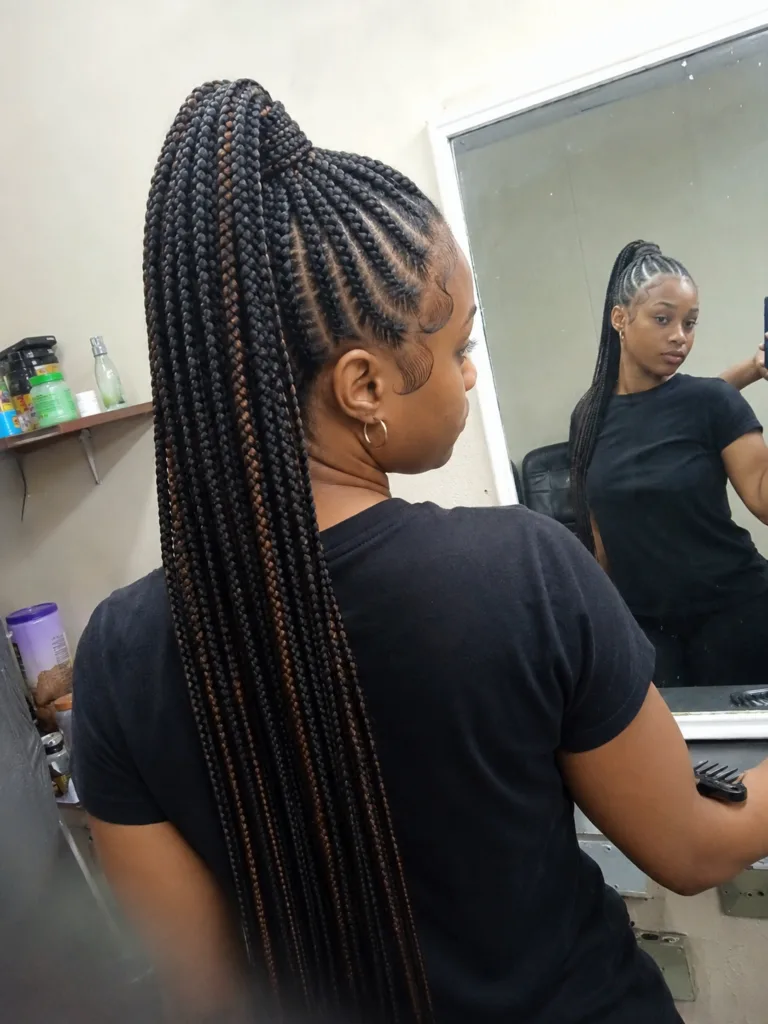
A braided up ponytail brings the hair upward toward a raised anchor, then lets the braid pattern continue into a ponytail or braided lengths. Depending on the version, the base may be made from cornrows or feed-in braids traveling toward the crown, while the ponytail itself can
The finished photograph makes this style look straightforward. The construction matters more than it appears. Several braids may converge into one relatively small area, and a long or dense ponytail adds movement at that same anchor. Placement, section direction, extension weight, and your starting hair all affect how comfortable and practical the style feels.
For most people, a moderately high placement is the easiest starting point. It still gives the lifted effect without pushing the anchor onto the very top of the head. From there, decide whether you want the scalp braid pattern to be a major feature or simply the foundation for a dramatic tail.
What Makes a Braided Up Ponytail Different?
The key feature is direction.
In a conventional braided ponytail, the loose hair may first be gathered into a ponytail and then braided. In a braided up ponytail, the braid construction often helps create the upward movement itself. Cornrows or feed-in braids can begin near the perimeter and travel toward the ponytail base, creating visible lines across the scalp before meeting at the anchor.
That convergence changes both the appearance and the mechanics of the style.
Straight-back cornrows distribute their direction toward the back of the head. Upward braids direct several sections toward a smaller crown area. The braid pattern therefore becomes part of the architecture rather than decoration added after the ponytail is secured.
There are several ways the tail can be finished. Natural braided lengths can fall directly from the gathered base. Added braiding hair can extend the ponytail. Another approach uses a separately constructed braided ponytail attachment secured around an existing base.
Those versions can look similar from the front while behaving quite differently during wear.
A fully braided installation usually gives the most continuous look from scalp to tail. An attachment can make the ponytail easier to change independently of the foundation, though its combs, drawstring, wrap, or pins need to sit comfortably. A ponytail made entirely from your own hair removes added-hair weight but depends more heavily on your available length and density.
Placement Changes More Than the Height
A higher ponytail looks sharper and exposes more of the upward braid pattern. It also changes where the style moves.
With the anchor close to the crown, the tail can swing from a relatively high point as you walk, bend, or turn your head. Extra-long braided lengths exaggerate that movement. A slightly lower anchor gives up some of the dramatic lift but tends to sit more naturally against the head.
This is one place where copying a photograph too literally can work against you. A reference image shows the silhouette from one angle; it rarely shows how the ponytail behaves against a headrest or how the base feels after the tail has been moving.
| Your priority | Useful starting point | Think carefully about |
|---|---|---|
| Strong lifted profile | Higher crown placement | Long, heavy tail movement |
| Everyday comfort | Moderately high anchor | Too many braids converging tightly |
| Visible scalp design | Clearly directed feed-in braids | A large base hiding the pattern |
| Easy headrest contact | Position below the highest crown point | A bulky base directly behind the head |
You also don’t have to force every perimeter hair into the highest possible point. Shorter hairs around the temples or nape can be handled according to their length and condition rather than pulled aggressively just to make the outline look perfectly uniform.
The strongest everyday version is usually the one that gives you the height you want without turning the anchor into the entire styling challenge.
The Braid Pattern Controls the Finished Shape
Upward-directed cornrows can make the ponytail look taller before the tail even begins.
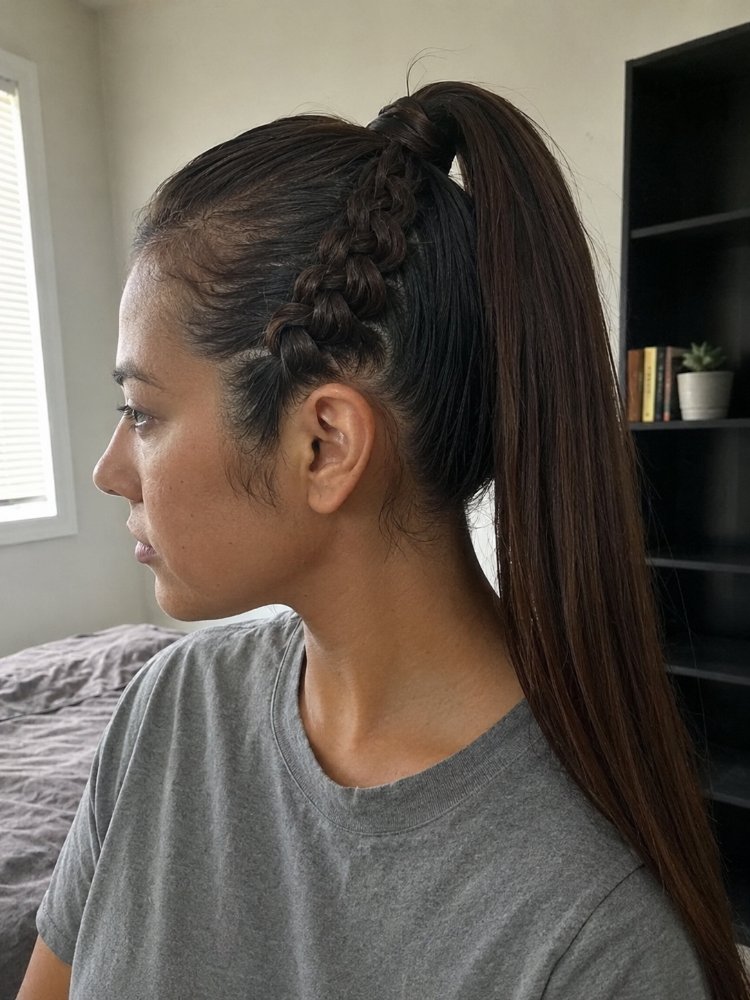
Imagine several lines starting around the sides and lower back of the head and narrowing as they approach the anchor. That direction visually lifts the eye. Wider braids produce a bolder, more graphic base, while smaller sections create more detailed scalp work and more points of convergence.
More detail also means more construction.
Tiny sections aren’t automatically the superior choice simply because they photograph intricately. They create more individual braids to finish, secure, and eventually remove. A smaller number of well-proportioned braids can make the upward direction much easier to read.
Curved or slightly diagonal braid paths soften the geometry. Straight routes toward the crown create a cleaner spoke-like effect. A center braid, side accent, or carefully placed curved row can give the foundation character without requiring every braid to follow a different design.
Density matters here, but it shouldn’t be confused with strand thickness. Someone can have fine strands and high density, or thicker strands with lower density. The scalp pattern, section width, and amount of hair available within each braid need to work with the actual hair present.
On lower-density areas, excessively small or widely separated sections can make more scalp visible than intended. A thoughtful section layout may create a fuller-looking composition without pretending the hairstyle can create actual density.
Natural Hair, Added Hair, or an Attached Tail?
The best construction depends heavily on what you want the ponytail to do.
Using your natural hair keeps the tail lighter and lets its real texture influence the result. Curly and coily hair may form a shorter, fuller ponytail because shrinkage changes the visible length. Stretched hair gives a different profile without changing how much hair you actually have.
Added hair is useful when the target depends on length, fullness, or a highly defined braided tail that your current length doesn’t easily provide. The amount and length should be treated as design choices with physical consequences. A dense tail hanging from one high base feels different from a lighter extension, particularly during movement.
An attached ponytail creates another option. The natural hair can be braided upward and secured into a compact base, with a preconstructed or separately braided tail fastened around it. Attachment methods vary, but they may use a wrap-around section, drawstring, combs, clips, elastic, or bobby pins.
The attachment shouldn’t rely on one uncomfortable pressure point for security. A base that feels stable through ordinary head movement is more useful than one tightened repeatedly because the tail keeps shifting.
Added hair also changes what happens after cleansing. Braided lengths can feel dry while denser hair near the base remains damp, so the roots and convergence area deserve attention rather than judging dryness only by the ponytail ends.
For a long statement ponytail, added hair may be worth the extra management. For exercise-heavy routines, frequent headrest use, or anyone who dislikes repositioning long braids throughout the day, moderate length is usually the more practical choice.
How to Create a Braided Up Ponytail
The exact technique varies with braid type and whether you’re adding hair, but the core construction follows a clear sequence.
Prepare the Hair in the State You Plan to Braid
Begin with hair that is detangled enough for clean sectioning and comfortable handling. Natural curly or coily hair can be braided in its natural or gently stretched state depending on the desired control and the method being used.
You don’t need to straighten curls simply to create a neat braided foundation.
Decide on the ponytail position before making the first braid. Marking the intended anchor visually helps keep the surrounding sections traveling toward the same area.
Build Sections That Point Toward the Anchor
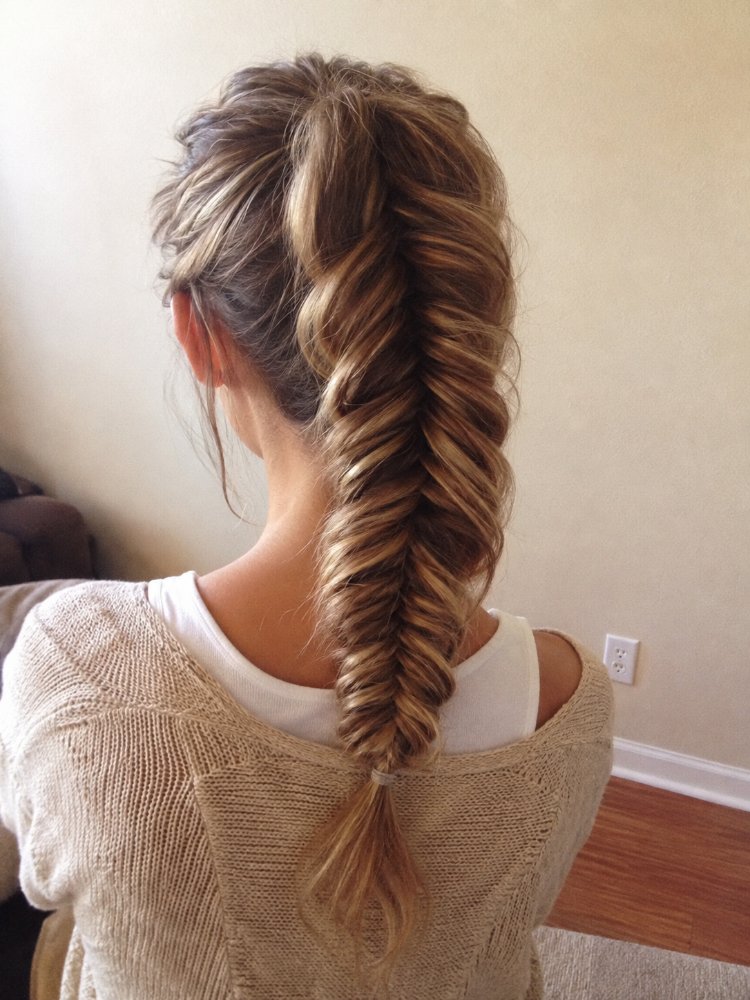
Part the hair so each braid has a clear route toward the ponytail base. The sections usually become visually narrower as they approach the convergence point because several braid paths are entering the same area.
This is where planning matters. Randomly directing finished braids toward the crown can create a bulky cluster. Building the direction into the parts from the beginning gives the base a cleaner shape.
Cornrow each section toward the chosen anchor. Added braiding hair can be incorporated gradually when the chosen technique calls for it, while keeping the section comfortable at the root.
Manage the Convergence Area
The last portion of each braid needs somewhere to go.
Depending on the design, the braids may continue as free lengths that are gathered together, or their ends may be incorporated into a compact ponytail foundation. Avoid stacking unnecessary bulk directly underneath the attachment point. A very large knot or dense braid bundle can make a high ponytail sit farther from the head than intended.
Check the base before adding the final tail. Turn your head, look down, and gently move the gathered braids. Pressure that already feels uncomfortable will become harder to ignore once extra length is attached.
Form or Attach the Ponytail
For a natural braided ponytail, gather the finished braid lengths securely at the anchor and continue with the chosen braid finish.
With added hair, the extension may be integrated into the braids themselves or attached to the completed base. A wrap-around ponytail can be positioned over the foundation, secured according to its construction, then reinforced with appropriate pins if needed.
Keep bobby pins against the base rather than digging directly into the scalp.
A small section of hair may be wrapped around the anchor to conceal an elastic or attachment point. That detail can make the transition from foundation to ponytail look cleaner without changing the underlying construction.
Finish the Surface Without Chasing Perfection
Smooth obvious flyaways where you want a sleeker finish. Edge control and an edge brush can be used selectively around the perimeter, but every short hair doesn’t need to be stretched into the ponytail.
The final check should include more than the mirror. Let the tail fall naturally, sit against a chair, turn your head, and make sure the anchor remains stable without painful pulling.
Texture and Hair State Change the Result
A braided up ponytail can work across a wide range of textures, but the starting state affects the construction.
Coily hair often provides useful grip for braiding and may create a fuller natural tail with more shrinkage. Looser curls can produce a different braid surface and a longer-looking unextended ponytail. Straight or pressed hair may give a smoother base but can require careful anchoring because the strands have less natural texture supporting the hold.
None of those states is inherently better.
What matters is matching the method to the hair you’re actually styling. A photograph of stretched natural hair shouldn’t be treated as a promise of how the same design will look at full shrinkage. Likewise, a version created with substantial added hair doesn’t show what the style looks like using only natural length.
Relaxed hair and previously processed hair deserve particular attention to condition, especially around the perimeter and areas that have experienced previous breakage. The braid pattern can be adjusted so shorter or fragile sections aren’t carrying the same pulling force as stronger areas.
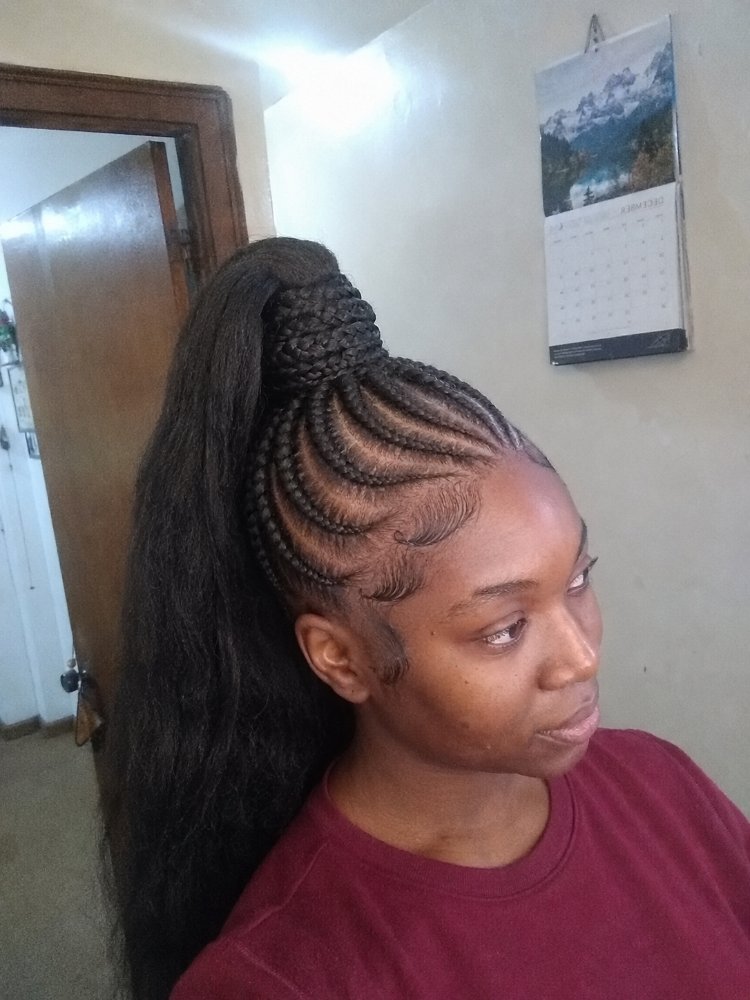
Hair that is already braided, twisted, or loc’d requires a different construction again. Gathering mature locs into a high anchor, for example, can create significantly more concentrated weight than directing loose hair into cornrows. The desired silhouette may be similar, but the mechanics aren’t interchangeable.
What Daily Wear Reveals That Photos Don’t
The ponytail has to live somewhere after the picture is taken.
A very high base can be convenient when you want the lengths off your neck, yet the tail may flop forward when you bend down. Extra-long braids can slide behind your back, catch beneath a bag strap, or become trapped between you and a chair. None of this makes the style impractical; it simply makes length a lifestyle decision as much as an aesthetic one.
Sleeping takes more adjustment with a raised anchor. A scarf or bonnet can reduce friction around the braids and perimeter, while the ponytail itself may need to be positioned so you’re not lying directly on a bulky section. Very long lengths have to be gathered without repeatedly winding them tightly around the base.
Exercise introduces movement and moisture. A secure base should stay stable without needing to be tightened every time the ponytail swings. After sweating or cleansing, concentrate on allowing the root area and dense convergence point to dry thoroughly.
Clothing matters too. A shorter braided tail stays mostly clear of backpack straps, zippers, and coat collars. Waist-length or longer braids spend much more time in contact with clothing and furniture.
The dramatic length is worthwhile when that visual impact is the reason you’re choosing the hairstyle. Otherwise, a moderate tail often gives you most of the lifted effect with less daily repositioning.
Comfort, Tension, and the Hairline
A braided up ponytail naturally concentrates several directions of hair toward one anchor, so comfort should be treated as part of the construction rather than an afterthought.
Tighter doesn’t necessarily equal more secure. Good sectioning, a stable base, and a sensible tail weight can provide hold without relying on excessive pulling.
Pay particular attention to the temples, front hairline, and nape. Those shorter perimeter hairs don’t have to be dragged into distant sections to make the ponytail appear cleaner. Leaving some hairs outside the braid pattern, adjusting a part, or moving the anchor slightly can be preferable to creating constant strain.
Added length changes the equation because the tail moves. The longer and denser it becomes, the more noticeable that movement can feel at a high anchor. Someone wanting a very dramatic ponytail may get a better result by balancing the extension amount with the strength and size of the foundation rather than simply adding the fullest possible tail.
Pain, persistent stinging, sores, redness, or ongoing irritation are reasons to reassess the style rather than treating discomfort as part of the installation. Sudden shedding or a concerning change in density deserves attention from a dermatologist or another qualified healthcare professional.
A braided hairstyle earns the protective label only when the way it’s installed and maintained actually reduces unnecessary manipulation without creating excessive tension, friction, or difficult scalp access.
Planning the Style Before Your Appointment
Bring reference images that show more than the front.
A useful consultation includes the crown, back, and ponytail attachment area. Two styles can have nearly identical front views while using completely different braid layouts underneath.
Be specific about the feature you’re prioritizing. Perhaps it’s the height. Maybe you care more about a visible feed-in pattern, a long swinging tail, or a manageable everyday version. Trying to maximize all of them at once can produce a more complicated installation than you actually need.
Discuss your normal styling state too. Hair usually worn shrunken behaves differently from hair routinely stretched before braiding. Previous chemical services, color, areas of breakage, and shorter perimeter sections can all influence the section plan.
Consider your daily environment before committing to the tail length. Headrests, helmets, workout routines, glasses, and frequent bag straps are mundane details until they start competing with a high ponytail.
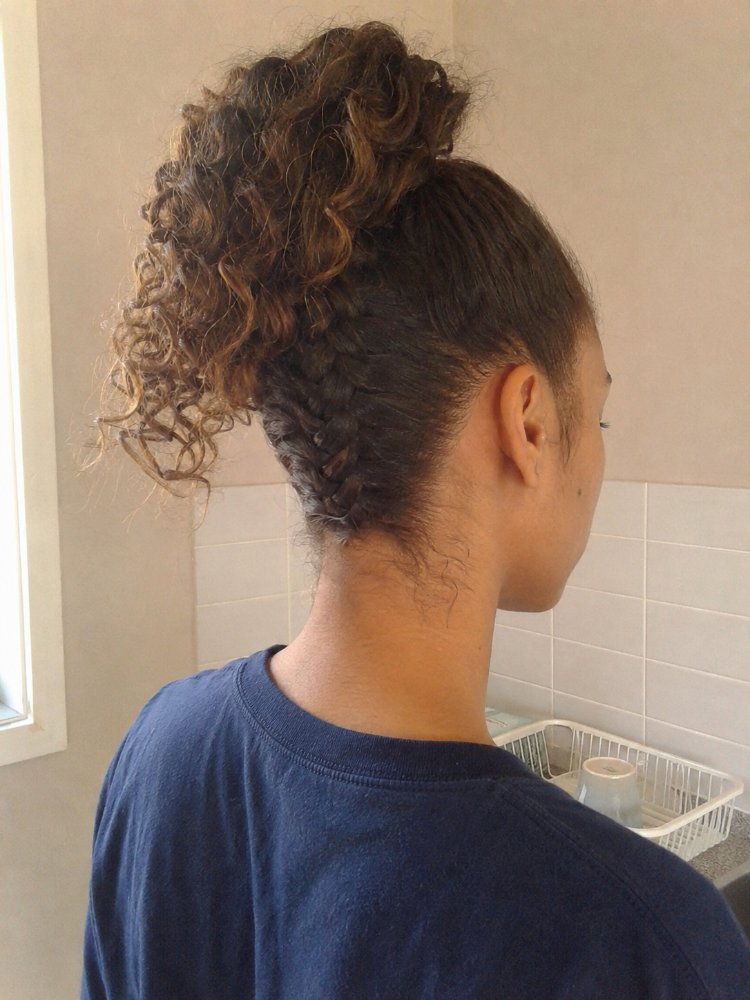
A good reference photo is the beginning of the conversation, not the construction plan itself.
Maintenance Without Overworking the Base
The base of a braided up ponytail usually needs less daily handling than loose hair, which is part of its appeal. Maintenance becomes easier when you resist constantly re-smoothing and tightening it.
At night, reduce friction around the perimeter and braided foundation with a smooth scarf, bonnet, or pillowcase. Position long braided lengths so they aren’t pulling backward on the anchor while you sleep.
Scalp cleansing should match your activity level, comfort, buildup, and installation rather than a rigid calendar. The important practical point is access. Closely spaced braids around a high ponytail can make the convergence area harder to reach, so make sure moisture and cleanser aren’t simply collecting around the base.
After getting the roots wet, give the dense sections enough opportunity to dry. The tail may feel dry first because it is exposed to more air.
Frizz around the braids will gradually change the finish. Repeatedly adding tension to restore a freshly installed appearance can create more work than accepting some normal wear. Loose flyaways can be managed selectively without reconstructing the whole ponytail.
Removal deserves the same patience as installation. Take down attachments and braids carefully enough to separate shed hair from actual breakage, especially around the perimeter and the point where the braids converged.
FAQs
Can you do a braided up ponytail on short hair?
Yes, depending on how much hair can be securely incorporated into the braided foundation. Added hair or a ponytail attachment can provide length that the natural hair doesn’t have. Very short areas may need a modified section pattern instead of being forced toward a distant crown anchor.
Does a braided up ponytail work on natural curly or coily hair?
Yes. Natural curly and coily hair can be braided in its usual texture or in a stretched state according to the desired finish and braiding method. Shrinkage affects visible length, and curl pattern alone doesn’t determine whether the style will hold well.
Can I use a drawstring braided ponytail with an upward braided base?
A compatible drawstring or wrap-style attachment can be used over a secure base. Check where built-in combs, clips, or drawstrings sit against the scalp, and avoid tightening the attachment simply to compensate for a foundation that is too small or unstable.
How can I keep a high braided ponytail secure while exercising?
A well-built anchor should provide the primary hold. Extra length creates more swinging movement, so a shorter or lighter tail is usually easier for frequent workouts. After sweating, pay attention to scalp comfort and drying around the dense base rather than repeatedly tightening the ponytail.
Hair Texture & Upkeep Style Matcher
Select your natural hair texture and daily maintenance window to get an instant styling formula and heat safety cap.
Heat Cap: 320°F (160°C)
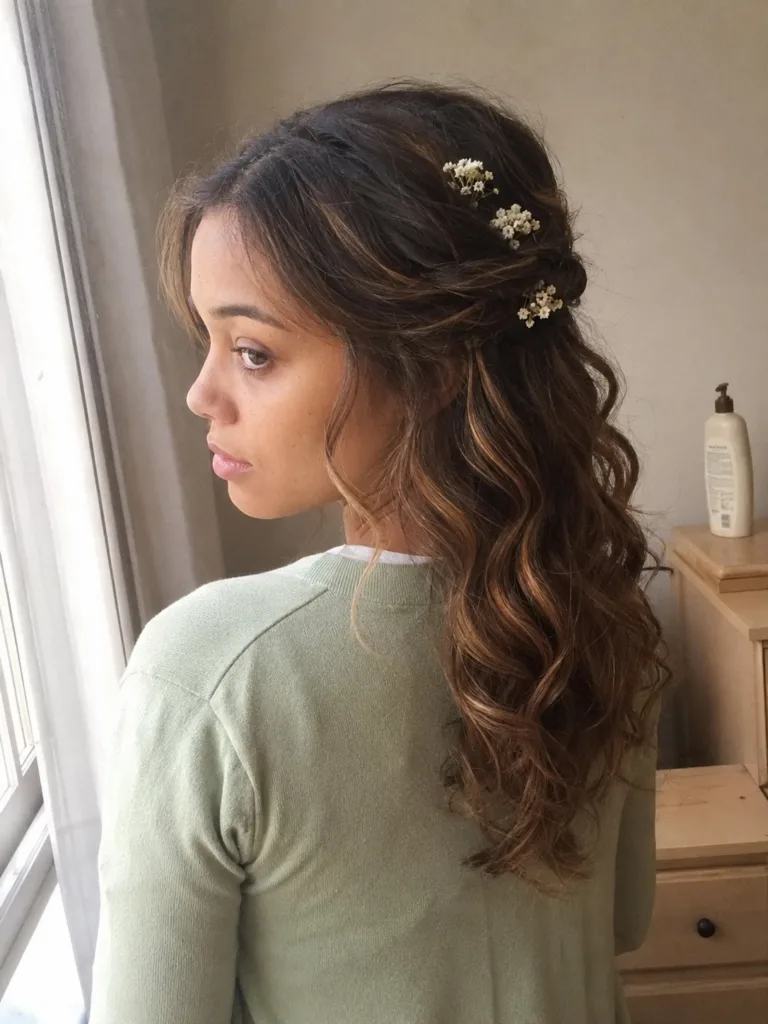
A versatile three-strand braid beginning at the parietal ridge, securing the top half while allowing natural wave texture to flow freely around the shoulders.
Conclusion
A braided up ponytail works best when the upward braid direction, anchor placement, and ponytail weight are planned together. The lifted crown effect can come from the scalp pattern itself, so an extreme height or extra-heavy tail isn’t required to make the style visually strong.
Decide first whether your priority is the braid design, dramatic length, or everyday manageability. Then build the foundation around that choice. A moderately high, comfortable anchor with a clearly directed braid pattern is the most versatile place to start, while longer and denser tails make sense when their extra movement and upkeep are part of the look you actually want.
Editorial Standards & Hair Health Guidance
Every style featured on Tress Atlas is curated with a focus on real-world wearability, scalp tension management, and cuticle preservation. When trying protective styles or tight updos, ensure perimeter hairline sections remain tension-free to avoid traction stress on delicate follicles. For heat styling, cap tools below 350°F (180°C) to prevent thermal keratin denaturation.
Scientific Sourcing: Practices aligned with the American Academy of Dermatology (AAD) on traction alopecia risk reduction and cosmetic trichology research on hair tensile strength.