Braided Ponytail Hairstyles: Styling Guide & Cuts That Change More Than the Braid
Braided ponytail hairstyles can look deceptively simple in photos. The real difference between one version and another often comes from where the ponytail is anchored, how the hair travels toward that point, and whether the braid is created from your own hair or added length.
A high cornrow ponytail concentrates the design at the crown. A low fishtail rests against the back and behaves more like a loose long-hair style. Gathering an existing knotless braid installation into a ponytail creates a completely different weight pattern from adding one long braid to a smooth natural-hair base.
That distinction matters for comfort, styling effort, scalp access, and how the hairstyle holds up during ordinary movement. The most useful choice is the one that gives you the shape you want without asking your hairline, roots, or daily routine to support more than makes sense.
Smooth-Base Braided Ponytails
These styles begin with hair gathered into a ponytail before the braid becomes the main feature. They can be among the easiest braided ponytails to understand because the base and tail are built as two separate decisions.
Sleek Single-Braid Ponytail
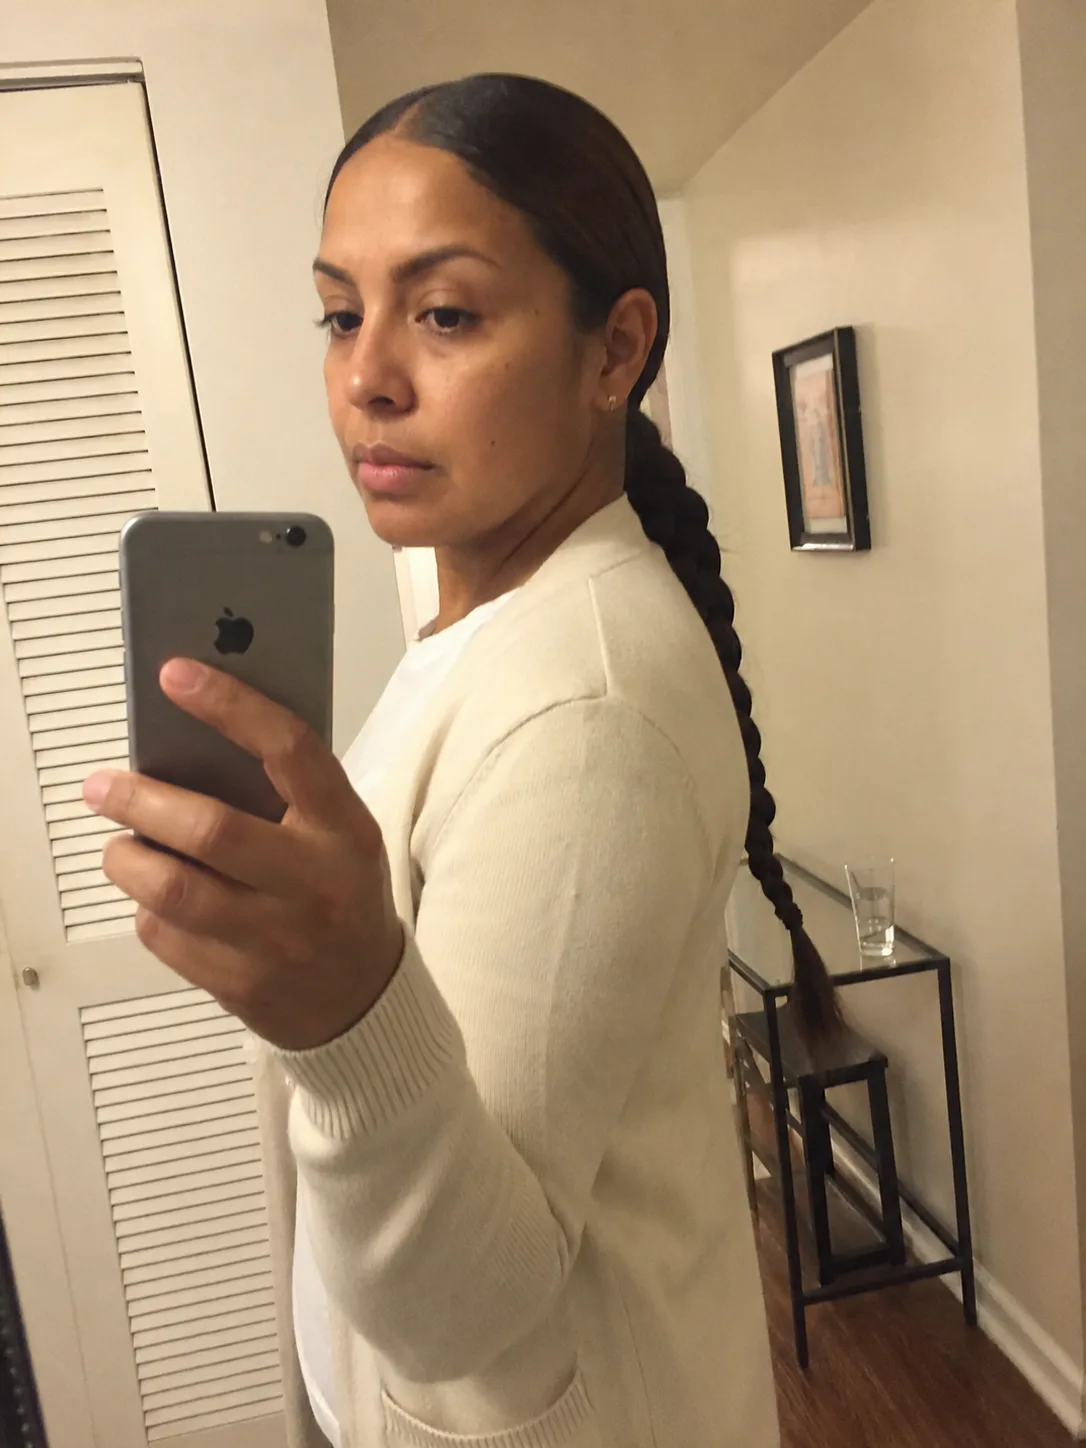
A single long braid extending from a smooth ponytail gives you one of the clearest braided ponytail shapes. The head stays visually streamlined while the braid provides length and movement. It works particularly well when you want the braid itself to be the focal point instead of intricate scalp parting.
Your natural hair can form the ponytail base, with added hair incorporated into or wrapped around the tail when extra length or fullness is desired. The important part is the transition around the elastic. A neatly wrapped section can conceal the attachment and make the braid appear to grow directly from the ponytail.
Very long or dense added hair changes how the anchor feels during movement. Moderate length is the more practical default when you want a sleek result without turning the ponytail into something you constantly reposition.
Low Classic Braided Ponytail
A low anchor changes the mood immediately. The braid begins around the nape instead of pulling the eye toward the crown, creating a softer line that works well with center parts, side parts, or hair brushed straight back.
This is also an easier shape to accommodate around headrests and hats than many high ponytails. The braid naturally falls down the back rather than swinging from the top of the head.
A low braid is especially useful when you want visible length without needing dramatic height. Keep the base smooth for a sharper effect or allow some natural fullness through the crown for a less rigid finish.
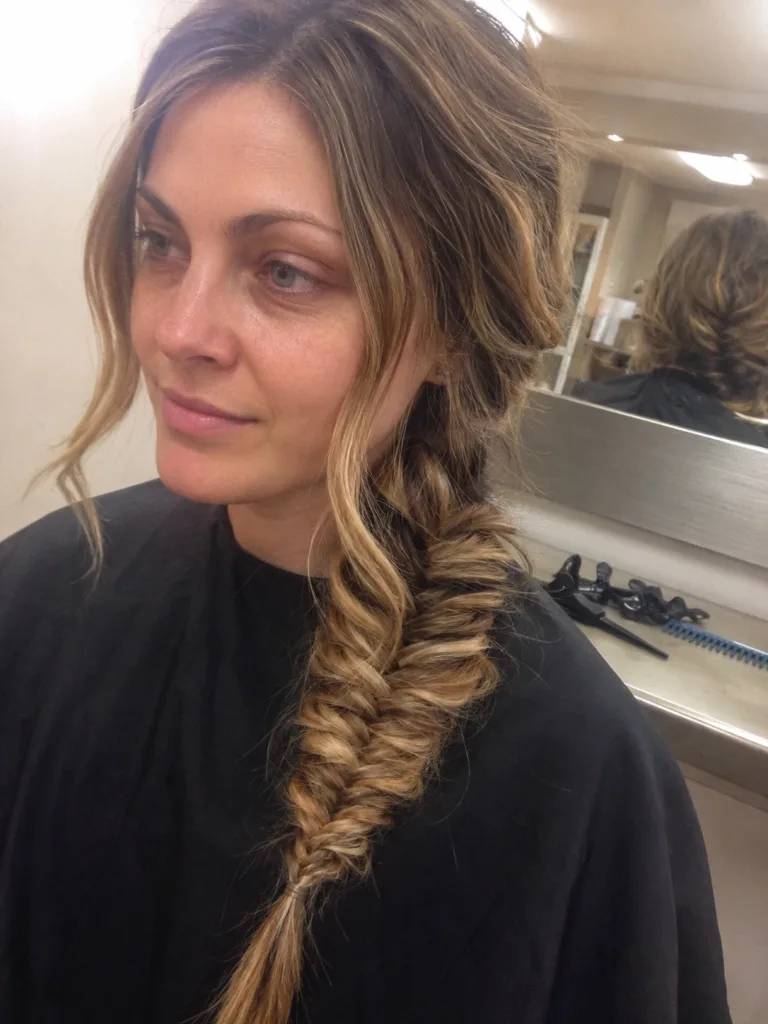
Fishtail Ponytail
The fishtail changes the surface of the tail more than the overall ponytail shape. Its fine, interwoven pattern creates visual detail through the length, so it works best where the braid can actually be seen rather than tucked tightly against clothing.
A little controlled looseness makes the woven structure easier to read. Pulling the edges of the braid outward can create more apparent width, although the braid still depends on the actual amount and condition of hair available.
This is a stronger choice for soft formal styling than for a routine where the braid will be repeatedly rubbed beneath a coat, backpack, or shoulder strap.
Side Braided Ponytail
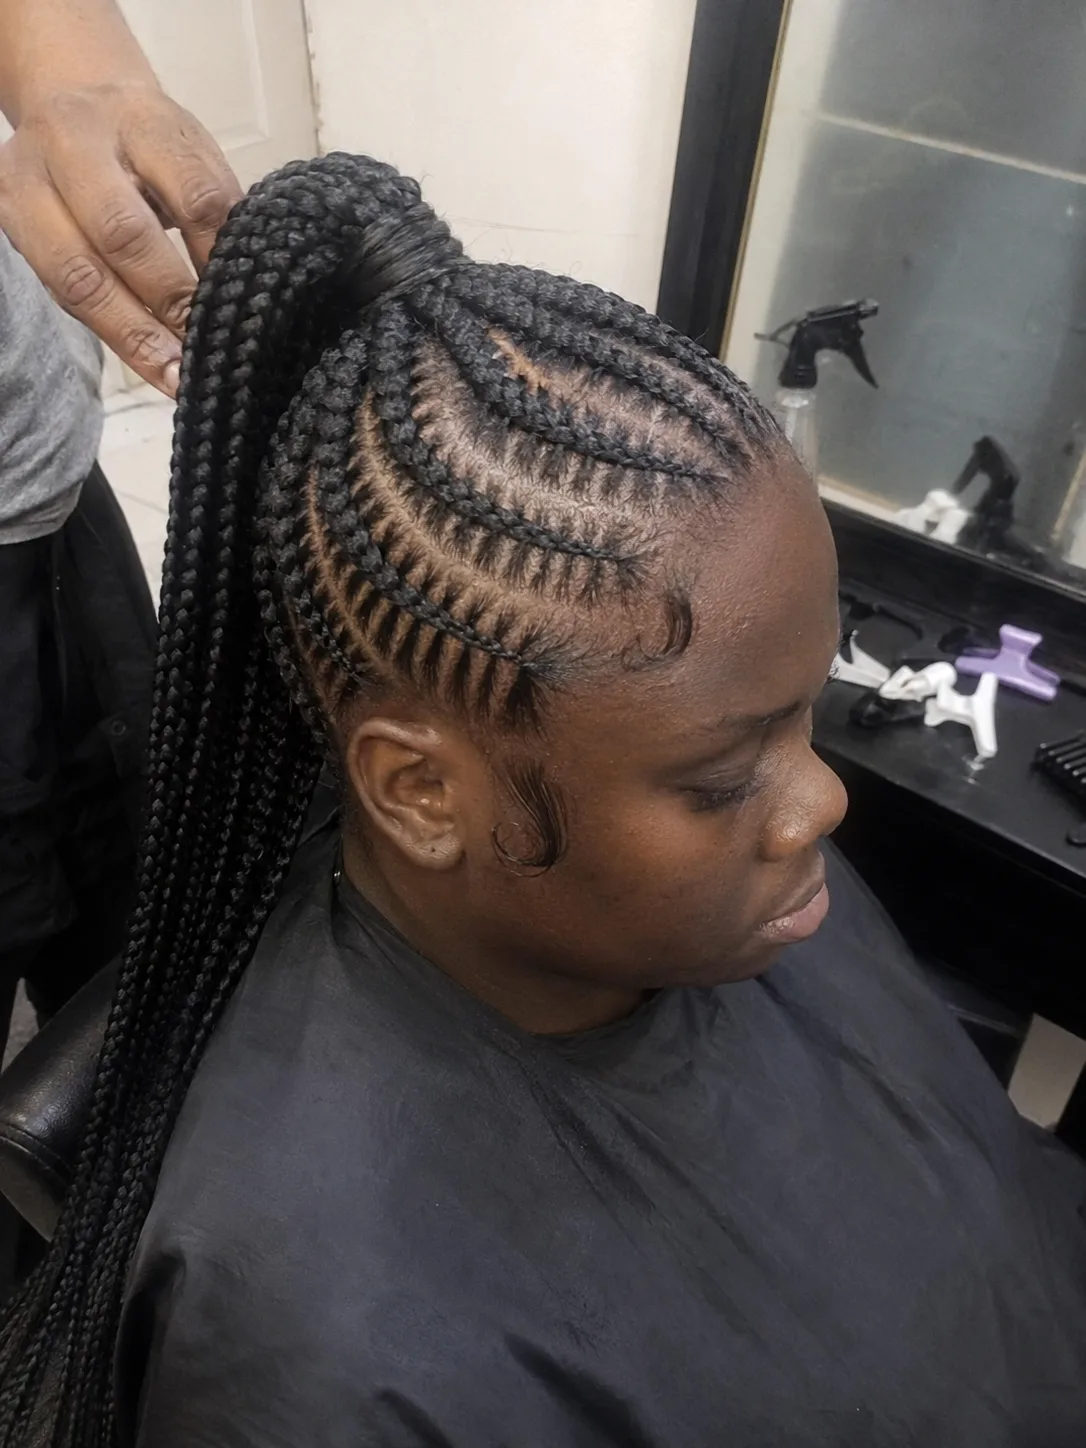
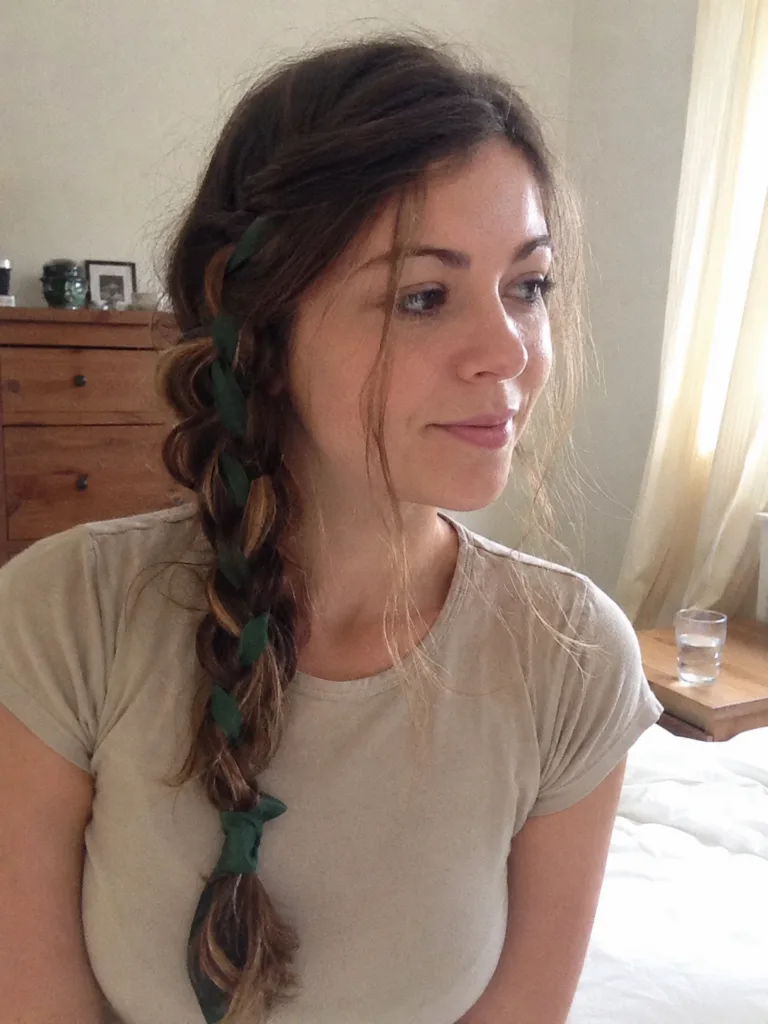
Moving the braid over one shoulder makes the hairstyle part of the front view instead of leaving most of the detail behind you. It can begin from a side-parted base, a low side anchor, or hair directed diagonally across the back of the head.
The asymmetry is useful with open necklines and outfits where you want the hairstyle visible in photographs from the front. It also means the braid spends more time against one shoulder, so friction becomes part of the daily behavior of the style.
Wrapped-Base Braided Ponytail
Sometimes the detail at the anchor matters as much as the braid itself. A section of hair or braiding hair can wrap around the ponytail base, hiding the elastic or attachment and creating a wider, more sculpted starting point.
The wrapped area should stay proportional to the tail. An oversized base paired with a narrow braid can look visually top-heavy, while a compact wrap makes a fuller braid appear cleaner.
This is worth the extra finishing work for formal styles or extension ponytails where the attachment would otherwise be visible.
Cornrows That Travel Into a Ponytail
With scalp-braided ponytails, the design begins long before the tail. The direction and size of the braids control how the style looks from the front, sides, and back.
Straight-Back Cornrow Ponytail
Straight-back cornrows create strong lines that all travel toward one ponytail point. It is a graphic style with very little visual softness at the scalp, so the quality of the sectioning becomes a major part of the finished result.
The convergence area deserves particular attention. Several braids arriving at one anchor can create bulk where the ponytail begins. Keeping the braid sizes and final gathering method balanced helps the tail sit more cleanly.
A moderate ponytail height is usually easier to live with than an extremely high anchor when several braids are feeding into the same point.
High Feed-In Braid Ponytail
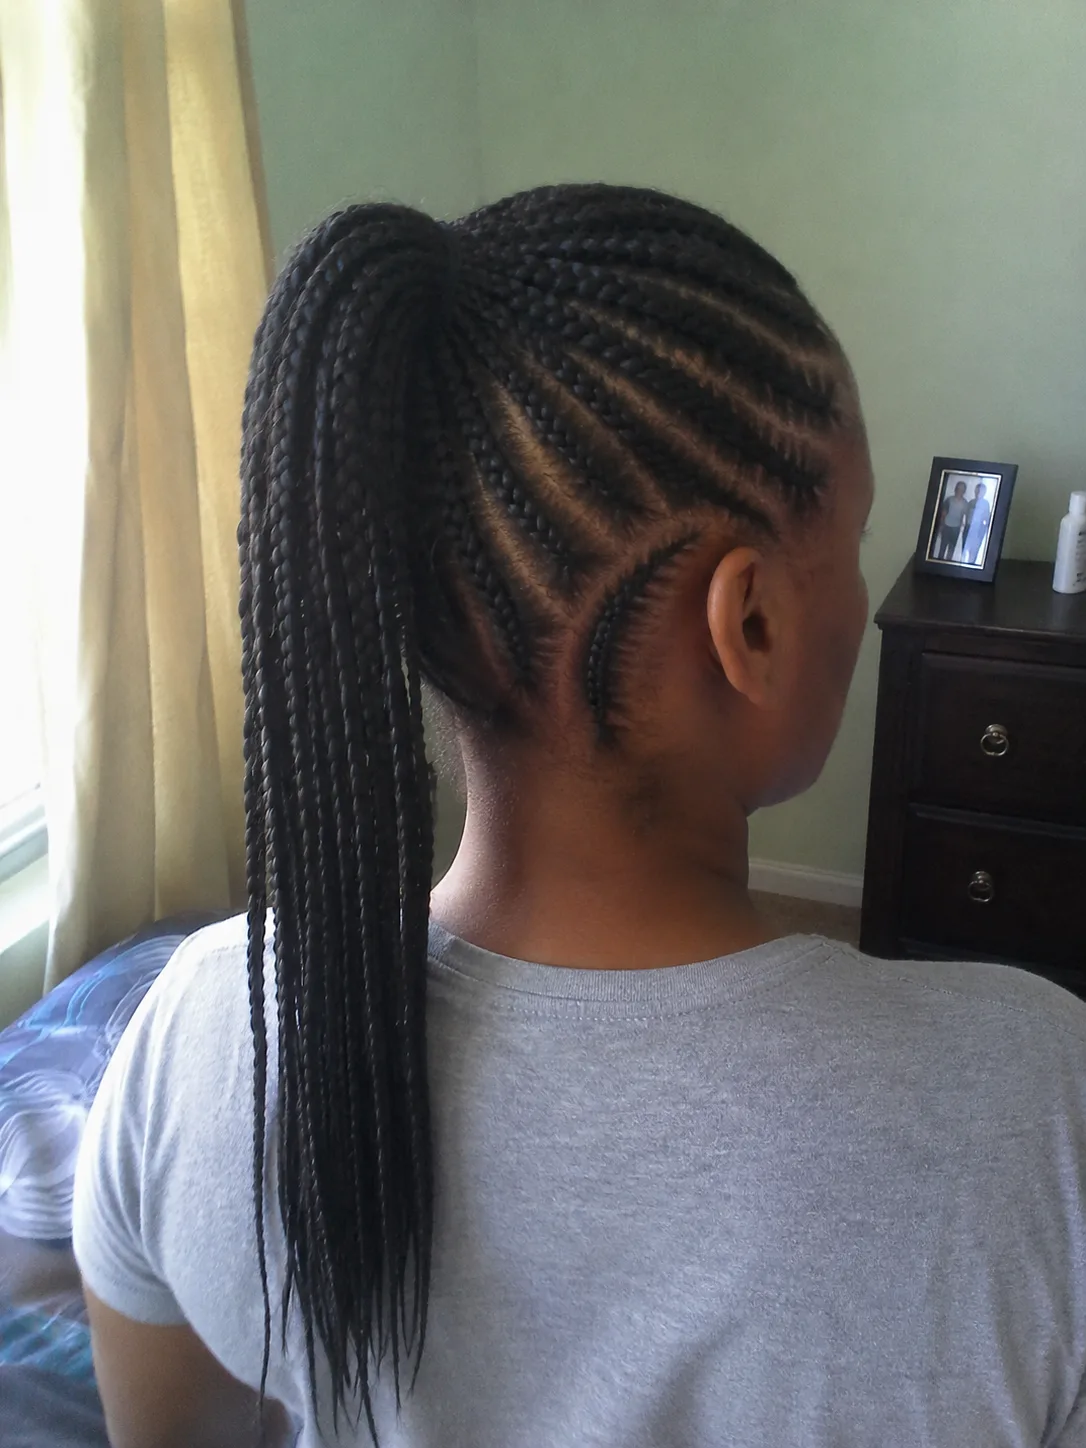
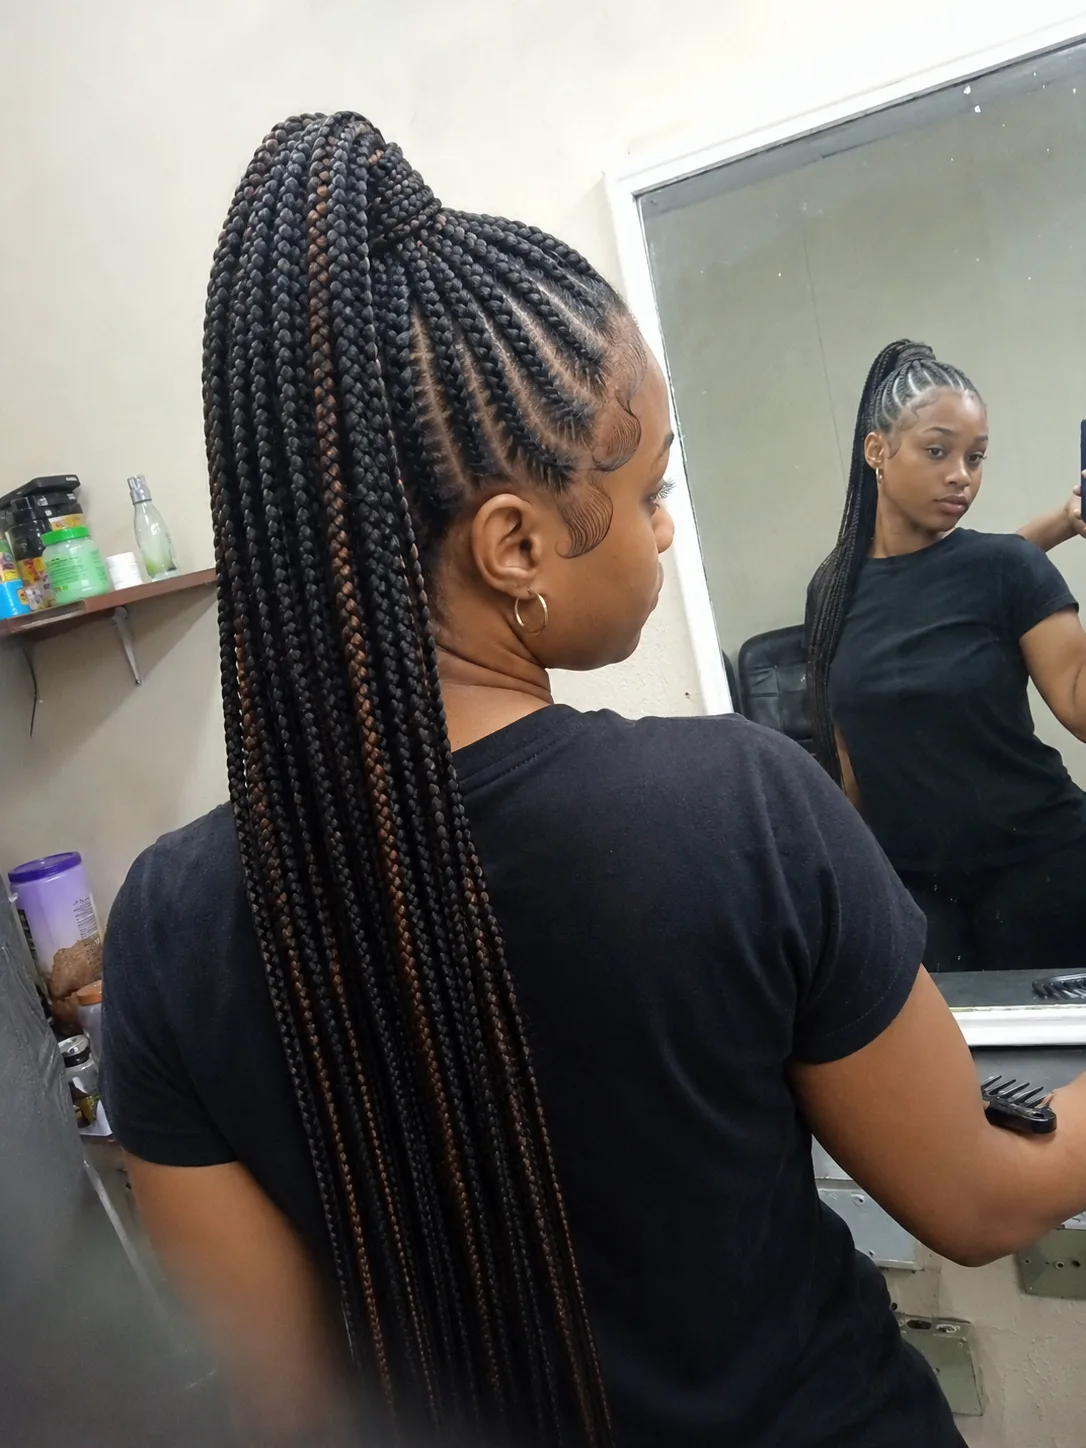
Feed-in braiding can create scalp braids that gradually build in size as they travel toward a high ponytail. The gradual transition gives the style a long, uninterrupted look from the hairline through the crown and into the tail.
Because the braids climb upward, the style creates obvious height even before the ponytail length is considered.
The strongest version keeps the front sections purposeful without forcing every fine hair along the perimeter into the braid. Hairline detail can stay softer while the larger sections carry the overall structure.
Stitch-Braid Ponytail
Stitch braids make the scalp pattern a major design element. The visible divisions along each braid create crisp repetition before the sections meet at the ponytail.
This is more installation-dependent than a simple gathered braid because clean sectioning and consistent braid direction carry much of the visual effect. The style works especially well when you prefer geometric detail over a softer braided surface.
The ponytail itself can remain fairly simple. Adding too many competing details at the tail can distract from the precision at the scalp.
Curved Cornrow Ponytail
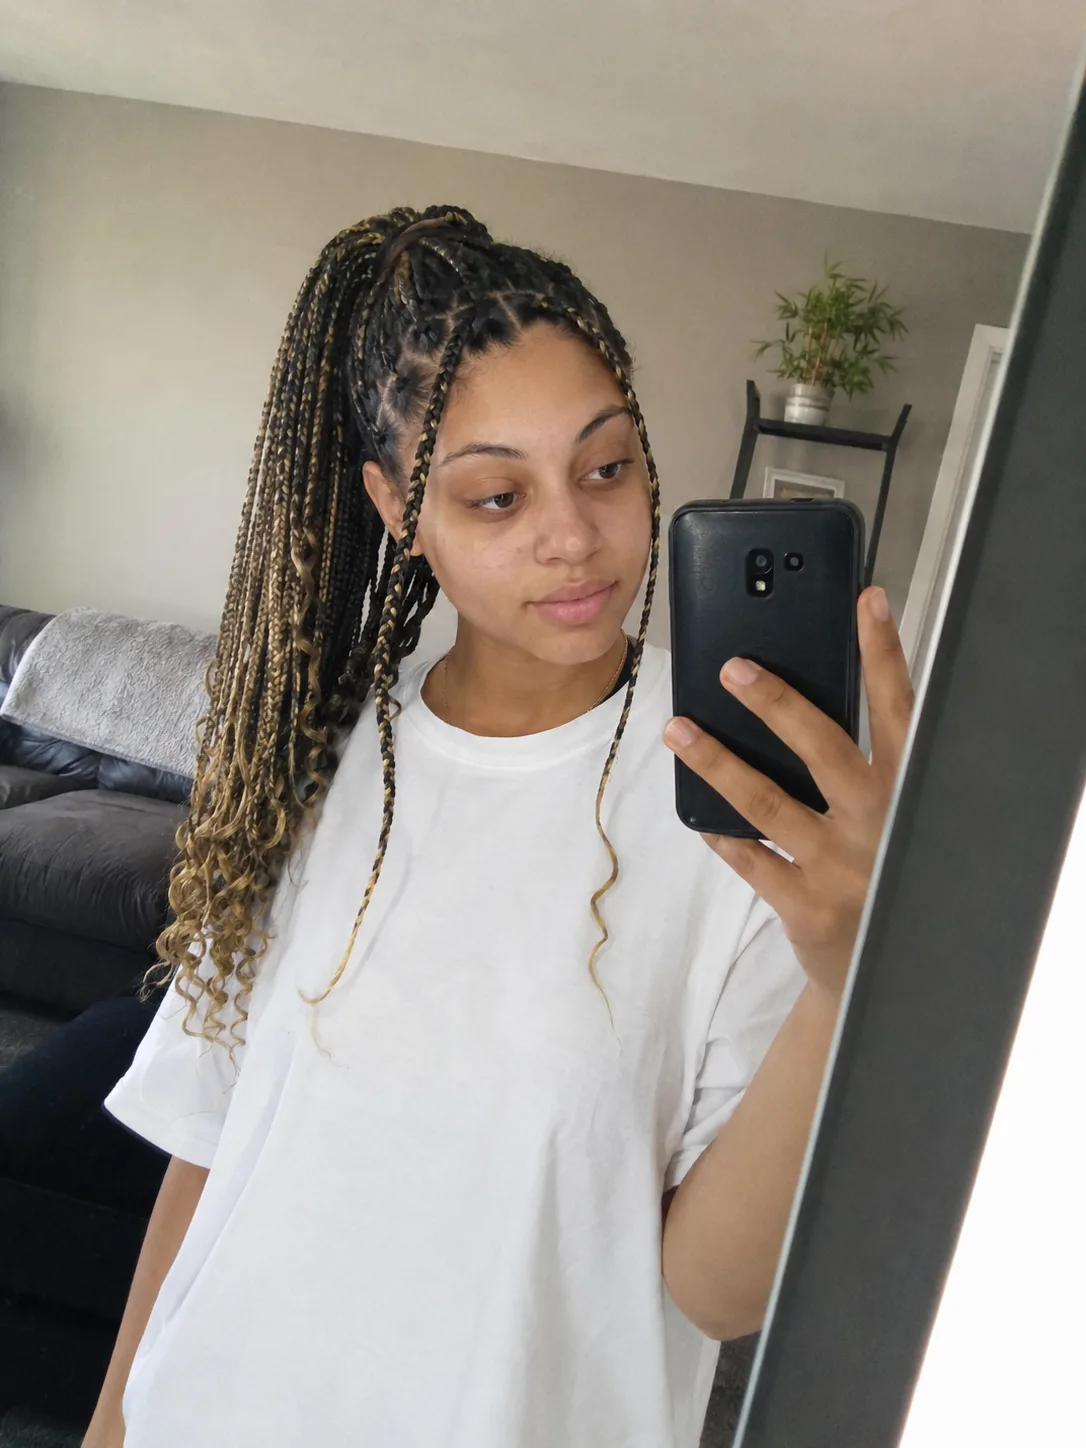
Cornrows don’t have to travel in straight lines. Curved sections can sweep around the head before meeting at the anchor, creating movement even while the hair remains fully braided down.
The curves are most successful when they clearly lead somewhere. Random direction changes can make the pattern look crowded, while a few broad arcs give the eye a clear path toward the ponytail.
This is an underrated option when you want a braided scalp design but find strong straight-back lines too severe for the look you have in mind.
Side-Cornrow Braided Ponytail
Here, the cornrows are concentrated through one or both side areas while the remaining hair joins the ponytail with less scalp braiding. That creates contrast between detailed sections and a smoother base.
It can be particularly useful when you want visible braid work around the temples without committing the entire head to cornrows.
The transition needs to make sense from every angle. Braided sides meeting a loosely secured center can look disconnected unless all sections clearly travel toward the same anchor.
Braided Mohawk Ponytail
This shape concentrates the visual mass through the center of the head. Side sections sit flatter while braids, texture, or gathered hair build height along the middle before becoming the ponytail.
It has more drama than a conventional cornrow ponytail because the hairstyle creates a ridge before the tail even begins. That height can be sculptural, especially when the center braiding is relatively substantial.
This is a stronger choice for a statement look than for someone who wants their ponytail to disappear easily beneath hats or fit comfortably against close headwear.
Ponytails Made From Existing Braids
Already wearing individual braids? Gathering them into a ponytail creates a new shape without rebuilding the installation. The main limitation is that the full weight and bulk of those braids still have to sit somewhere.
High Knotless-Braid Ponytail
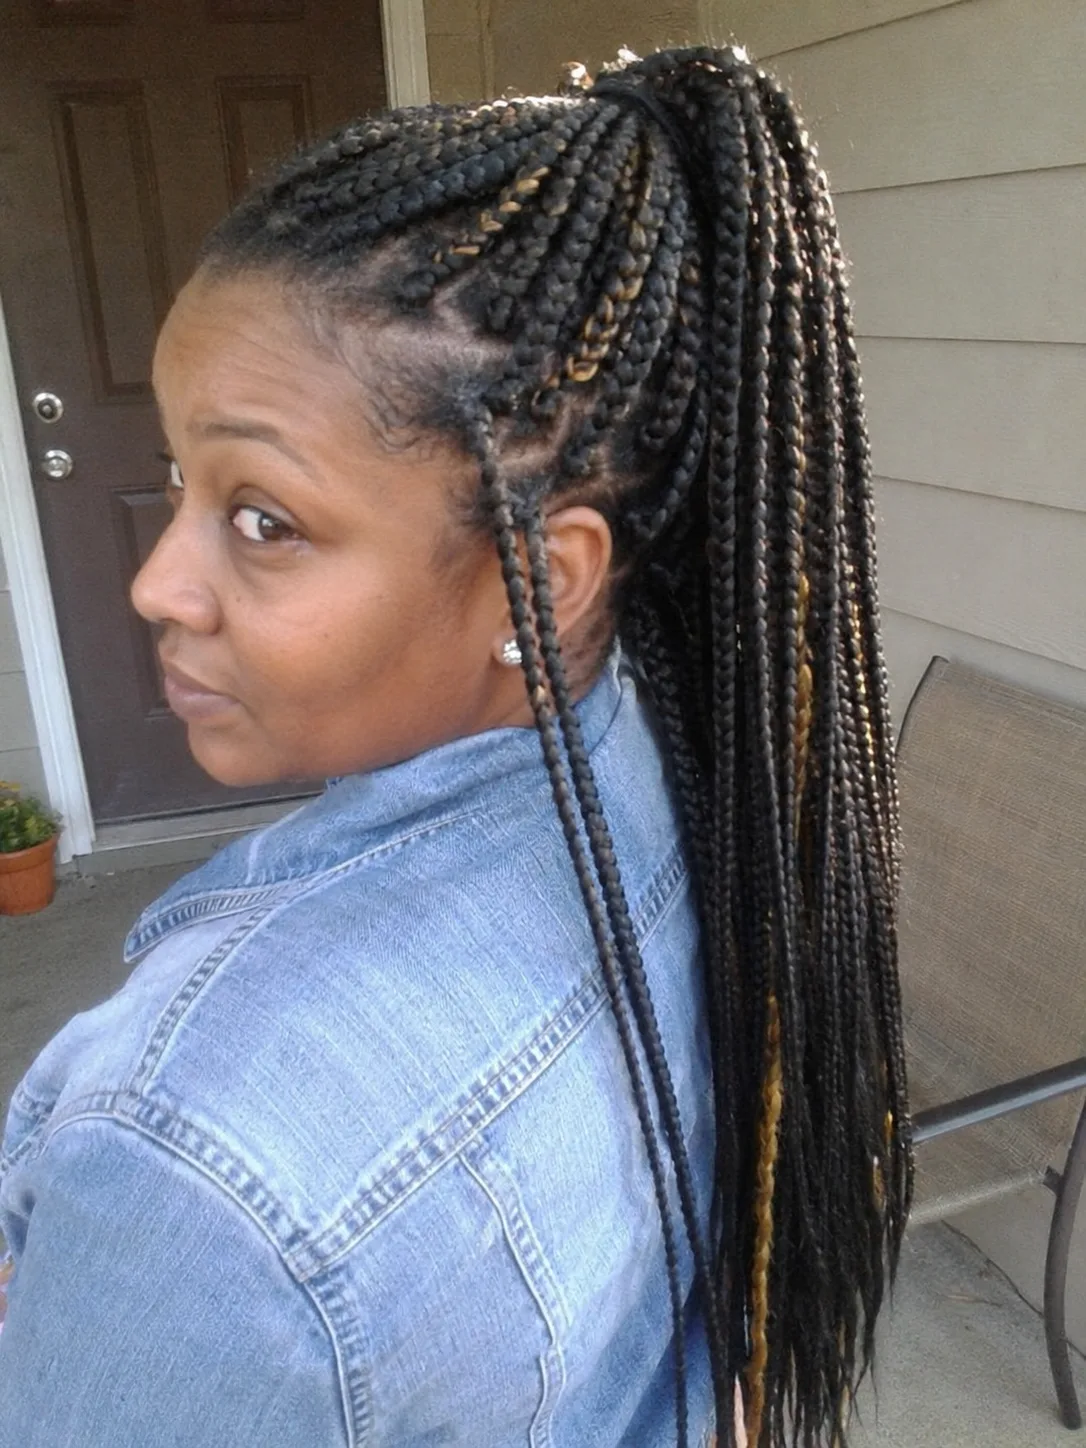
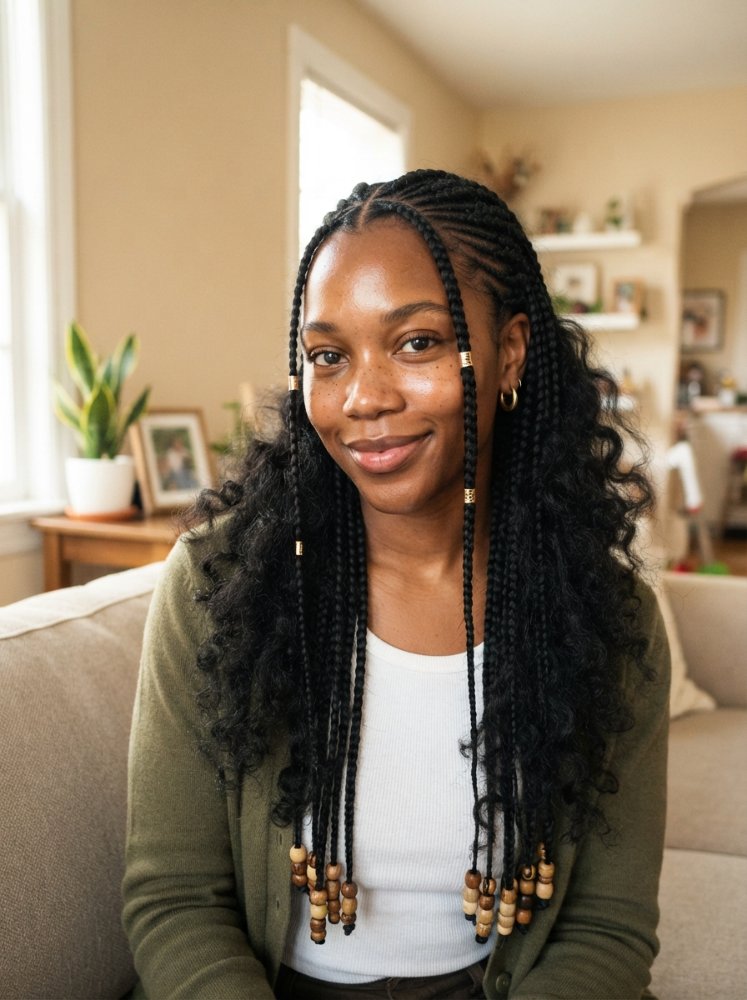
Knotless braids can be swept upward into a high ponytail for a long, cascading effect. The individual braids remain visible, so the tail has considerably more texture and separation than a single extension braid.
The ponytail elastic should secure the style without repeatedly compressing the same roots. A high anchor also changes the direction of braids that may normally hang downward.
This look makes the most sense when your existing installation already feels comfortable and mobile. Gathering heavy or very long braids high on the crown simply to copy a photograph can create more work than the finished shape is worth.
Low Box-Braid Ponytail
A low ponytail is often the more practical way to gather a substantial box-braid installation. The braids change direction less dramatically, and the bundle sits closer to the head rather than projecting from the crown.
Visually, it creates a dense tail with a strong lower line. A wrapped braid around the base can hide the elastic, while leaving the base exposed gives a simpler everyday result.
Because the ponytail rests against clothing, very long braids may catch beneath collars, bags, or seatbelts during the day.
Jumbo-Braid Ponytail
Large individual braids create a ponytail with fewer, more obvious sections. Instead of a fine curtain of braids, you see distinct rope-like pieces moving together.
That scale is the main attraction. A jumbo braid ponytail reads clearly from a distance and pairs well with simpler parting because the braid size already provides substantial visual interest.
The larger sections can also make the base bulky, particularly when gathered high. A lower or mid-level anchor often allows the braid size to remain the focus without stacking too much volume at the crown.
Microbraid Ponytail
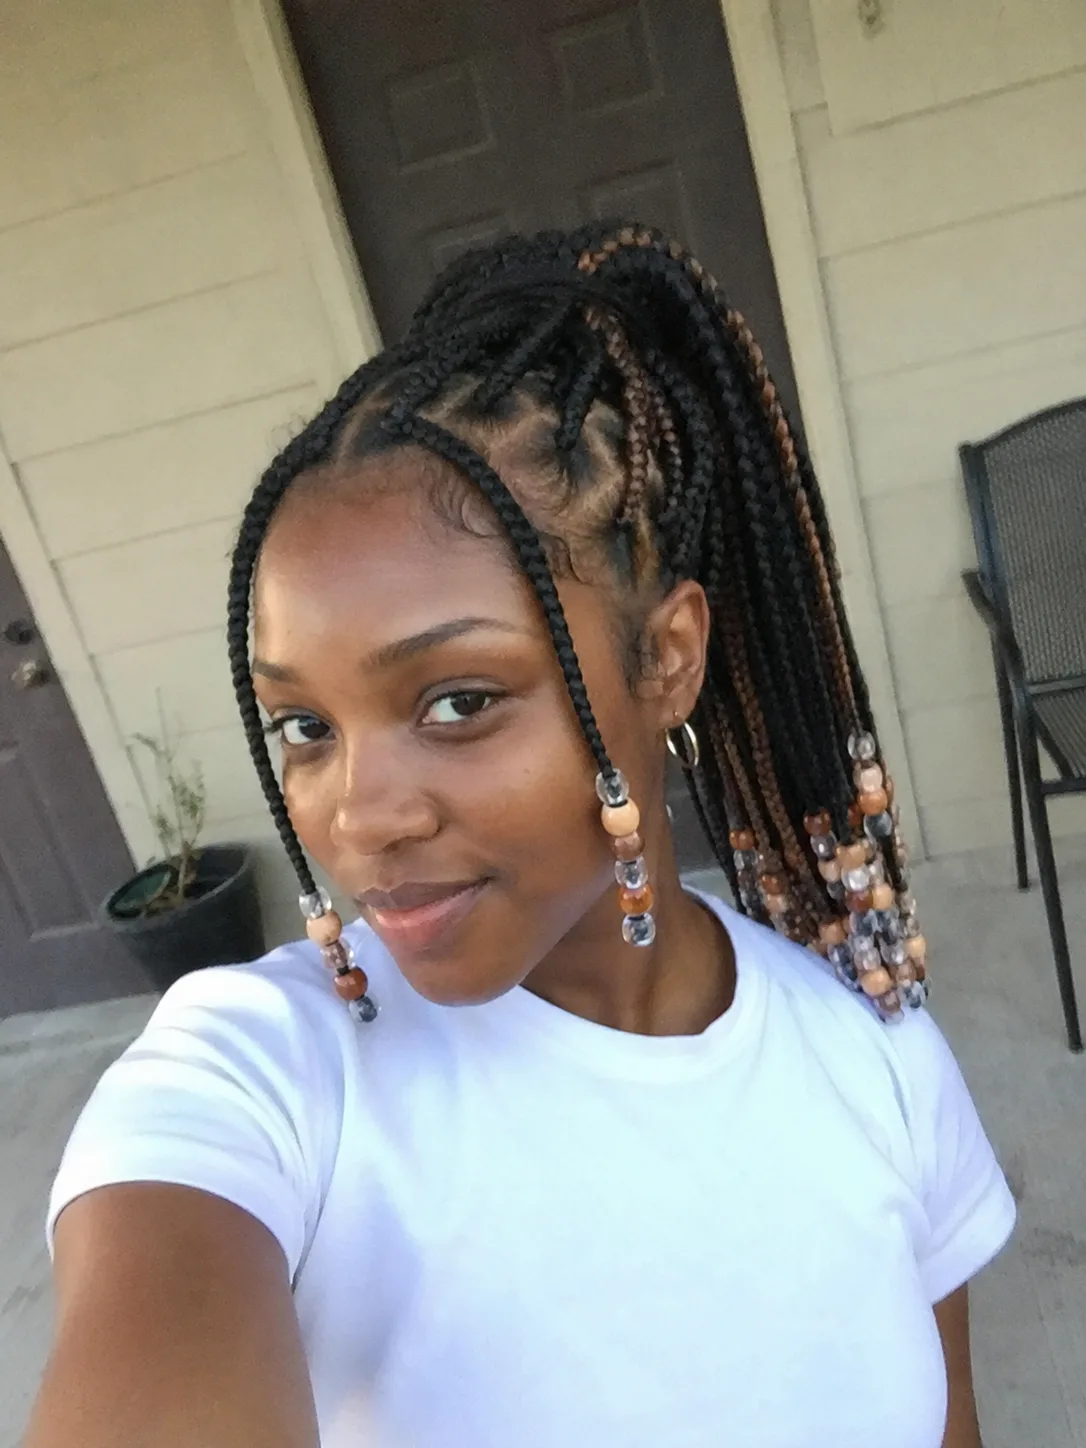
At the opposite end of the scale, very small braids behave more like loose hair when gathered. The tail has movement and surface texture, but individual braid lines are less dominant from a distance.
That flexibility gives you more styling options around the ponytail itself. Sections can be wrapped, partially braided together, or left as a fine cascade.
Takedown is a separate commitment because numerous small sections require careful removal. Choose this installation for the braid size you genuinely want, not solely because the ponytail looks fluid.
Multi-Braid Ponytail
Instead of leaving every individual braid loose, the gathered ponytail can be divided into several larger braids. That reduces the visual busyness of the tail and creates bold sections below the anchor.
Three or more substantial braids can be allowed to hang separately, tied together near the ends, or arranged so they fall at slightly different positions. The style moves differently from one enormous braid because each section can swing independently.
It’s a useful restyle when you already have box or knotless braids and want a stronger tail shape without changing the scalp installation.
Braided Ponytails With More Texture and Shape
The next group is less about perfect uniformity. These styles mix braided sections with curls, loose volume, or more decorative braid structures.
Boho Braided Ponytail
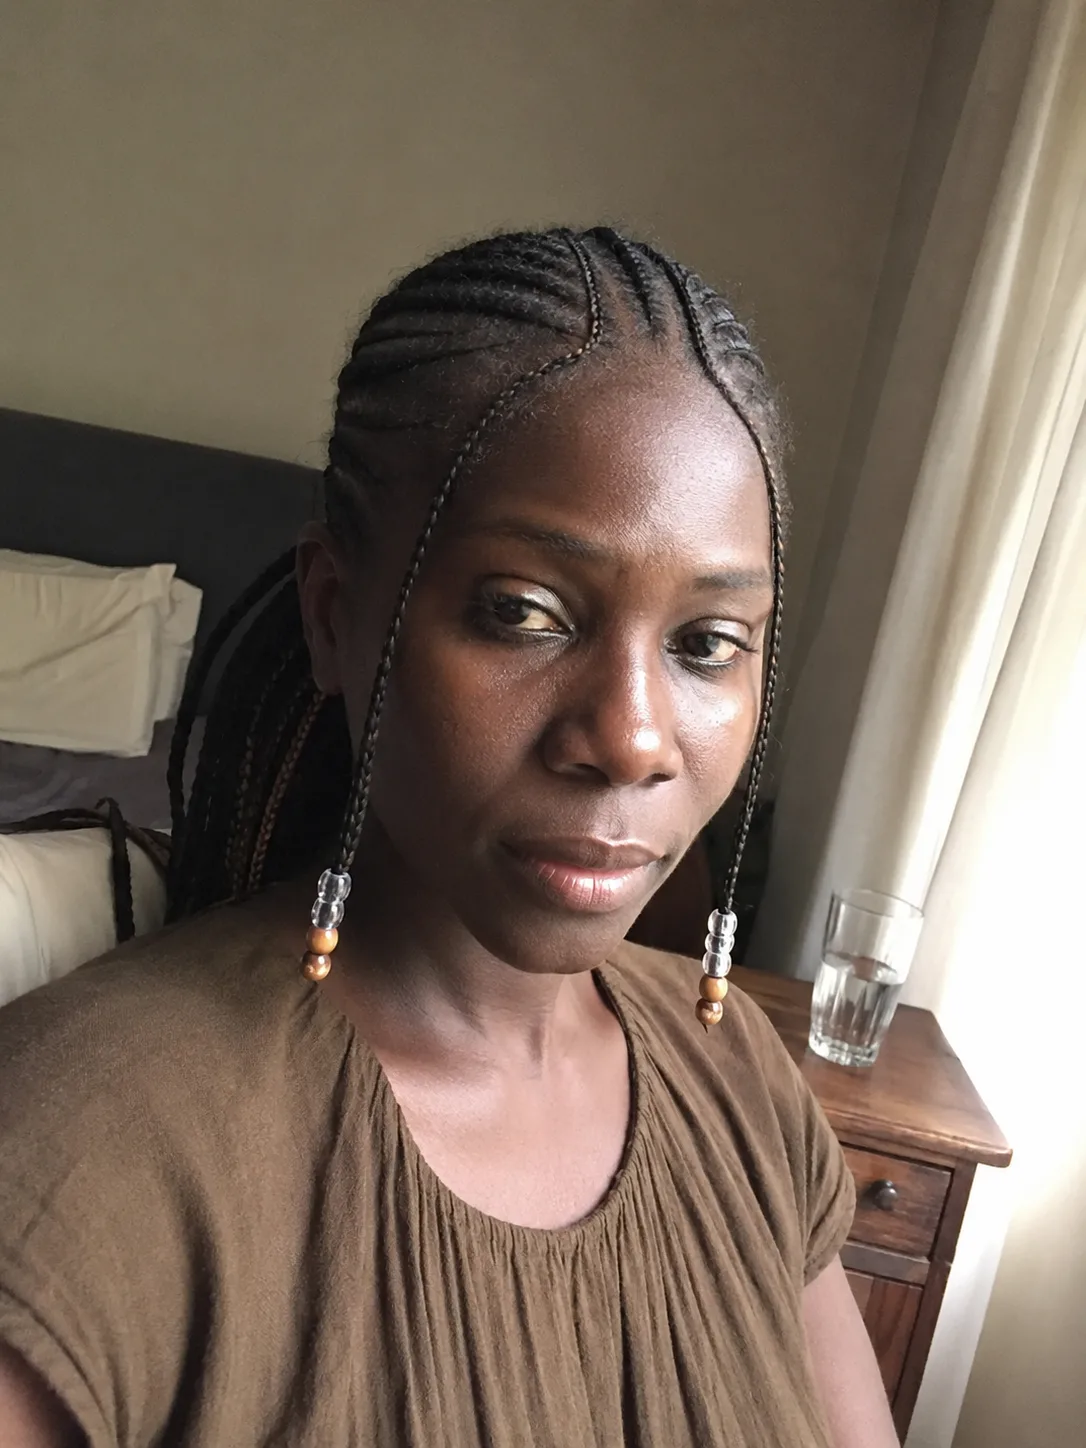
A boho version combines the structure of a braided ponytail with loose curly or wavy pieces. The texture breaking away from the braid creates softness through the tail and keeps the hairstyle from reading as one solid line.
Those loose pieces need to fit your actual routine. Exposed curls experience more tangling and friction than hair contained inside a braid, particularly around coat collars and during sleep.
The look is worth the extra separation and detangling when you specifically want that airy texture. For minimal daily handling, a fully braided tail is easier.
Curly Ponytail With Accent Braids
You don’t need to braid the entire tail to make braiding central to the hairstyle. Small scalp braids or larger accent braids can travel toward a curly ponytail while the natural curl or coil pattern remains visible through the lengths.
This option is particularly useful when you enjoy your natural volume and don’t want it hidden inside one long braid.
Shrinkage changes the apparent ponytail length, while stretching changes how far the tail falls. Decide which state you actually want to wear before using a reference image to judge the final proportions.
Dutch-Braided Ponytail
A Dutch braid creates a raised braid that sits visibly on top of the hair before merging into the ponytail. One large braid can run from the front toward the crown, or paired braids can meet farther back.
The raised construction gives the style depth even without added hair. Slightly loosening the braid after securing it can make its shape more visible, provided the braid remains stable enough for the occasion.
This is a particularly good choice for medium-to-long hair when you want obvious braid detail without committing to a full scalp-braid installation.
Reverse-Braided High Ponytail
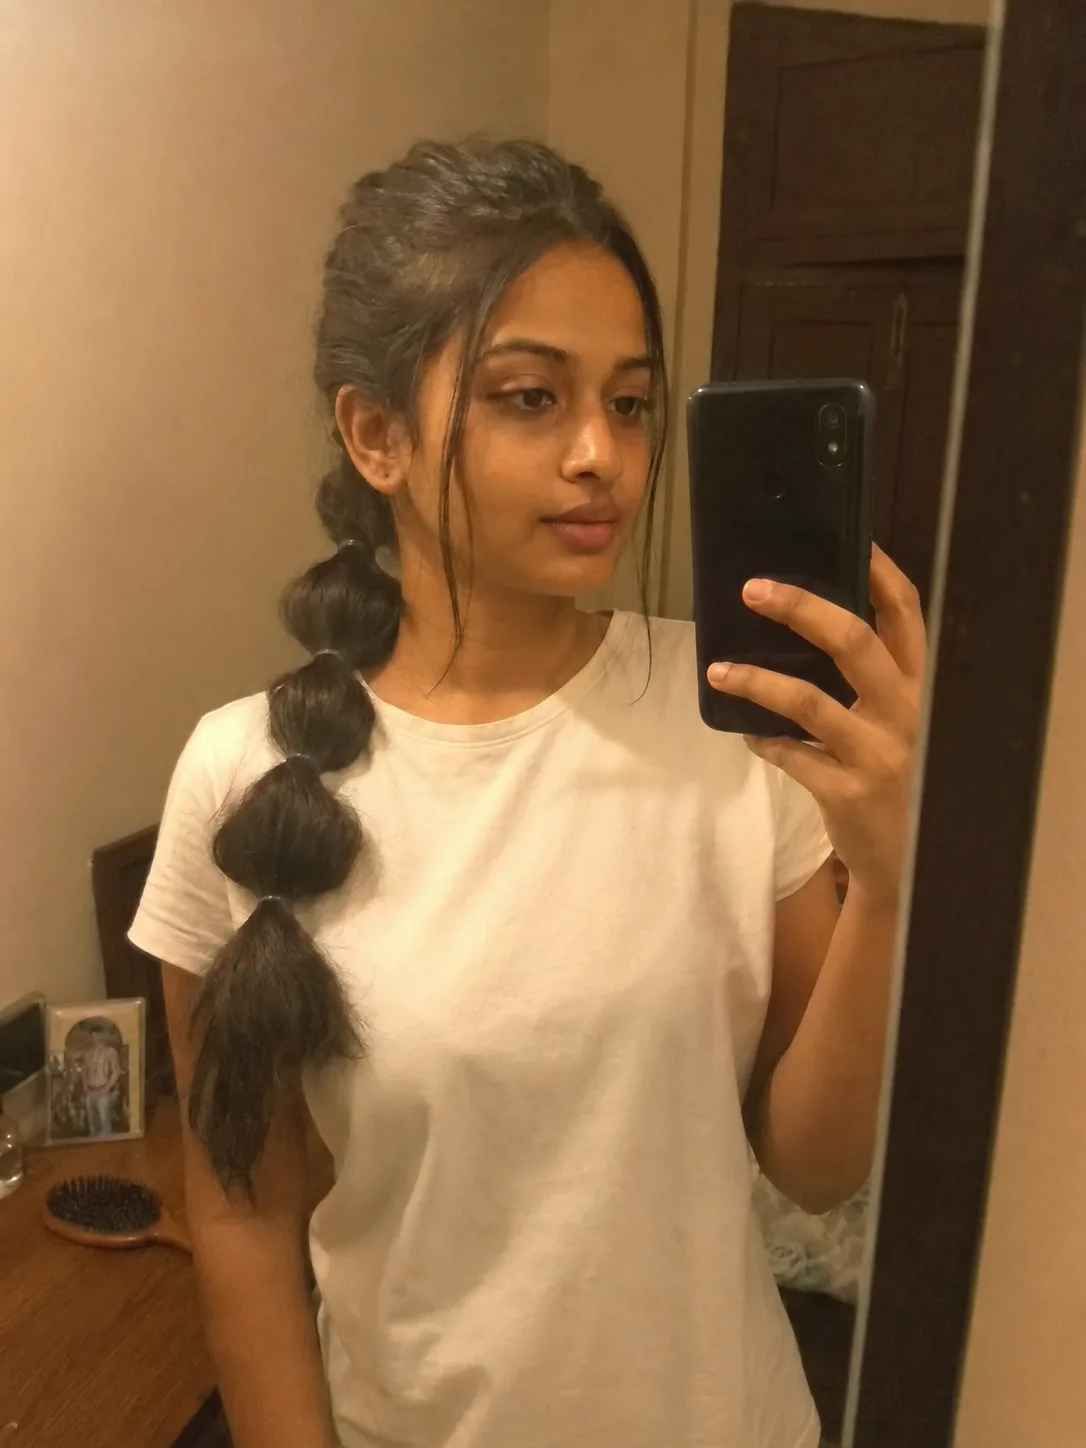
The surprise in this style sits at the back. A French or Dutch braid begins near the nape and travels upward into a high ponytail, so the braid is revealed as the hair climbs toward the crown.
It works well for ponytails that otherwise look plain from the back. The underside construction also keeps shorter nape sections incorporated more deliberately than simply brushing everything upward.
Creating the braid upside down can be awkward on yourself because hand position and section control matter. For an event where the back detail needs to look especially clean, this may be more practical with styling help.
Crown-Braid Into Ponytail
A crown braid can wrap through part of the front or side of the head before releasing into a ponytail. Unlike a full halo braid, the design doesn’t close into a complete circle; the remaining length becomes part of the tail.
That makes the style softer around the face while preserving the movement of a ponytail at the back.
The braid can stay defined and compact for a formal effect or loosen slightly for more width. Hairpins should support the crown section without creating bulky spots that become uncomfortable against the head.
Sculpted Infinity-Braid Ponytail
An infinity-style braid creates a decorative woven pattern by wrapping smaller sections repeatedly around the main ponytail. It produces far more surface detail than a standard three-strand braid.
This is a detail-first hairstyle. The weave needs enough length to develop visibly, and the tail usually looks strongest when the surrounding base remains fairly simple.
It is also more technique-dependent than a classic braid or fishtail. Choose it when the woven tail itself is the reason for the style; for rushed everyday styling, simpler construction gives you nearly all the function with much less manipulation.
Choosing the Right Braided Ponytail for Your Routine
A reference photo shows the hairstyle at its best angle. It rarely shows what happens when you sit against a headrest, pull on a sweatshirt, exercise, sleep, or carry a bag over your shoulder.
Start with the part of the style you’re least willing to compromise on. Someone who wants dramatic height should look first at feed-in, stitch, and high knotless ponytails. A reader who prioritizes easier everyday positioning will usually get more mileage from a low single braid, low box-braid ponytail, or side braid.
Texture matters too. Natural curls and coils don’t need to be flattened into a straight base to create a braided ponytail. A full crown, visible curl pattern, or textured ponytail base can be part of the design. Pressed, stretched, relaxed, and naturally shrunken hair will each produce different proportions even when the braid placement is identical.
What Makes a Braided Ponytail Comfortable?
The anchor carries most of the practical responsibility. A ponytail that looks beautifully lifted in a still image can feel very different once a long braid starts swinging behind you.
Added length and density increase the amount of hair moving from that anchor. High placement can make that movement more noticeable because the tail sits farther from its natural hanging position. Your own hair density is a separate issue from strand thickness: fine strands describe individual hair diameter, while low density means fewer strands overall.
Comfort should be present from the beginning. Tightness isn’t a requirement for neatness. Fine hairs along the hairline also don’t need to be forced into the ponytail simply to produce a perfectly smooth edge.
Scalp access matters with cornrowed and individually braided bases. Styling products, sweat, and ordinary buildup can collect around roots, so the construction should still allow reasonable cleansing and drying for the way you wear your hair.
Persistent pain, visible irritation, sores, sudden shedding, or a concerning change in density deserve more attention than a styling adjustment. Removing the source of pulling and speaking with a dermatologist or another qualified healthcare professional may be appropriate.
Planning the Style Before You Start
Before styling your own hair or taking a reference photo to a braider, separate the hairstyle into three decisions: base, anchor, and tail.
First, identify the base. Do you want loose hair swept into the ponytail, cornrows traveling toward it, individual braids gathered together, or natural texture left visible?
Next comes the anchor. A high point creates lift and drama. Mid-height placement gives the tail room to move without sitting directly at the nape. Low placement produces a calmer profile and usually interferes less with the top of the head.
Then decide what actually happens below the elastic or convergence point. One three-strand braid, multiple braids, a fishtail, loose individual box braids, and a textured curly tail all create very different results even if the ponytail begins in the same place.
Extension use should be part of that conversation from the beginning. Added hair changes more than length: it can change thickness, movement, attachment method, and how much load sits at the base. Bringing photographs that show the front, sides, and back is more useful than relying on one dramatic angle.
Maintaining a Braided Ponytail Without Overworking It
The easiest maintenance comes from protecting the construction that already exists instead of rebuilding the style every morning.
A scarf or bonnet can reduce friction around the surface and hairline while you sleep. Longer braids may need to be loosely contained so they aren’t repeatedly trapped beneath your shoulders or pulled as you turn. A smooth pillowcase can also reduce rubbing, though it can’t compensate for an uncomfortable or overly tight anchor.
Pay attention to the base before repeatedly adding more gel, foam, or edge product. Product buildup can make the surface look dull and make scalp access more difficult. The appropriate cleansing approach depends on whether you’re working with loose hair, cornrows, individual braids, or an attached ponytail.
Wet braided hair deserves enough drying access, especially where several sections meet at the ponytail base. Dense roots may remain damp after the exposed tail feels dry.
Takedown deserves the same patience as installation. Remove pins, wraps, added hair, and braided sections carefully rather than pulling through tangles at the anchor. Hair that sheds naturally while contained in a longer-worn braided style can look dramatic during removal, while breakage appears as snapped strands along the length. They aren’t the same thing.
Related Hairstyles to Explore
FAQs
Can you do a braided ponytail on short hair?
Yes, depending on the construction. Shorter hair may be long enough for cornrows that travel into an anchor even when it can’t form a substantial loose ponytail on its own. Added hair or a ponytail attachment can create the tail, but the attachment still needs a stable, comfortable base.
Do braided ponytails work on natural curly or coily hair?
They can. Natural hair may be braided in its shrunken state, stretched, or gathered with more texture left at the crown. The right approach depends on the braid design and the result you want. Straightening isn’t a requirement for a neat braided ponytail.
How do you keep a braided ponytail from slipping?
Start with a secure base that matches the construction. A fabric-covered elastic can hold a gathered ponytail, while extension versions may use a wrap-around method, pins, or another attachment designed for that style. Adding more tension at the roots is a poor substitute for fixing an unstable attachment.
Can you exercise with a braided ponytail?
Yes, though placement and length make a noticeable difference. Long or high ponytails swing more during running and jumping, while lower styles stay closer to the body. After heavy sweating, prioritize scalp access and allow damp roots or braided sections to dry thoroughly before covering them.
Hair Texture & Upkeep Style Matcher
Select your natural hair texture and daily maintenance window to get an instant styling formula and heat safety cap.
Heat Cap: 320°F (160°C)
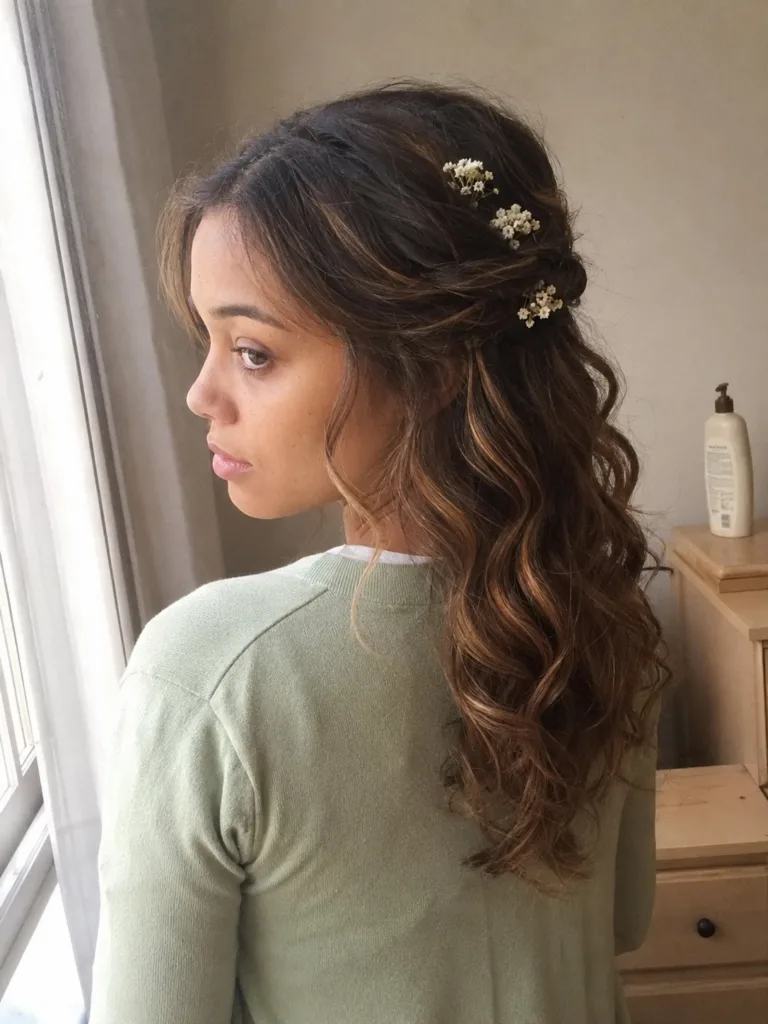
A versatile three-strand braid beginning at the parietal ridge, securing the top half while allowing natural wave texture to flow freely around the shoulders.
Conclusion
The most useful braided ponytail isn’t necessarily the most elaborate one. Start with the construction that fits your hair and routine, then decide how much height, length, scalp detail, and braid texture you actually want to maintain.
For an easy starting point, a low or mid-height single braided ponytail gives you the look with relatively simple construction. Cornrow, stitch, knotless, infinity, and sculpted versions earn their extra work when their specific braid detail is the part you genuinely want to see.
The reference photo can guide the shape. Your next decision should be how that shape will behave once you leave the mirror.
Editorial Standards & Hair Health Guidance
Every style featured on Tress Atlas is curated with a focus on real-world wearability, scalp tension management, and cuticle preservation. When trying protective styles or tight updos, ensure perimeter hairline sections remain tension-free to avoid traction stress on delicate follicles. For heat styling, cap tools below 350°F (180°C) to prevent thermal keratin denaturation.
Scientific Sourcing: Practices aligned with the American Academy of Dermatology (AAD) on traction alopecia risk reduction and cosmetic trichology research on hair tensile strength.