Picture Day Hairstyles: Styling Guide & Cuts That Look Good From the Front
Picture day creates a different styling problem from a party, dance, or family event. The hairstyle has to look good from one main angle: straight toward the camera. A beautiful back detail can disappear completely, while a bulky bun may be cropped out of the frame. Hair falling across the eyes, flattened crown volume, or large sections sitting over the shoulders can also change the photograph more than expected.
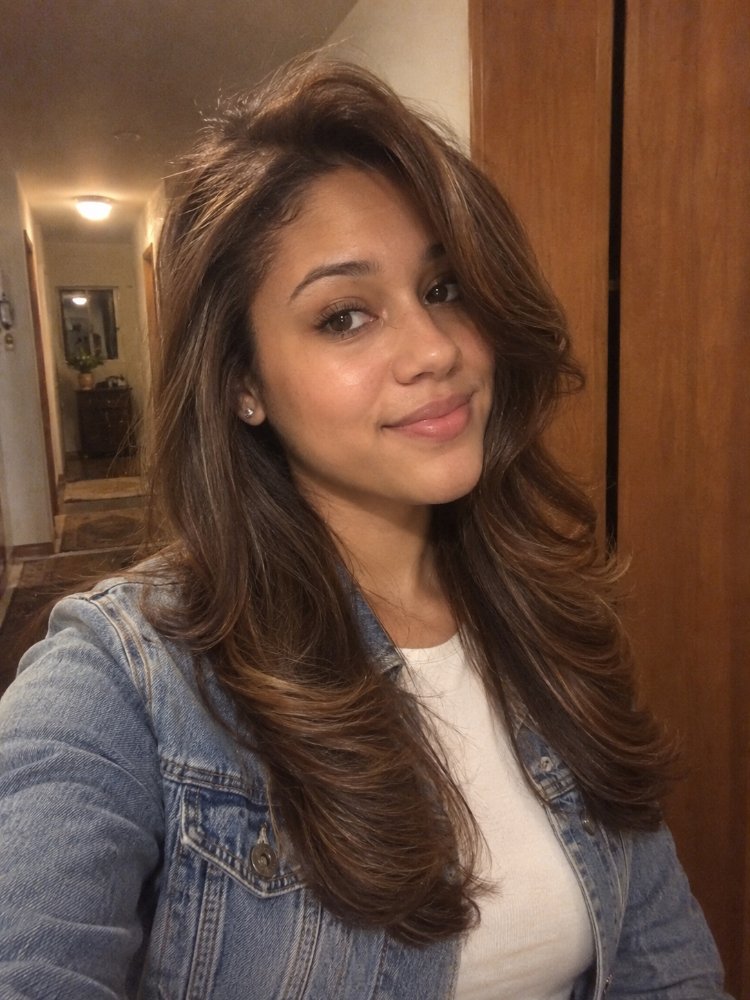
The strongest picture day hairstyles give the face a clear frame, keep their shape through the school morning, and still feel comfortable enough to wear through classes, backpacks, collars, playground time, or after-school activities. That doesn’t require making every strand perfectly smooth. Curls can stay full, coils can shrink naturally, locs can remain visible, and short cuts can keep their normal texture.
Use the hairstyle already familiar to the wearer as your starting point. Picture morning usually isn’t the best time to experiment with a complicated new installation.
| Picture-day priority | Strong starting choice | Why it works |
|---|---|---|
| Keep hair away from the eyes | Half-up style | Controls the front while leaving length visible |
| Show natural volume | High puff or defined curls | Keeps texture prominent in a front-facing photo |
| Handle an active school day | Braids or low ponytail | Reduces loose hair moving around the face |
| Avoid complicated morning styling | Headband or side-pinned style | Changes the face frame without rebuilding the whole hairstyle |
| Show locs or twists | Half-up arrangement | Combines visible texture with a clear forehead and eye area |
Styles That Keep the Face Clear
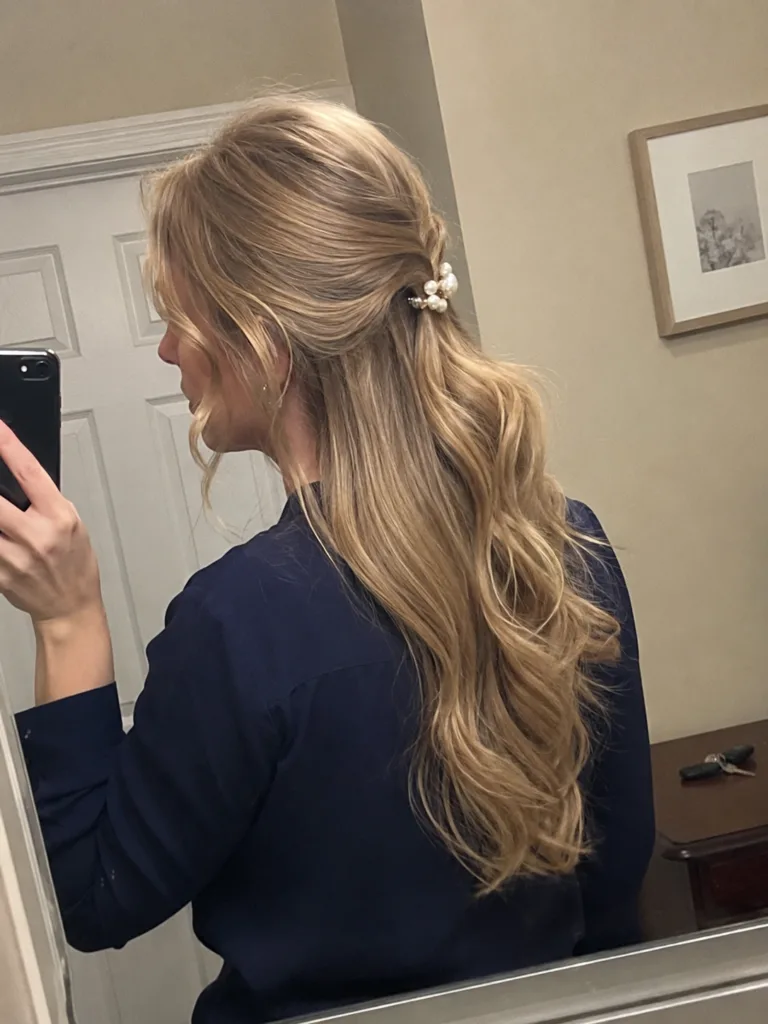
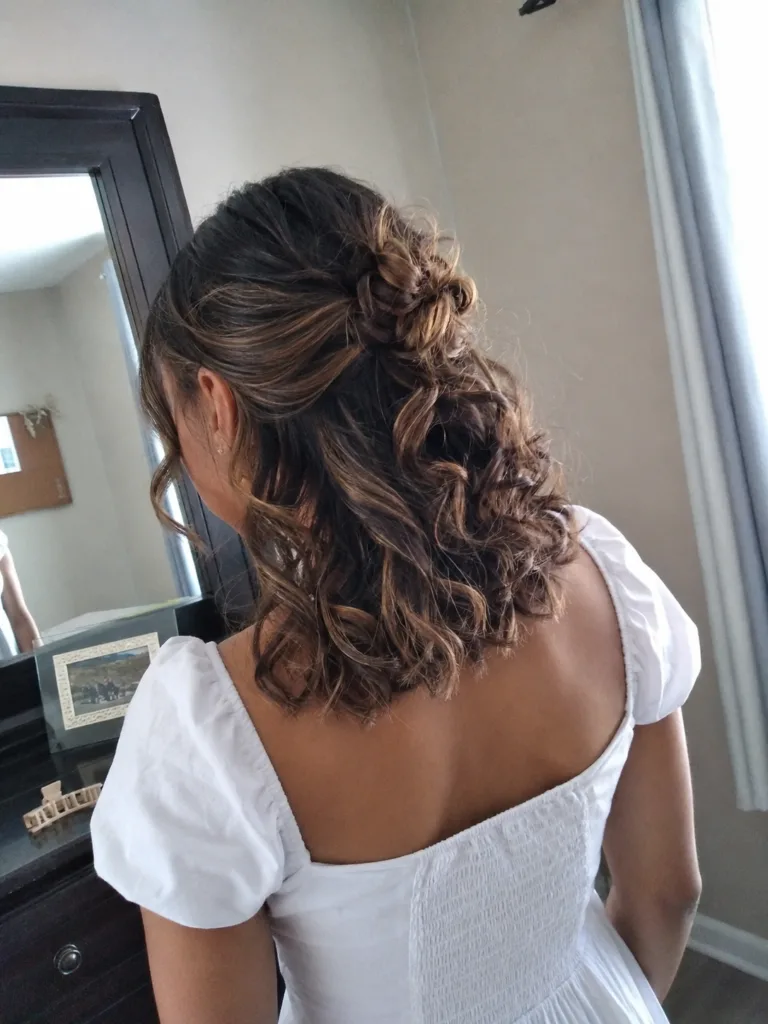
Soft Half-Up Ponytail
A half-up ponytail is one of the most dependable picture day choices because it solves the problem the camera notices first: hair covering the face. The top and temple sections move backward while the lower hair remains visible around the shoulders. Keep the base relatively simple so the style doesn’t become top-heavy.
Straight and wavy hair can be brushed softly into the upper section. Curly hair looks better when the curl groups are handled individually instead of being repeatedly brushed apart. On coily hair, the lower section can remain shrunken, stretched, twisted out, or otherwise styled in its normal state.
The most flattering version usually leaves some natural fullness at the crown. Pulling every section tightly against the scalp can make the upper head look flatter in a photograph, especially when the camera is positioned slightly above eye level.
Side-Pinned Loose Hair
Sometimes the smallest useful change is enough. Leave the hair down and secure the heavier front section behind one ear with a clip or a couple of bobby pins.
This works particularly well for hair that already looks good loose and doesn’t need a second styling session simply because photographs are being taken. The exposed side gives the face definition, while the opposite side retains movement and fullness. It also works with a bob, shoulder-length hair, waves, curls, or longer straight hair.
Check how the pinned area interacts with glasses. A thick clip directly above the ear can compete with the glasses arm, so positioning it slightly higher or farther back may feel better.
Center-Parted Hair Tucked Behind Both Ears
A clean center part with both front sections tucked back creates a balanced frame without turning loose hair into an updo. It’s especially effective when the length, curl pattern, or haircut itself deserves to stay visible.
The hidden issue is whether the hair actually stays tucked. Short face-framing layers and springy curls may release quickly, while a subtle pin behind each ear gives more security. Avoid flattening all the volume around the temples; the photograph still benefits from some natural width.
Half-Up Mini Braids
Instead of gathering the entire top section into one ponytail, create two small braids from the front and secure them toward the back. The construction adds detail around the face, yet most of the hair remains loose.
This is more useful than an elaborate braided crown when picture-day preparation needs to stay manageable. It can work on straight, wavy, curly, or stretched textured hair, and the braids help contain shorter front pieces that otherwise drift toward the eyes.
Keep the braids comfortable around the hairline. Picture day isn’t improved by a decorative section that pulls every time the wearer smiles or turns their head.
Texture-Forward Picture Day Hairstyles
Defined Wash-and-Go With an Open Face
A successful wash-and-go doesn’t need to become smaller for picture day. Full curls and coils can photograph beautifully when the eye area remains visible and the shape looks balanced from the front.
Use the normal curl-defining routine rather than introducing unfamiliar products that morning. Once the hair is dry, separate or lift only where the shape needs it. A few front curls can be moved slightly to the side or secured discreetly if they keep falling across the eyes.
Shrinkage matters here. Style according to the length the hair reaches when fully dry, not where it sits while wet or freshly stretched.
High Puff
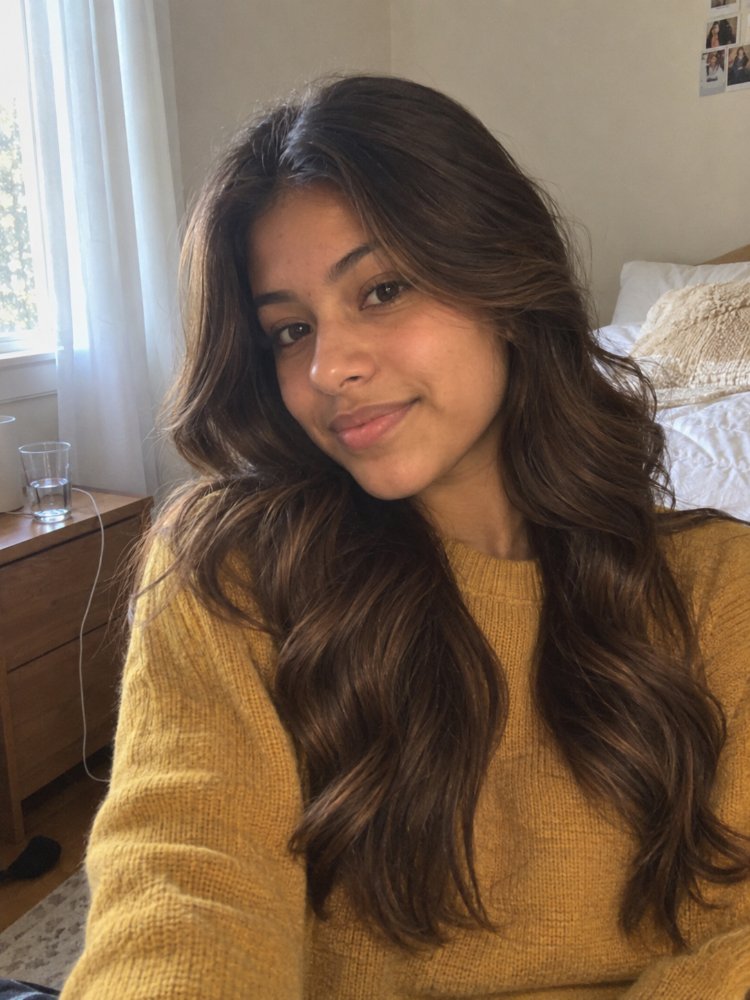
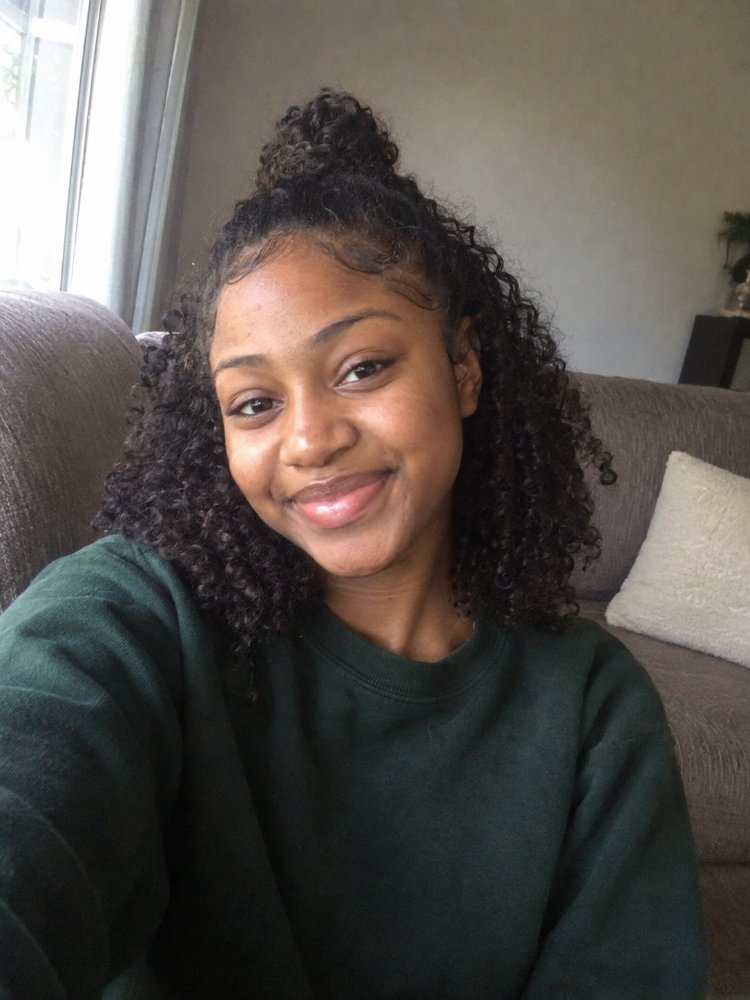
A high puff puts natural texture where the camera can see it while keeping most of the hair away from the face. It is especially strong for coily hair because the puff creates a clear outline above and around the head instead of sending all the volume behind the shoulders.
The base should feel secure without forcing fragile hairs around the perimeter into the band. A puff can still look finished with shorter edge areas left alone.
Very high placement can also become less comfortable against a car headrest or during a full school day. A slightly lower crown position keeps much of the same photographic impact with less leverage at the base.
Two Puffs
Two puffs change the silhouette completely. The volume sits on both sides of the head, creating a playful, symmetrical style that shows clearly in school portraits.
This is a particularly good option for children who already wear their natural hair in sections. The part can be centered without needing to look ruler-straight; the puffs themselves carry most of the visual impact.
Very dense or long hair creates larger puffs, so check how wide they extend before leaving home. The goal is to keep both puffs visible without having one compressed by a hood, coat, or car seat on the way to school.
Twist-Out With the Front Pinned Back
A twist-out provides more controlled curl grouping than fully loose, undefined texture, but picture day doesn’t require every twist to separate perfectly. The front is more important.
Pinning a small section from each temple toward the back opens the face while preserving the volume of the twist-out through the sides and ends. This is an underrated choice for anyone who dislikes tight ponytails or doesn’t want to gather textured hair into a single anchor.
Leave enough fullness through the top so the style doesn’t appear divided into a flat front and a large back section.
Mini Twists Worn Loose
Mini twists already provide structure, which means picture morning can stay simple. Wear them loose, adjust the part, and move a few front twists behind the ears or pin them farther back.
The twists show texture without the unpredictable movement of fully loose hair. They also work across different lengths, from shorter twists that sit around the face to longer ones that fall over the shoulders.
Avoid creating fresh, very tight twists solely for the photograph. Comfortable, established twists are easier to move, arrange, and wear for the rest of the day.
Half-Up Loc Style
Locs can disappear behind the shoulders in a straight-on photograph, particularly when they are long. Gathering the upper portion gives more of the hairstyle a visible role in the picture.
Bring the front and crown locs back into a modest half-up section while leaving the rest loose. The result keeps the face open without hiding the length.
Mature or long locs can place meaningful weight at a high anchor, so dramatic height isn’t necessary. A lower half-up placement often gives a cleaner photograph and more comfortable wear.
Braids and Twists That Stay Put
Two Classic Braids
Two braids are practical when the wearer needs the hairstyle to survive much more than the few seconds spent in front of the camera. The hair stays contained through school, movement, and changing clothes, while the braids remain visible from the front when brought forward over the shoulders.
French or Dutch construction gives more scalp detail. Two simple low braids are easier when speed matters.
This style also works well with hats or coats that will be removed before the photograph because there isn’t a large bun or high ponytail to crush.
Single Braid Down the Back
A single braid is much quieter visually. From the camera’s viewpoint, the focus is on the clean parting and face frame, with only part of the braid potentially visible.
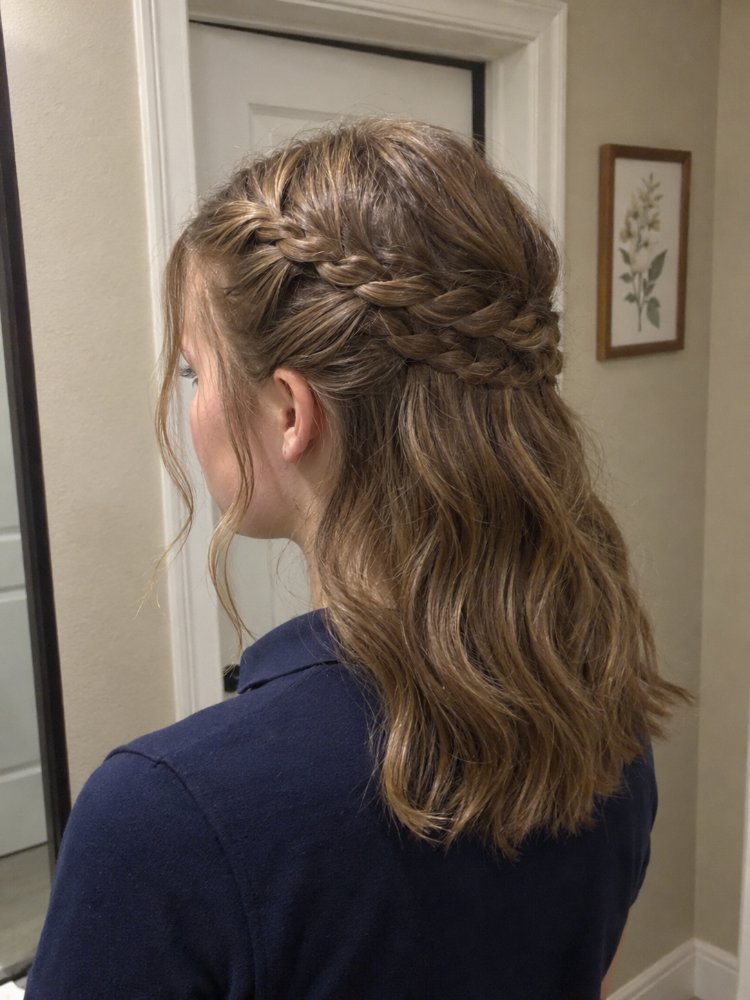
That makes it a stronger choice for someone who wants the portrait to emphasize the face rather than the hairstyle. A French or Dutch braid can add visible detail over the crown, while a simple low braid keeps preparation straightforward.
Shorter front layers can be allowed to sit naturally instead of being forced into the braid under excessive tension.
Braided Ponytail
The braided ponytail works when a regular ponytail feels too loose for a full school day. Gather the hair first, then braid the tail so it stays contained after the photograph.
Medium or lower placement is easier against chairs and headrests than a rigid high anchor. It also reduces the chance that the tail sticks upward or disappears beyond the top of a tightly cropped school portrait.
For curly or coily hair, the ponytail doesn’t have to be brushed into a completely smooth surface. Preserving some texture through the base can reduce unnecessary manipulation.
Flat Twists Into a Low Ponytail
Flat twists from the front toward a low ponytail give the camera something more interesting than a basic pulled-back style while keeping the forehead and eye area open.
The direction of the twists matters more than adding numerous tiny sections. Two or several larger twists create visible lines without making morning styling unnecessarily complicated.
The low ponytail can remain curly, coily, twisted, braided, or stretched according to the usual styling routine. This is especially useful when the front needs control but the texture through the tail should remain part of the photograph.
| Real-life issue | Style that handles it well | What to check |
|---|---|---|
| Hair repeatedly falls across the eyes | Half-up ponytail | Secure shorter front pieces |
| Headrests flatten high styles | Low ponytail or two braids | Comfort in the car or bus |
| Natural volume is the main feature | High puff or wash-and-go | Dry shape from the front |
| Glasses sit close to the temples | Side-pinned loose hair | Clip placement above the ears |
| Hair must stay controlled all day | Braided ponytail | Comfort at the base |
Ponytails and Updos for a Cleaner Outline
Low Ponytail With a Wrapped Base
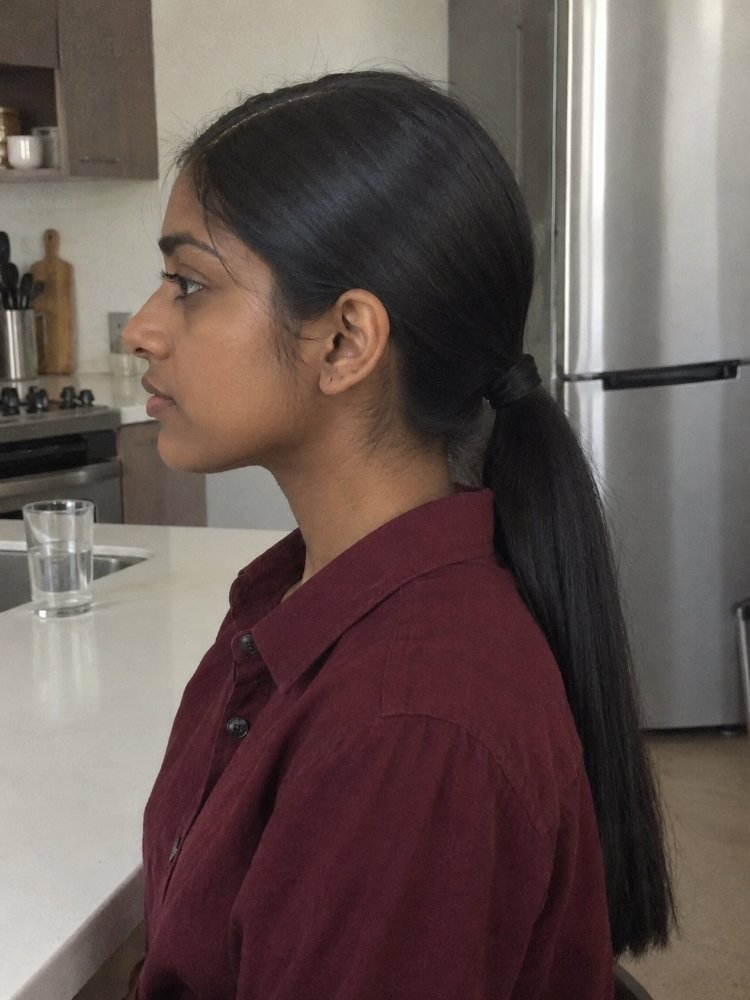
A low ponytail looks more finished than its effort level suggests. It keeps the hair off the face while allowing the tail to remain visible when placed over one shoulder for the photograph.
Wrap a small section of hair around the elastic when the length allows, then secure the end discreetly underneath. That detail matters more in close portraits than adding several accessories.
A low ponytail also avoids one of the common picture-day problems with high styles: the main feature getting cropped from the photograph. The tail sits low enough to work with most camera framing, although a thick coat collar can push it upward or split it into sections before the picture is taken.
Straight hair can stay sleek, waves can retain bend through the tail, and textured hair can keep its natural fullness.
Low Bun With Soft Front Pieces
A low bun is the strongest updo choice for picture day when simplicity and comfort matter more than dramatic height. It creates a clear neckline, keeps the face unobstructed, and doesn’t compete with the top edge of the photograph.
Make the bun secure enough for normal movement without packing it so tightly against the scalp that it becomes uncomfortable. Bobby pins should hold the bun itself instead of relying on extreme tension at the ponytail base.
Soft front pieces work when they naturally belong to the haircut or texture. Don’t manufacture long tendrils from short or fragile hairline sections simply because formal updos often show them.
The style is also easy to check immediately before the camera: smooth any pieces that escaped around the bun, make sure the face frame is sitting correctly, and leave the rest alone.
Bubble Ponytail
The bubble ponytail gives long hair visible structure without requiring a complicated braid. After creating the ponytail, additional elastics divide the length into rounded sections.
It photographs best when the ponytail is positioned so at least some of the bubbles remain inside the camera frame. A very high ponytail with most of the length behind the head can hide the feature completely.
Keep the sections softly expanded rather than pulled aggressively. The bubbles should come from shaping the ponytail length, not from tightening the root anchor.
Short Hair That Doesn’t Need an Updo
Textured Crop or Pixie With a Defined Front
Short hair doesn’t need an accessory simply to qualify as a picture-day hairstyle. A pixie, curly crop, tapered cut, or short layered shape often photographs best when its existing haircut is allowed to do the work.
Focus on the front third of the hair. A softly swept fringe can move slightly away from the eyes, curls can be encouraged into their usual groups, and a textured top can retain lift. Over-smoothing short hair can remove the separation that makes the cut recognizable.
The outline around the ears is worth checking when glasses are involved. Hair pushed underneath the glasses arms can stick outward after the frames are repositioned, while hair sitting naturally above or around them tends to stay more predictable.
For very short curls and coils, work with the dry shape rather than stretching the hair solely for picture day. The photograph should still look like the person wearing the hairstyle.
How to Choose a Picture Day Hairstyle
Start with the front view. Stand in front of a mirror and look straight ahead instead of checking the style mainly from the side or back. You should be able to see the eyes clearly, and the hairstyle’s main feature should fall within the area likely to appear in a head-and-shoulders portrait.
Next, consider the hours before the picture is taken. A complicated style can look excellent at home and change after a bus ride, hood, backpack, playground break, or several classes. Familiar construction is usually more dependable than trying a brand-new technique that morning.
Texture should guide the preparation. Natural curls and coils don’t need to be straightened for a school photograph. Straight hair doesn’t need to be curled merely to create more detail. Braids, twists, and locs can be arranged rather than replaced.
Accessories deserve restraint. A headband, bow, barrette, or clip can make sense, but its position needs to work with the camera. Oversized pieces near the crown may dominate the portrait or disappear partly outside the crop. Accessories beside the ears also need enough space for glasses or hearing devices.
Most importantly, the hairstyle should feel comfortable before leaving home. Picture day lasts seconds; the hairstyle has to be worn much longer.
What the Camera Doesn’t Show
Picture day inspiration photos rarely show what happened before the shutter clicked. A hairstyle may have been adjusted immediately beforehand, photographed without a coat, or positioned specifically for one angle.
A school portrait also compresses three-dimensional hair into a flat image. Very long hair can appear shorter when most of it falls behind the shoulders. A high bun can look smaller because the upper edge gets cropped. Dense curls may cover more of a shirt or uniform than expected, while a tight low style exposes more of the neckline.
Do a quick phone-camera check from straight ahead. It gives a more useful preview than repeatedly examining the back in a mirror.
Keeping the Style Presentable Until Photo Time
Avoid turning maintenance into constant touching. Repeatedly brushing, separating curls, tightening elastics, or adjusting braids can create more problems than it fixes.
A few practical checks are usually enough:
- Make sure clips and pins feel secure before leaving.
- Remove a hood carefully instead of dragging it over the hairstyle.
- Keep an elastic or simple clip available when loose hair is prone to falling forward.
- Check the front and crown shortly before the photograph.
- Smooth or reposition only the sections that visibly changed.
Curly and coily styles should be judged once they’re dry. Dense roots can remain damp after the outer hair feels dry, so beginning with enough drying time for the person’s normal routine matters more than trying to force the process on picture morning.
Braids, twists, puffs, buns, and ponytails should remain comfortable. Pain, stinging, or obvious pulling around the hairline is a reason to loosen the style rather than preserve it for a photograph.
Picture Day Consultation Checklist
Before committing to the hairstyle, check these five things:
- Front view: Can you clearly see both eyes and the overall hair shape?
- Camera crop: Is the main feature likely to fit inside a head-and-shoulders portrait?
- Comfort: Can the wearer move, sit against a chair, and wear glasses comfortably?
- Routine: Is the hairstyle based on a technique that already works for this hair?
- School-day durability: Will a coat, hood, backpack, activity, or humidity significantly change it before the photo?
A style that passes those checks is usually a better picture-day choice than the most elaborate option on a reference photo.
FAQs
What is the easiest hairstyle for picture day?
A half-up ponytail is a strong default because it keeps the front clear while leaving much of the hair visible. A low ponytail is equally practical when the hair tends to move around during the school day.
How should curly hair be styled for picture day?
Use the curl pattern in its normal dry state. A defined wash-and-go, twist-out, high puff, or half-up curly style can all photograph well. Concentrate on keeping curls out of the eyes and preserving the overall shape instead of trying to eliminate every bit of frizz.
What picture day hairstyles work for very short hair?
Pixies, tapered cuts, curly crops, short bobs, and other short cuts can be styled through the front rather than pulled up. Adjust the fringe, define texture, or pin one side when the length allows. An accessory is optional.
Should hair be worn up or down for school pictures?
Both work. Hair down shows length and texture more clearly, while up or half-up styles give the camera a cleaner view of the face. Half-up hair is often the easiest compromise when you want both.
Can braids, twists, or locs work for picture day?
Yes. Existing braids, twists, and locs can be worn loose, moved over the shoulders, arranged half-up, or gathered into a comfortable ponytail or bun. With added hair or heavier locs, avoid creating unnecessary tension simply to gain more height.
What should you do if the hairstyle gets messy before pictures?
Fix the part the camera will notice. Reposition a loose front section, smooth obvious flyaways, adjust a clip, or restore some crown volume. Rebuilding the entire hairstyle at school is rarely necessary.
Hair Texture & Upkeep Style Matcher
Select your natural hair texture and daily maintenance window to get an instant styling formula and heat safety cap.
Heat Cap: 320°F (160°C)
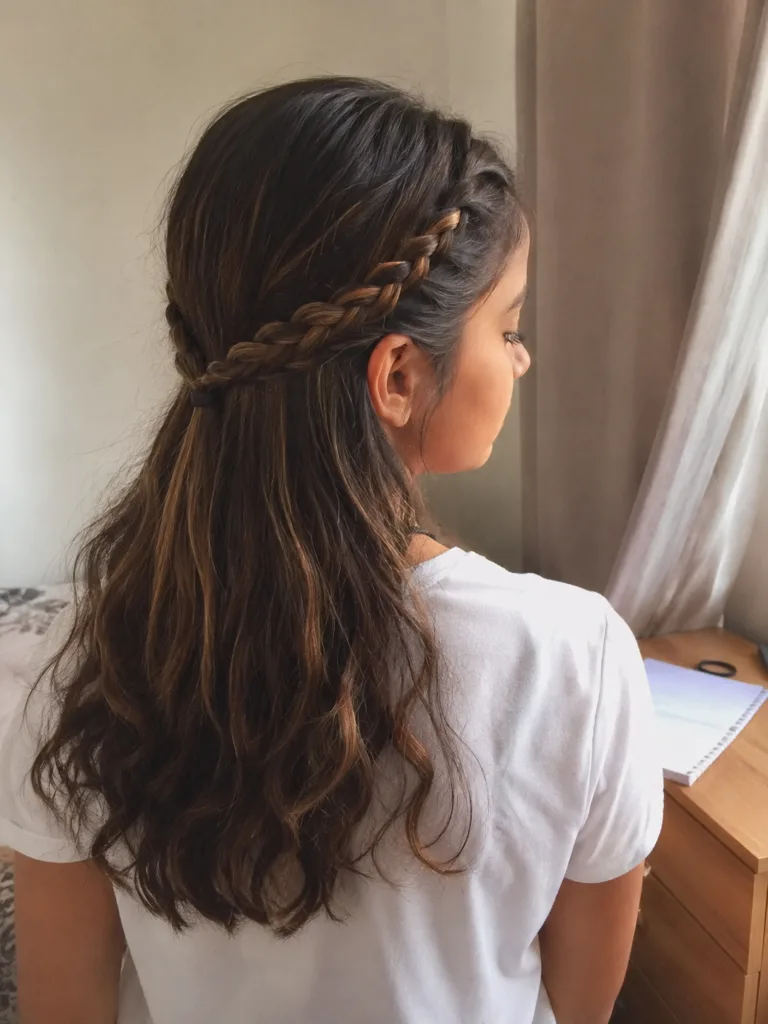
A versatile three-strand braid beginning at the parietal ridge, securing the top half while allowing natural wave texture to flow freely around the shoulders.
Conclusion
The best hairstyles for picture day aren’t necessarily the most elaborate. They give the face a clear frame, show the hair’s real texture or shape, and survive the hours between getting ready and sitting in front of the camera.
For the easiest starting point, choose a half-up style when you want the hair visible and a low ponytail or braids when all-day control matters more. Natural volume deserves to stay visible in puffs, curls, twists, and locs rather than being flattened for the photograph.
Before leaving, take one straight-on photo. If the eyes are clear, the main hairstyle feature is visible, and everything feels comfortable, there is usually very little left to fix.
Editorial Standards & Hair Health Guidance
Every style featured on Tress Atlas is curated with a focus on real-world wearability, scalp tension management, and cuticle preservation. When trying protective styles or tight updos, ensure perimeter hairline sections remain tension-free to avoid traction stress on delicate follicles. For heat styling, cap tools below 350°F (180°C) to prevent thermal keratin denaturation.
Scientific Sourcing: Practices aligned with the American Academy of Dermatology (AAD) on traction alopecia risk reduction and cosmetic trichology research on hair tensile strength.