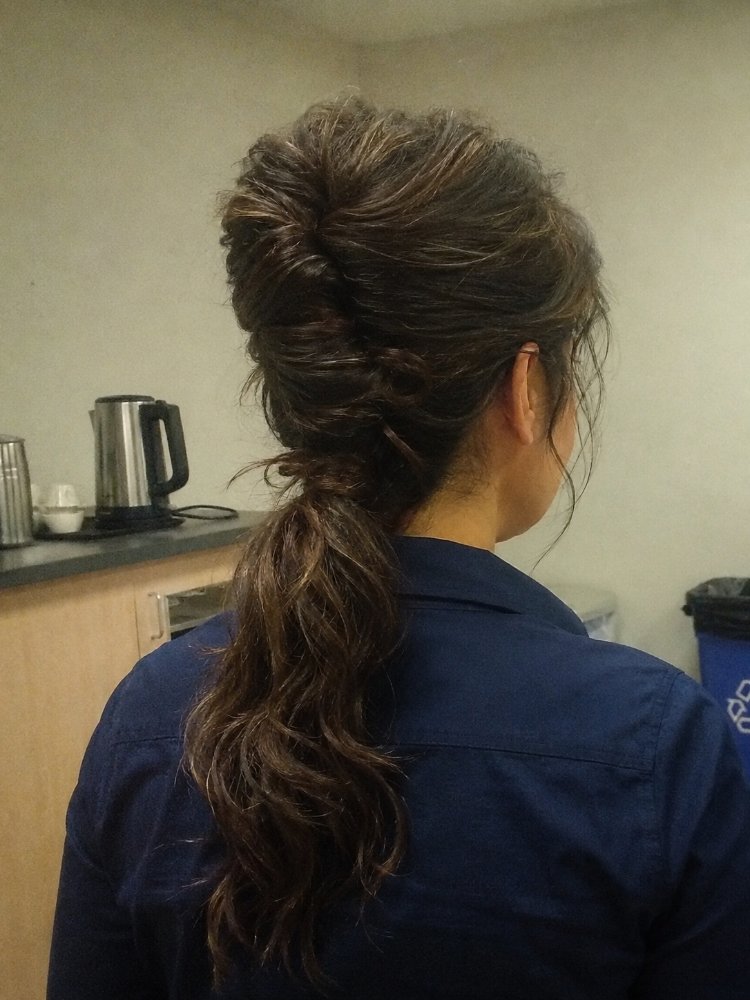
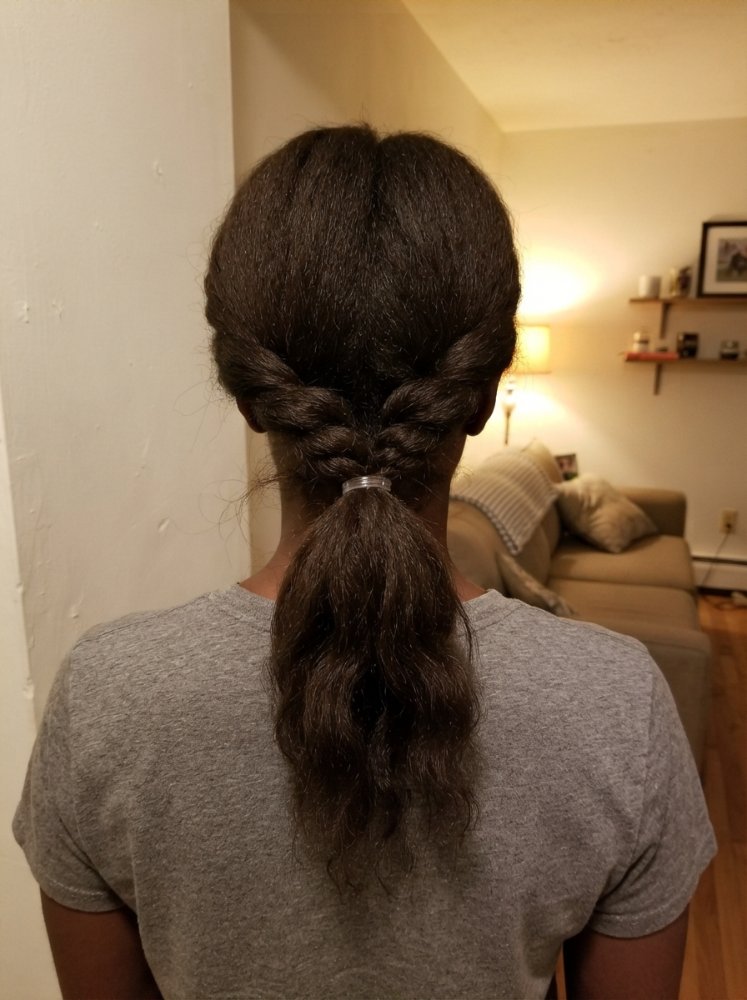
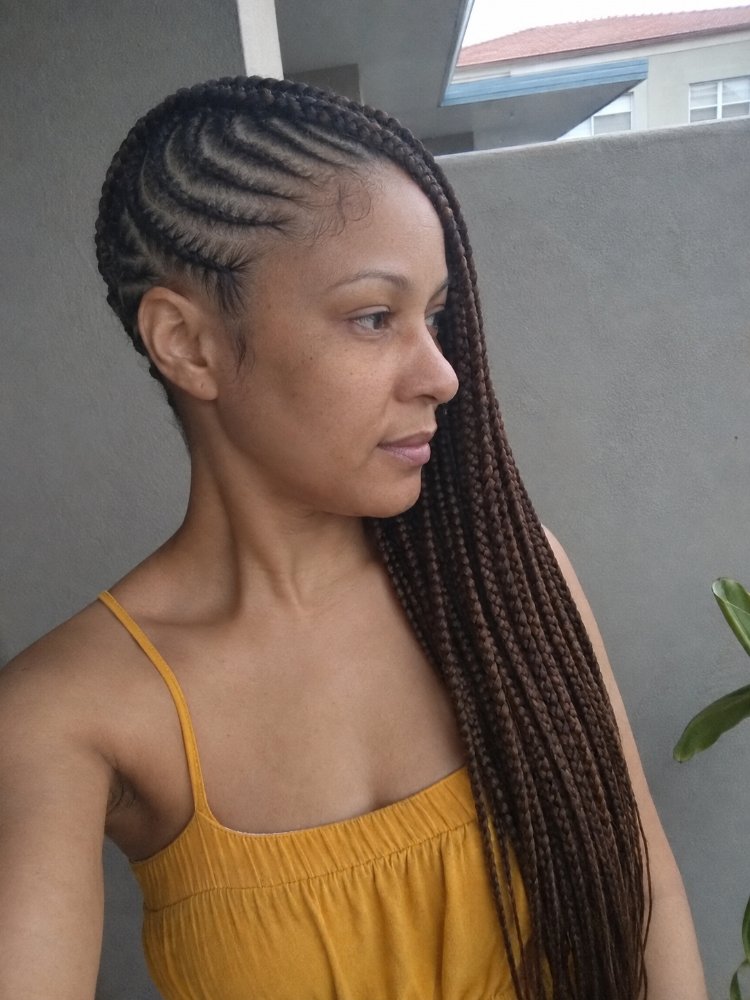
Bubble Hairstyle: Shape, Hold, Extensions, and Upkeep
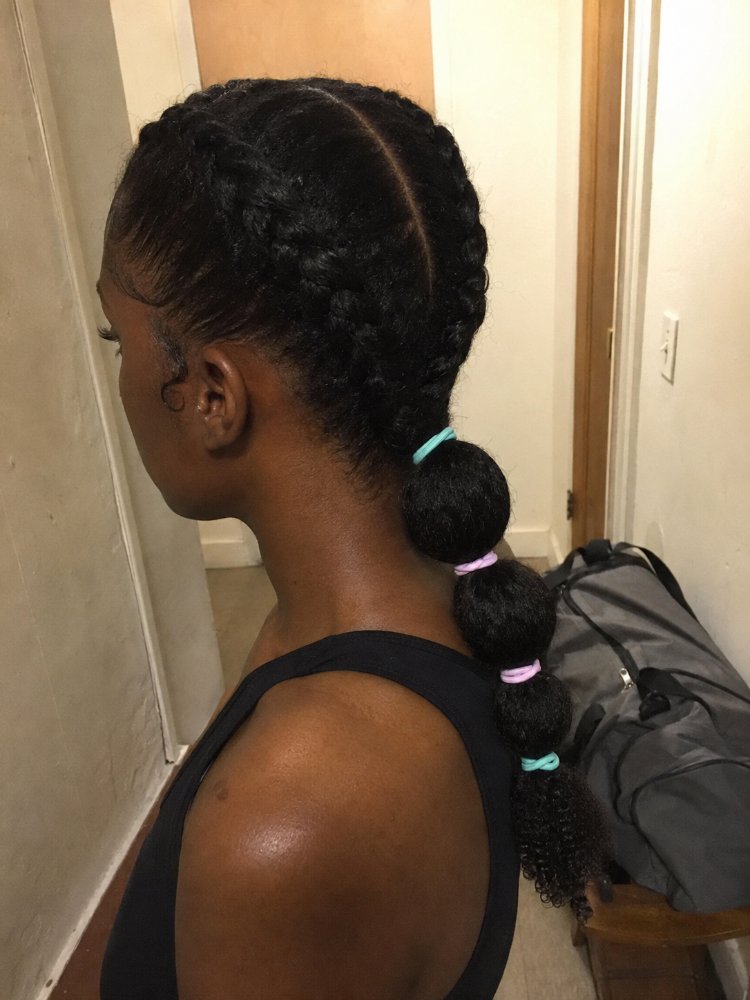
A bubble hairstyle looks deceptively simple: secure a ponytail, add elastics down the length, then gently expand each section into rounded “bubbles.” The finished effect can range from sleek and sculpted to soft, full, and deliberately imperfect.
The bigger decision is how you want the bubbles to behave. A high bubble ponytail creates drama but puts more movement at the base. A low version is easier around headrests and often feels less demanding for long wear. Natural curls and coils can give the bubbles substantial fullness, while very straight or fine strands may need more careful expansion to keep each section visible.
Hair length matters too. Shorter hair may produce only a few rounded sections, which can still look intentional. Very long hair creates a stronger bubble pattern but requires more elastics, more handling, and a base that can support the moving length comfortably.
For most people trying the style for the first time, a mid-height ponytail with moderate bubble fullness is the practical starting point. It gives you enough length to show the pattern without making every part of the hairstyle more complicated than it needs to be.
What Counts as a Bubble Hairstyle?
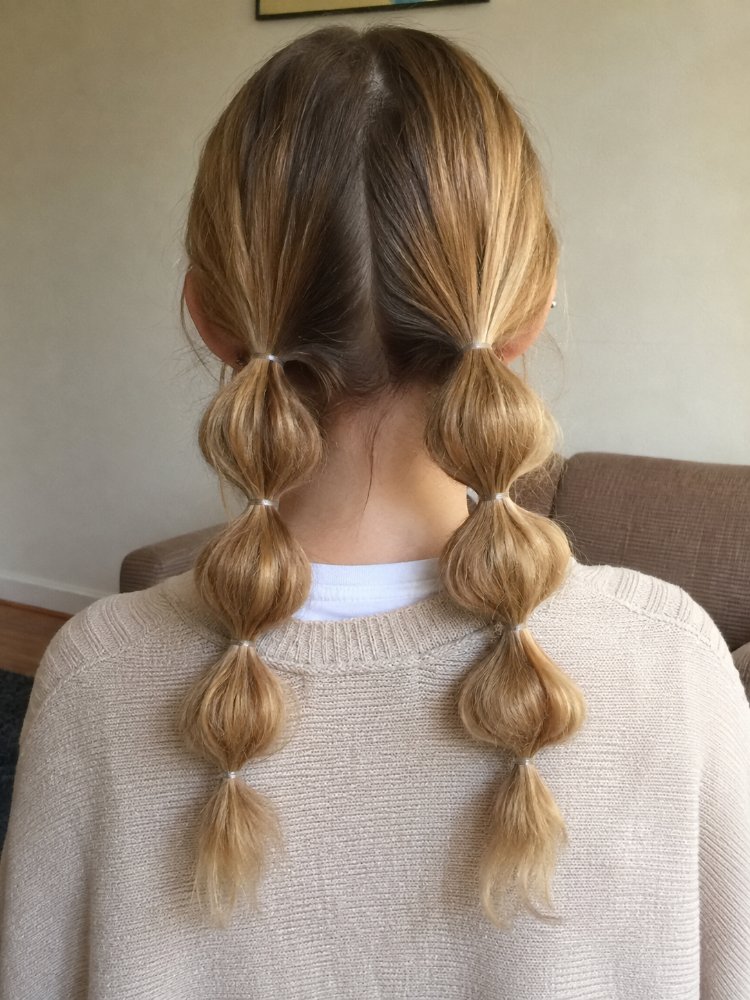
The defining feature is a series of rounded sections separated by visible or concealed elastics. Those sections may run down a single ponytail, two ponytails, a half-up style, or incorporated lengths following braided or sectioned hair.
The familiar version begins with one ponytail. Small elastics are placed at intervals down the tail, and the hair between them is gently pulled outward. That expansion changes a plain ponytail into a chain of rounded shapes.
Calling the style a bubble braid is common, although a classic bubble ponytail doesn’t require actual braiding. The appearance comes from elastic placement and controlled expansion rather than strands crossing over one another.
That distinction affects how the style wears. A conventional braid distributes hair through an interwoven structure. A bubble ponytail keeps most of the length loose inside separate elastic-bound sections. Those sections can flatten, shift, or become uneven as the hair rubs against clothing or as you reposition the ponytail.
The style can also look very different depending on surface finish. Smooth roots and evenly spaced bubbles create a graphic, formal result. Keeping natural curl or coil definition visible through the bubbles gives the hairstyle more texture and softer edges. Neither approach requires the hair to be straight.
Ponytail Height Changes More Than the Photograph Suggests
Placement is one of the most useful decisions to make before you start styling.
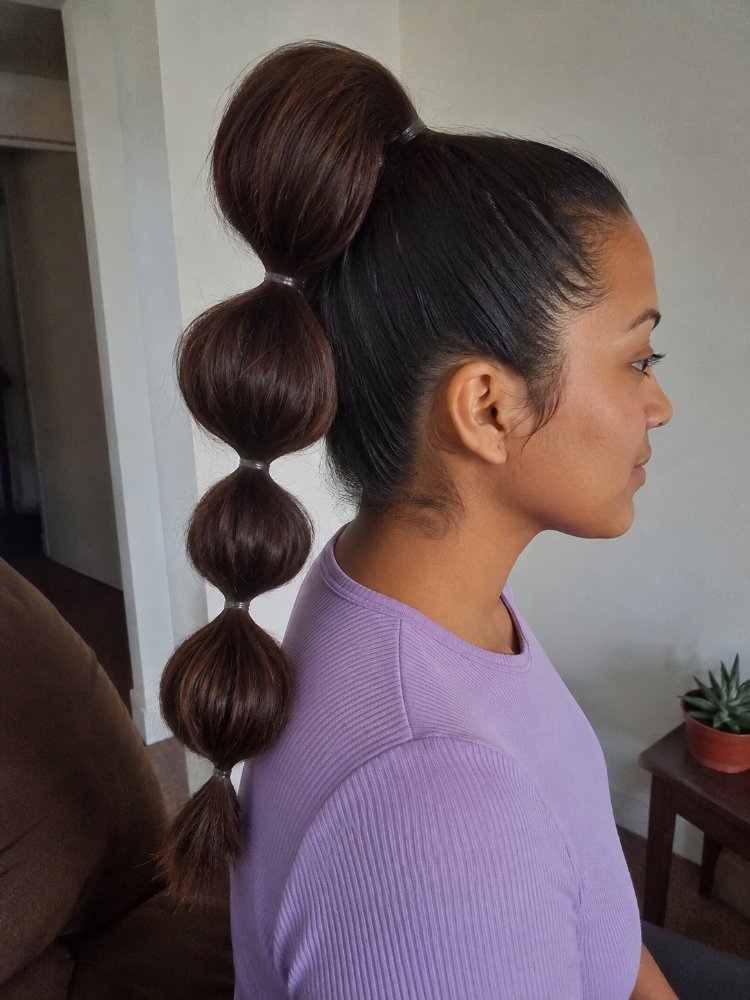
A high ponytail gives the bubble pattern maximum visibility. The tail falls from the crown or upper back of the head, so even the first few bubbles are easy to see from the front and side. Long hair creates especially dramatic movement from this position.
That movement has a practical cost. The longer and heavier the tail becomes, the more noticeable it can feel as it swings from a high anchor. Sitting against a headrest may also push the base forward or flatten the upper bubbles.
A mid-height ponytail keeps the style visible while reducing some of those issues. It also works well when you want to see the bubbles from the side without placing the base directly on top of the head.
Low placement gives a completely different effect. The bubbles sit closer to the neck and back, making the style quieter and often easier to pair with a center or side part. A very low bubble ponytail can still become inconvenient against a coat collar, hood, or scarf, especially when the first bubble begins close to the neckline.
| Placement | Visible effect | Practical consideration |
|---|---|---|
| High | Bold, lifted, dramatic | More movement at the base |
| Mid-height | Balanced and clearly visible | Useful starting point for most routines |
| Low | Sleeker and more understated | May rub against collars or the neck |
The strongest placement is therefore tied to your day, not a face-shape rule. Think about where the ponytail will sit against a chair, whether you’ll wear glasses, a hat, or a hood, and how much swinging length you’re comfortable carrying from one anchor.
Hair Length, Density, and Strand Size Change the Bubbles
Bubble hairstyles depend on visible volume between elastics, which means the same technique won’t produce the same result on every head of hair.
Long hair gives you more room to repeat the pattern. It can produce several clearly separated bubbles without needing added hair. Medium lengths may create fewer sections, but the result can look just as complete when those sections are proportioned well.
Short hair is more restrictive. A small ponytail may not leave enough free length for multiple bubbles. In that case, a half-up version or added ponytail piece can make more sense than fighting for a long chain of tiny sections.
Density and strand size should be considered separately. High-density hair naturally puts more hair inside each bubble. Low-density hair may create slimmer sections even when individual strands are coarse. Fine strands can still be high density, so describing all fine hair as thin misses an important distinction.
A very full ponytail doesn’t need extreme expansion. Pulling each section aggressively outward can make the bubbles larger, but it can also loosen the surface and create uneven sections. Dense hair often looks better with smaller adjustments.
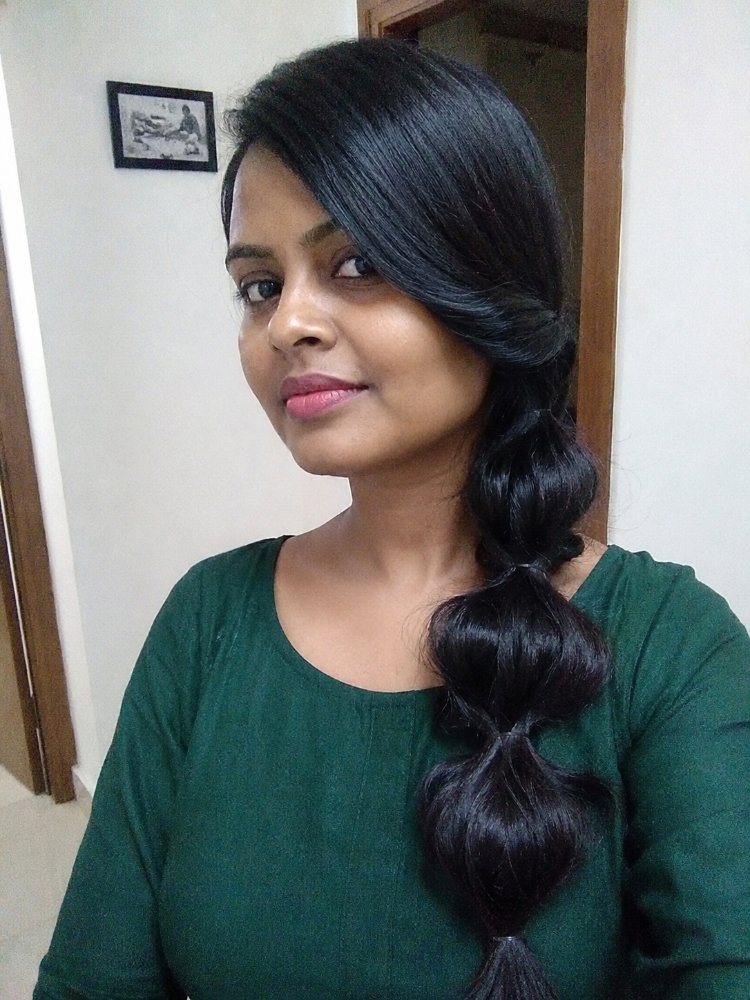
Low-density hair usually benefits from proportion. Slightly shorter spacing between elastics can make each section look more substantial than stretching a small amount of hair across very long gaps. The eye reads the repeated rounded shape more readily when the bubbles feel appropriately sized for the ponytail.
A strong haircut perimeter can also help the tail look fuller toward its lower end when the ends are healthy. Heavy layering changes how much hair reaches the final bubbles, so the bottom sections may become noticeably smaller than the upper ones. That isn’t inherently a problem; it simply produces a tapered version of the style.
Curly, Coily, and Natural Hair Can Keep Their Texture
A bubble hairstyle doesn’t require straight roots or a brushed-out ponytail.
Curls and coils can make the individual bubbles look especially substantial because the hair already has internal volume. The question becomes how much texture you want to preserve.
One approach is to smooth only the area leading into the ponytail while leaving the tail textured. Elastics divide the curls or coils into sections, and each section is shaped lightly without trying to make every bubble perfectly round.
Another option is a fully textured result. The roots retain more natural volume, and the bubble pattern looks softer and less geometric. This version can be particularly useful when sleekness would require more manipulation than the occasion warrants.
Shrinkage changes the apparent spacing. A ponytail that seems long enough while stretched may become much shorter in its normally worn state. Planning the bubbles in the state you actually intend to wear them gives a more realistic picture of the final length.
Freshly washed curls and coils also have different grip from stretched or previously styled hair. A small amount of appropriate styling product may help keep flyaways or individual curls where you want them, but the style doesn’t need to be coated until the texture disappears.
Pressed or stretched natural hair will create a more elongated bubble pattern. Relaxed hair can also be styled into bubbles, with the usual attention to the condition of the hair and the amount of repeated handling involved.
The main technical mistake is assuming texture must be removed before the bubble shape will read clearly. It doesn’t. The elastics establish the structure; the texture determines what fills the structure.
Extensions Can Add Length, but Construction Matters
Extensions are useful when you want a much longer bubble ponytail than your own hair can provide. They also allow shorter hair to participate in the style once enough natural hair can be secured into an appropriate base.
Several attachment approaches are possible. A ponytail extension may wrap around an existing ponytail, use a drawstring system, or rely on built-in combs or clips. Other versions incorporate added hair during the styling process.
The attachment method matters more than chasing maximum length.
A very long extension creates leverage as it swings. A dense piece also adds static weight before you begin separating it into bubbles. Combining extreme length, a high anchor, and a heavy attachment can turn an attractive style into an annoying one very quickly.
The natural ponytail underneath needs to stay comfortable. Tightening the base excessively to make the attachment feel more secure is a poor trade. Security should come from suitable construction and careful placement, not pain.
The bubble spacing also needs to suit the extension. Extremely uniform gaps may look neat on a mannequin or still photograph but become less convincing once a tapered extension begins to narrow. Adjusting the lower bubbles slightly can follow the amount of hair actually available.
Color matching deserves attention as well. Because the tail is divided into separate rounded sections, mismatches can become easier to notice where the natural base and added length meet. That transition may be hidden with a wrapped section of hair, depending on the attachment.
Extensions aren’t necessary simply because your own ponytail produces only three or four bubbles. A shorter chain can look more deliberate than adding substantial length you won’t enjoy carrying.
How to Create a Basic Bubble Ponytail
You don’t need a complicated braiding technique to reproduce the core style. What matters most is a secure base, sensible spacing, and controlled expansion.
Prepare the hair for the finish you want
Detangle the hair sufficiently for the styling state you’ve chosen. Keep curls or coils textured if that’s part of the look. For a smoother version, brush or gently smooth the surface toward the planned ponytail position.
A light styling product can help manage flyaways where needed. Avoid adding so much that the ponytail becomes stiff and difficult to shape.
Establish the main ponytail
Gather the hair at your chosen height and secure it with a comfortable elastic. Check the base before continuing.
Turn your head from side to side. Look downward and upward. The ponytail should feel secure during ordinary movement without sharp pulling around the hairline or one concentrated area.
You can wrap a small section of hair around the elastic when you want to conceal it, securing the end discreetly with a bobby pin where appropriate.
Add the first elastic down the tail
Move a short distance down the ponytail and secure another small elastic.
The distance between elastics controls the eventual bubble size. Wider spacing creates larger, longer sections. Closer spacing creates smaller bubbles and can be useful when the ponytail isn’t especially full.
Expand the first section
Use your fingers to pull small amounts of hair outward from the section between the first two elastics.
Work around the bubble rather than tugging one large piece from a single side. This keeps the shape more even and gives you better control over fullness.
Stop before the section becomes unstable. Maximum puffiness isn’t required.
Continue down the ponytail
Add another elastic, shape the next bubble, and repeat the process down the available length.
You can make every bubble nearly equal for a sculpted effect, or let them gradually become smaller as the ponytail tapers. Natural taper often looks better than forcing the final section to imitate the fullness near the base.
Refine the overall shape
Look at the whole ponytail rather than correcting each bubble in isolation.
One section may need slightly more width. Another may sit too close to its neighbor. Tiny adjustments usually improve the chain more effectively than repeatedly pulling every section apart.
Keep some texture visible when that’s what makes the style suit your hair.
Check the ends
The final elastic can sit above a loose tail, or the remaining ends can be incorporated into the last rounded section depending on the length and finish.
Very transparent or fragile ends shouldn’t be aggressively teased outward simply to create another bubble. Stopping the pattern earlier often looks cleaner.
What Daily Wear Does to the Style
Bubble ponytails are structured, but they aren’t rigid structures. Friction and movement slowly change them.
High versions tend to move most during walking, exercise, or dancing. The bubbles may rotate slightly, especially on smooth hair. A lower ponytail moves less dramatically but spends more time against clothing and the back of the neck.
Long styles can become trapped beneath backpack straps or between your back and a chair. That repeated pulling can make one bubble look flatter than the others even while the base remains intact.
Sleeping in a large bubble ponytail is also awkward. The rounded sections create pressure points against a pillow, and a high anchor may be uncomfortable when you’re lying down. For a style that needs to be refreshed the next day, reducing friction with a smooth scarf, bonnet, or pillowcase may help preserve the surface, but you’ll still need to assess whether leaving the full construction in place is comfortable for your hair.
Exercise introduces another issue: moisture at the roots. A ponytail that still looks neat can have damp hair underneath, particularly when the roots are dense. Give the scalp and base adequate opportunity to dry instead of judging dryness only from the hanging lengths.
Refreshing the bubbles is usually simpler than rebuilding the whole hairstyle. Gently reshape flattened sections and smooth flyaways only where necessary. Continually tightening the main ponytail to make an older style look newer can place unnecessary pulling at the base.
Bubble Hairstyles for Formal Events Need a Movement Test
The style works well for parties, weddings, photos, and other dressier occasions because it creates strong visual structure without requiring an intricate woven braid.
A polished bubble ponytail can also hold accessories well. Decorative elastics, cuffs, ribbons, or small accents can emphasize the separation between sections. Accessories should complement the existing construction rather than becoming the only thing holding a loose bubble together.
Before treating the hairstyle as event-ready, test it with the rest of your outfit.
A high bubble ponytail can compete with a veil or headpiece placed near the crown. A low one may overlap with a high neckline. Long bubbles can fall over embellished shoulders, catch under straps, or shift when you put on and remove a jacket.
Earrings and glasses affect the front of the style as well. Extra volume near the temples may crowd glasses arms, while a very tight swept-back finish can emphasize any discomfort that already exists around the perimeter.
Photographs also hide movement. A perfectly symmetrical chain of bubbles photographed from the side may rotate during normal wear. A slightly softer version usually handles that movement better because every section doesn’t depend on exact alignment.
For an event where you’ll be seated for long stretches, mid-height placement is particularly useful. You still get the visible bubble pattern without putting a large knot or first bubble directly against the highest-pressure part of a headrest.
Hold, Tension, and the Base of the Ponytail
The main ponytail carries the hairstyle. That makes the base more important than the small elastics dividing the tail.
Hair shouldn’t need to hurt in order to stay up. Persistent pulling, stinging, or tenderness means the construction deserves attention rather than another tighter elastic.
This becomes more important with added hair. Longer and denser extensions increase the load carried by the ponytail, and movement can amplify what you feel at the base. High placement makes that leverage easier to notice.
The hairline also doesn’t need to be forced into the ponytail. Shorter or fragile perimeter hairs can be left softly arranged instead of being repeatedly pulled toward an anchor they don’t comfortably reach.
Bubble styles can be worn on fine strands, low-density hair, thick hair, curls, coils, and many other hair types, but those characteristics influence how tightly the style can reasonably be handled. Fine strands describe strand diameter; low density describes the amount of hair present. Neither should be used as a shortcut for deciding whether a person can wear a ponytail.
Repeated tight pulling can contribute to hair problems around stressed areas. Pain, sores, persistent irritation, sudden shedding, or a concerning change in density is a reason to stop relying on styling adjustments alone and talk with a dermatologist or another qualified healthcare professional.
For ordinary styling, comfort is a useful test. The ponytail should remain secure while you turn your head, sit down, and move normally without demanding constant tightening.
Planning the Style Before You Start
The easiest way to get a bubble hairstyle you actually enjoy wearing is to decide what matters before choosing the most dramatic reference photo.
Start with the ponytail height. Mid-height is the strongest all-around option when you want visibility without the full movement of a crown-level ponytail.
Next, decide whether your hair texture should stay visible. Curly and coily hair doesn’t need to be flattened into a straight ponytail before bubbles are added. Texture can become part of the design.
Then consider length. Your own hair may already give you enough space for a clear bubble pattern. Added hair makes sense when length itself is central to the look, but it also changes weight, attachment, movement, and takedown.
Finally, think about your environment. A hairstyle for a short evening event has different practical demands from one you plan to wear through work, commuting, exercise, or long periods in a car.
A useful consultation checklist includes:
- The ponytail height you can wear comfortably
- Whether you want natural texture or a smoother surface
- How much of your own length reaches the tail
- Whether added hair is actually necessary
- Where the first bubble will sit against your head or neck
- How the style interacts with glasses, clothing, headwear, or accessories
- Whether the base stays comfortable during movement
- How easily you can reshape flattened bubbles without tightening the ponytail
That planning usually matters more than making every bubble perfectly identical.
FAQs
Can you do a bubble hairstyle on short hair?
Yes, provided there is enough hair to create a secure ponytail or half-up section. Shorter lengths may produce only one or two visible bubbles. A half-up bubble ponytail is often more practical when the lower hair can’t reach the main anchor. Added ponytail hair is another option when you specifically want a longer chain.
Does a bubble ponytail work on curly or coily hair?
Yes. Curls and coils can stay visible inside the bubbles, producing a fuller and more textured result. Consider shrinkage when choosing spacing because the apparent ponytail length may change between stretched and normally worn states. Straightening isn’t required to create the structure.
How do you keep bubble sections from becoming uneven?
Shape each section gradually and look at the full ponytail between adjustments. Pull small amounts from several sides instead of stretching one side aggressively. The lower bubbles can become slightly smaller as the ponytail tapers; forcing identical fullness throughout often creates more work without improving the overall shape.
Can you exercise with a bubble ponytail?
You can, although placement and length affect practicality. A very long or high ponytail swings more during movement, while a lower style may rub against your neck or clothing. After sweating, pay attention to moisture around the roots and base rather than assuming the hair is dry because the hanging ponytail feels dry.
Hair Texture & Upkeep Style Matcher
Select your natural hair texture and daily maintenance window to get an instant styling formula and heat safety cap.
Heat Cap: 320°F (160°C)
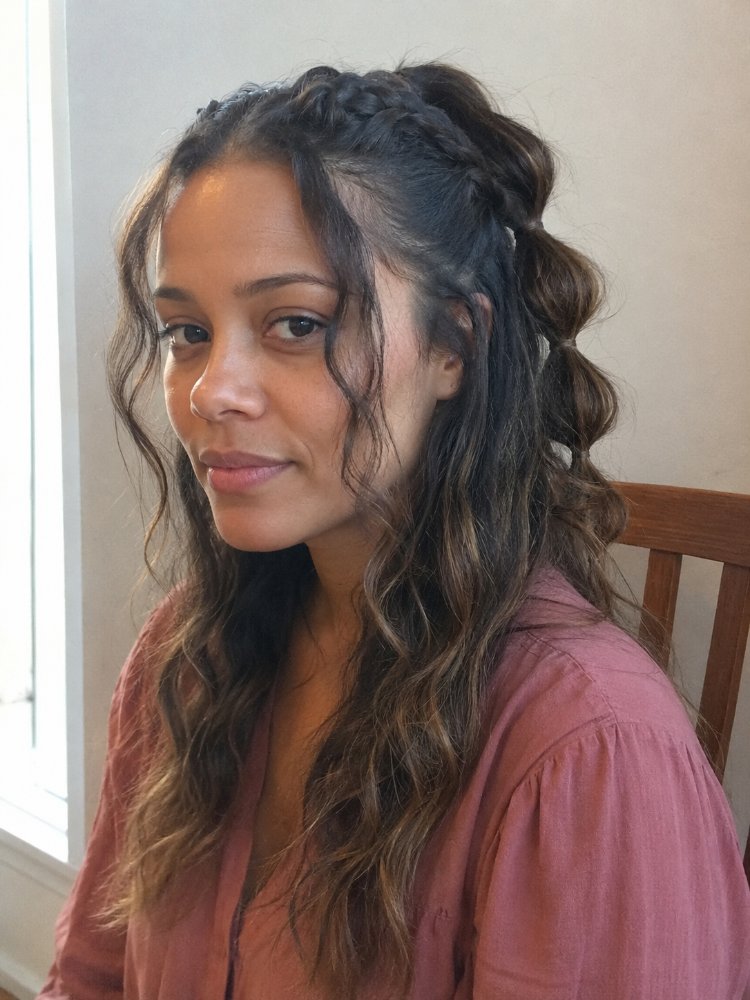
A versatile three-strand braid beginning at the parietal ridge, securing the top half while allowing natural wave texture to flow freely around the shoulders.
Conclusion
The bubble hairstyle works best when you treat it as a ponytail construction first and a decorative pattern second. The base determines comfort, the spacing determines the shape, and your actual hair length and texture determine how much fullness each bubble can carry.
A mid-height ponytail with moderate spacing is the most forgiving place to begin. Keep natural texture when you like how it looks, use extensions only when the added length earns the extra weight and attachment work, and let the lower bubbles taper when that’s what your hair naturally does.
Perfectly identical bubbles matter far less than a secure, comfortable base and a shape that still works once you start moving.
Editorial Standards & Hair Health Guidance
Every style featured on Tress Atlas is curated with a focus on real-world wearability, scalp tension management, and cuticle preservation. When trying protective styles or tight updos, ensure perimeter hairline sections remain tension-free to avoid traction stress on delicate follicles. For heat styling, cap tools below 350°F (180°C) to prevent thermal keratin denaturation.
Scientific Sourcing: Practices aligned with the American Academy of Dermatology (AAD) on traction alopecia risk reduction and cosmetic trichology research on hair tensile strength.