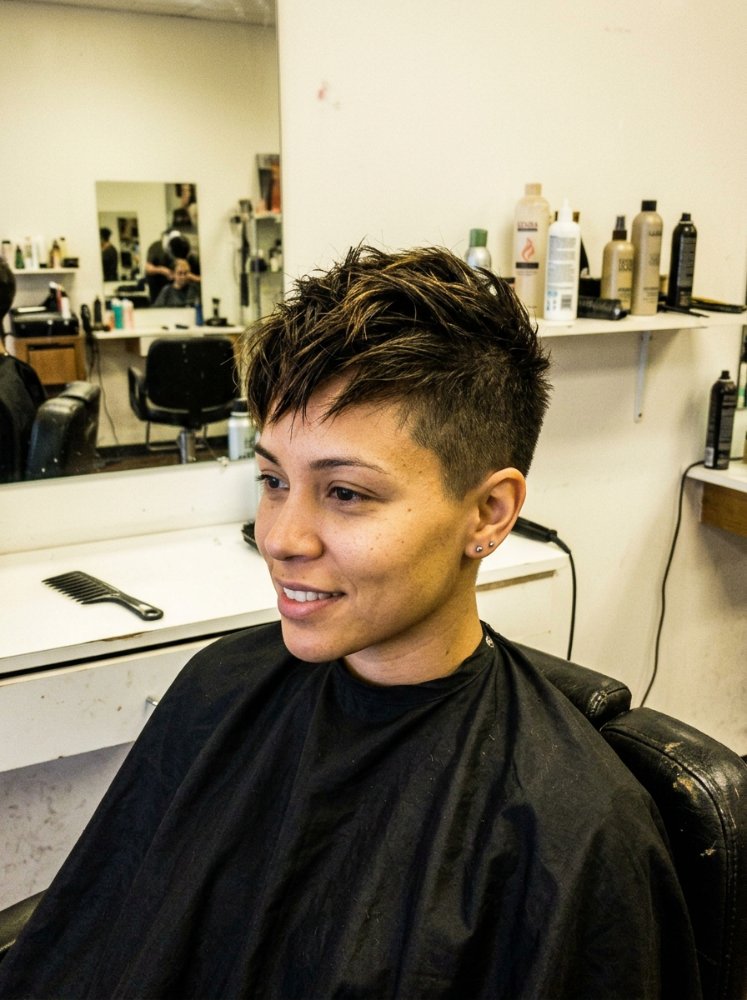
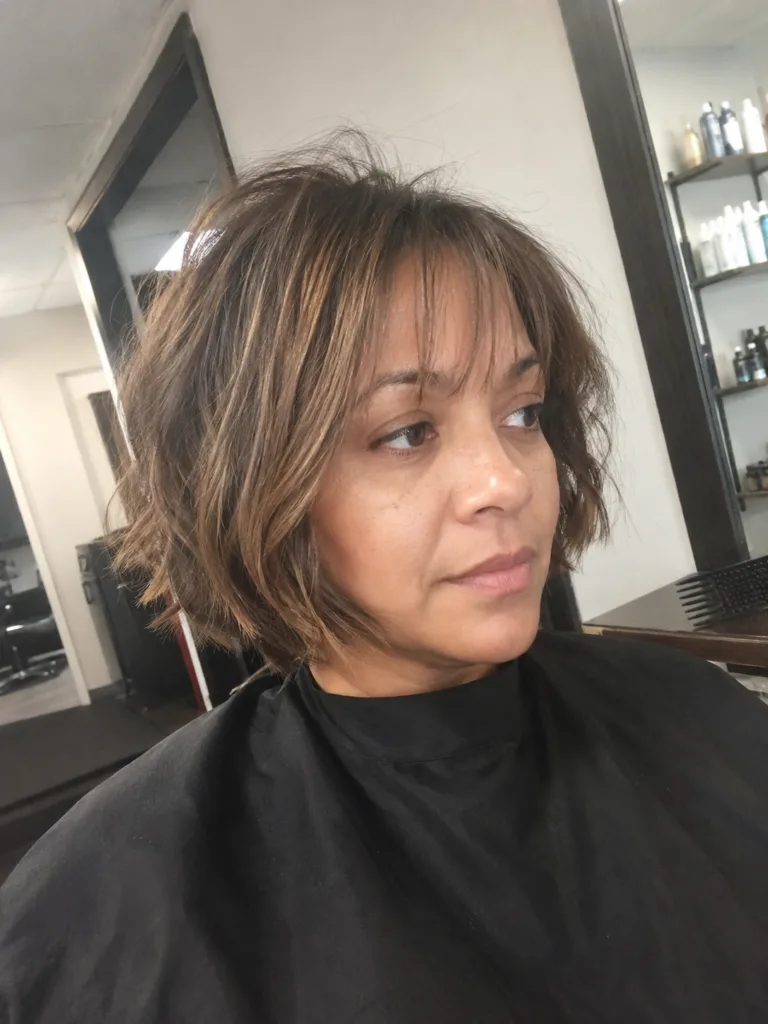
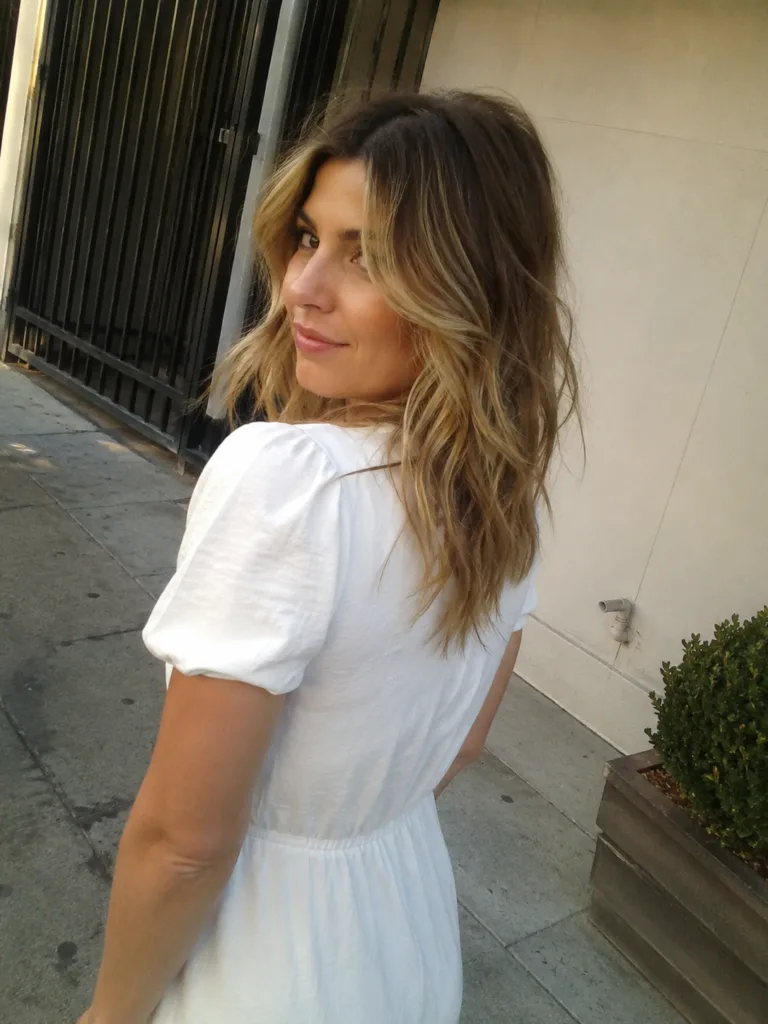
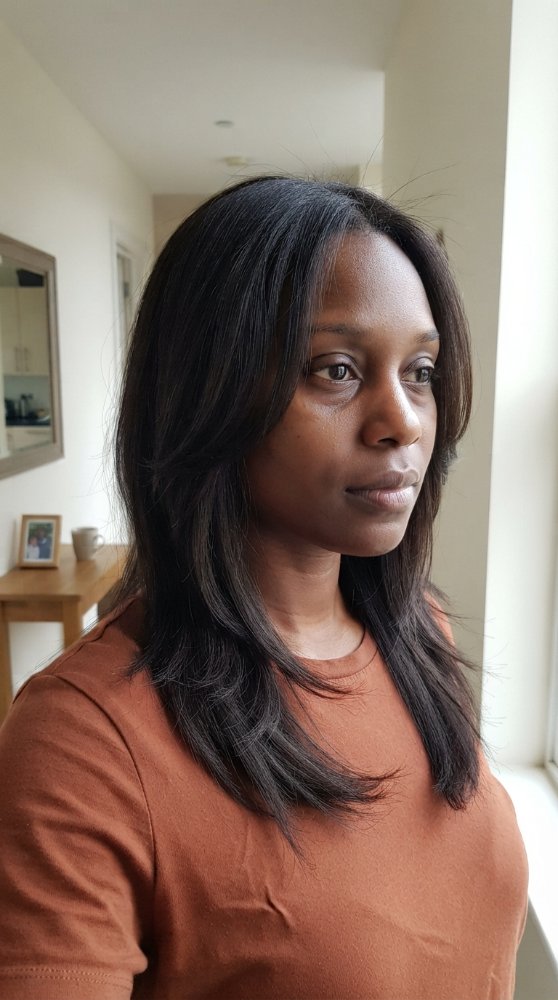
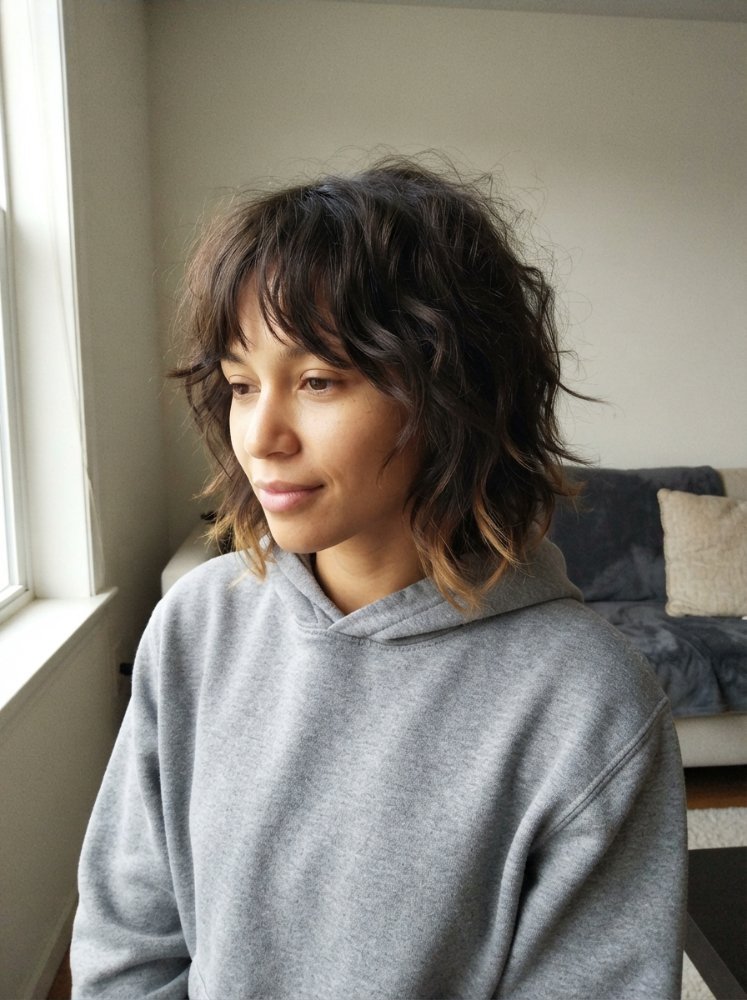
Long Layers With Face-Framing Pieces: What Changes the Result
Long layers with face-framing pieces can look like a small change to long hair, but the cut involves two separate decisions. The long layers control movement and weight through the lengths, while the shorter pieces around the front determine how strongly the haircut interacts with your cheekbones, jaw, glasses, ponytails, curls, and everyday styling.
That distinction matters because two reference photos labeled “long layers with face framing” can behave very differently. One may keep most of the perimeter dense and place only a few graduated pieces around the front. Another may have extensive layering through the interior, a much shorter front section, and a blowout doing much of the visual work.
For most people who want to keep obvious length, the practical starting point is a substantial perimeter, moderate long layering, and face-framing pieces that are long enough to work with the way you actually wear your hair. You can always make the front more dramatic later. Rebuilding weight after removing too much hair takes considerably longer.
Long Layers and Face-Framing Pieces Do Different Jobs
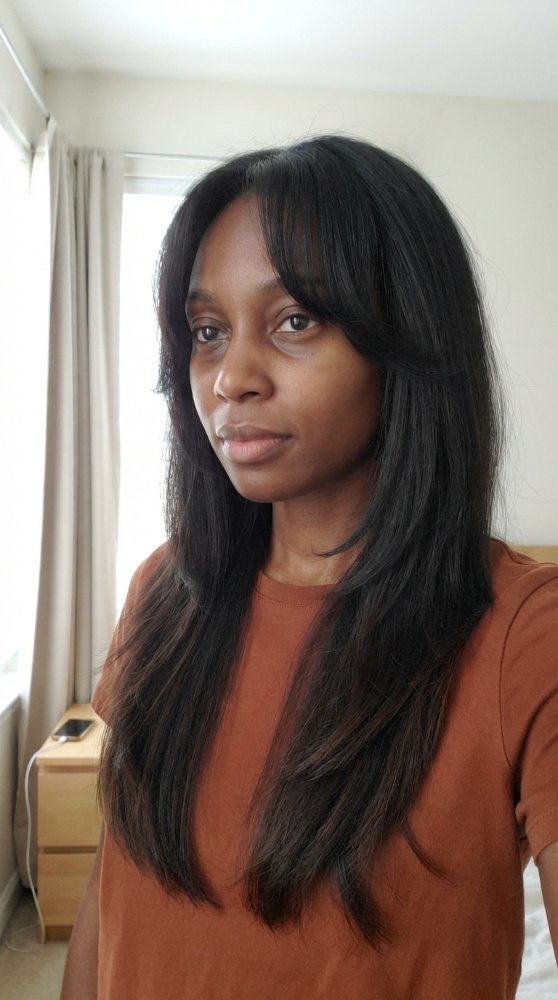
Long layers remove or redistribute weight without turning the haircut into a short layered shape. The exact effect depends on where those layers begin, how much hair is included, and how strongly the perimeter is preserved.
A conservative version may look almost one-length when the hair hangs straight, then reveal movement once it is curled, waved, or blown out. A more layered version creates visible separation even with minimal styling. The latter has more movement, but the ends can also look lighter because more hair finishes at different lengths.
Face-framing pieces are concentrated around the front. They can begin relatively low and blend quietly into the rest of the haircut, or start much higher for a more noticeable cascade around the face.
The strongest version of this cut usually comes from deciding which feature matters most. Someone protecting very full-looking ends needs a different layer pattern from someone who wants obvious feathering and movement. Trying to maximize both at once can lead to a reference photo that looks excellent after a round-brush blowout but less convincing during ordinary wear.
Haircutting changes the distribution of the hair you have. It doesn’t create actual density. With lower-density hair, aggressive layering may expose more space through the lower lengths. Fine strands can still be high density, so strand size alone isn’t a reason to avoid layers.
Where Should the Shortest Face-Framing Piece Start?
The shortest front piece has more influence than many people expect. Move it upward and the cut becomes more noticeable around the face. Keep it longer and the overall result feels softer and requires less management.
There isn’t one correct starting point based on face shape. It is more useful to think about what you want the hair to emphasize and what you need it to do during the day.
A higher starting point can bring more movement around the eyes and upper cheek area. It may also behave more like an elongated fringe, especially once the hair is curled or blown away from the face. Those pieces will be more likely to escape from a ponytail, fall forward while you work, or need deliberate styling after washing.
Mid-length face framing tends to create a visible transition around the cheek or jaw area while remaining easier to blend into the rest of long hair. This is often the most versatile direction when you want a clear haircut change without committing to a fringe.
Longer face-framing pieces that begin closer to the jaw or below it keep more front weight. They can still open the hair around the face, particularly with waves or a blowout, but they are easier to tuck, tie back, and grow out.
Your daily accessories deserve a place in this decision. Glasses arms can push short side pieces outward or repeatedly trap them near the temples. Headphones, work headsets, helmets, and hair tucked behind the ears also change how those front sections sit.
Bring that information into the haircut consultation. “I want the shortest layer at my cheekbone” is less useful by itself than explaining that you wear glasses all day, usually tuck your hair behind your ears, and want the front to stay inside a ponytail.
How Much Layering Should You Put Through the Length?
The phrase “long layers” covers a wide range of haircuts. Some preserve a strong bottom line and remove only enough weight to encourage movement. Others create multiple visible lengths from the upper sections downward.
A heavier perimeter is the safer direction when the ends are already fine-looking, transparent, or reduced by previous breakage. The hair can still have face framing and modest movement without removing large amounts of interior weight.
Dense hair presents a different decision. More layering can reduce bulk and help sections move independently, especially through long lengths that otherwise collapse into one large mass. The cutting method still matters. Removing weight in the wrong areas can leave excessive expansion around the upper section while making the bottom feel unexpectedly sparse.
There is also a visual difference between surface layering and extensive internal weight removal. A photograph may show sweeping pieces and lots of movement without revealing exactly how much hair has been removed underneath. Ask your stylist what has to be cut to create the reference shape on your own hair, rather than requesting a technique purely because it appears in a social-media description.
The stronger default for someone unsure about layering is restraint. Keep enough weight through the perimeter that the cut still looks complete on a low-effort day. Additional movement can be introduced later more easily than removed length can be replaced.
Texture Changes How the Face Frame Falls
Straight, wavy, curly, and coily hair can all work with long layers and face-framing pieces, but the same cutting diagram won’t produce the same visible result across those states.
Straight hair reveals the layer lines clearly. There is less natural expansion to disguise abrupt jumps in length, so the transition from the shortest front piece into the longer hair needs to feel deliberate. Light styling can make subtle layers much more visible, but the underlying cut should still sit well without a full blowout.
Wavy hair often gains movement quickly from layering. Removing some weight can encourage bends to appear through the mid-lengths, although the amount of response depends on the individual wave pattern, condition, and styling routine. Too much removal can make some wavy textures look broader or more irregular through the ends.
Curly and coily hair need special attention to shrinkage. A front section that looks comfortably long while stretched can spring much higher once it returns to its usual curl pattern. The finished shape should be assessed in the state you normally wear. Curly face framing also doesn’t require straightening; the shorter curls can remain part of the natural shape.
Hair that is usually pressed deserves a slightly different conversation from hair usually worn shrunken. Cutting exclusively for one state can create surprises in the other. Explain which state matters most and how often you move between them.
Chemical history and existing condition matter as well. Previously lightened, relaxed, or otherwise processed lengths may respond differently to additional thinning or layering than healthier, less-processed sections. A dramatic layered shape may be a poor trade when the lower lengths already have significant breakage.
Density and Strand Size Should Change the Layer Plan
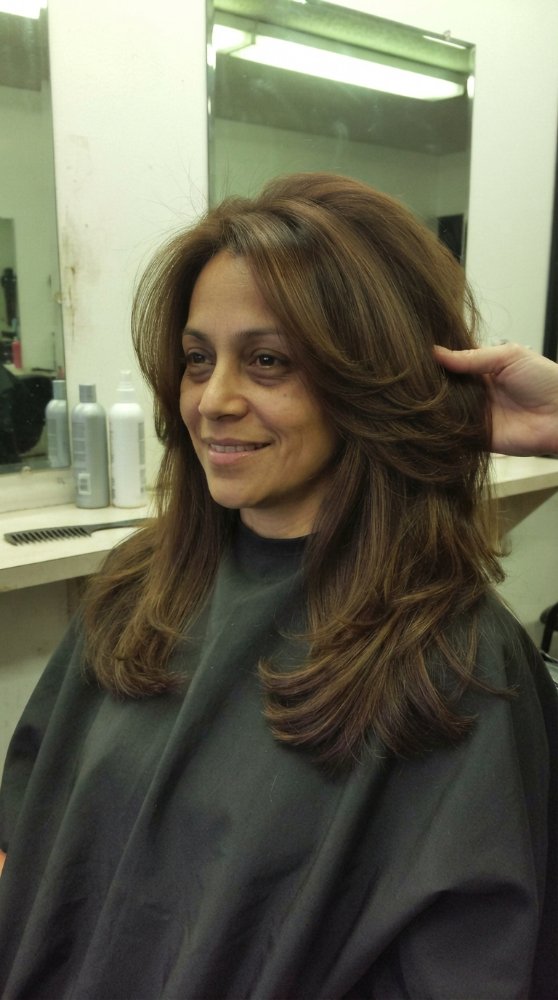
“Fine hair” is frequently used when the real concern is low density, but they describe different things. Fine hair has a small strand diameter. Low-density hair means there are fewer strands overall.
A person can have many fine strands and appear to have abundant hair. Another person can have coarser strands but relatively low density. Those two heads of hair should not automatically receive the same layer pattern.
With low density, preserving enough hair at the bottom often makes the perimeter appear more substantial. Extensive internal layering can expose more separation between strands, especially when the hair is long. Face framing can still work beautifully because it concentrates the shape change near the front rather than sacrificing weight throughout the entire haircut.
Higher-density hair may benefit from more deliberate weight distribution. Long lengths can feel heavy and move as one piece, particularly after washing or when worn straight. Layering can break up that mass, but the desired final width matters. Some people want airy movement; others like the visual richness of a dense, heavy curtain of hair.
Fine strands also require attention to condition. Layering fragile ends more aggressively won’t repair them. Breakage and thinning are separate issues, and a haircut should not be used as a diagnosis for either.
A sudden increase in shedding, scalp pain, sores, persistent irritation, or a concerning change in density deserves appropriate professional assessment rather than simply adding layers to disguise the change.
The Reference Photo May Be Showing You a Styling Result
This haircut is especially vulnerable to reference-photo confusion because styling can exaggerate every feature the cut contains.
A round-brush blowout can turn long layers outward, separate the face frame, lift the crown, and make relatively subtle graduation look dramatic. Large curls can create even more separation. A smooth air-dried finish may reveal that the underlying cut is far less layered than the image initially suggested.
The reverse also happens. A heavily layered haircut may photograph as soft and seamless because each section has been carefully directed and curved. After washing, those same layers can sit at noticeably different lengths.
Look at the photo and ask what the hair is physically doing. Is the front being pushed away from the face? Are the ends curved inward? Is the crown lifted? Are all the visible layers actually part of the haircut, or is curling creating some of the separation?
Your normal routine should set the limit. A cut that depends on hot-tool styling every time you want to enjoy its shape creates more work than it saves for someone who usually air-dries and leaves the hair alone.
Styling the Cut Without Hiding Its Natural Shape
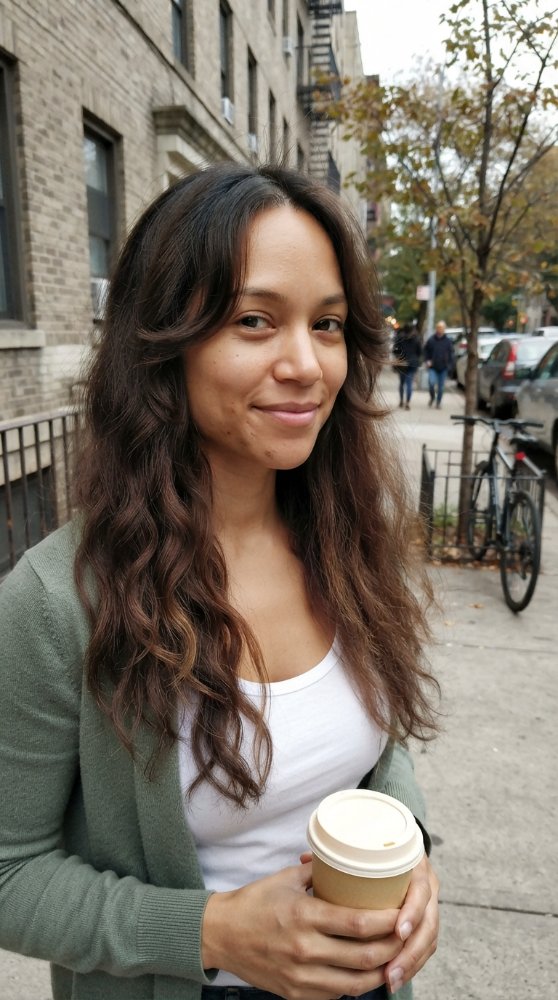
Start by drying or setting the hair in a way that supports your actual texture rather than forcing every section into identical movement.
Straight hair can be directed with a brush so the face-framing pieces move away from or slightly toward the face, depending on the result you prefer. Concentrating a strong bend only at the shortest pieces will make them appear more dramatic.
For wavy hair, distribute your usual styling product through damp hair and encourage the wave pattern without repeatedly pulling the front sections straight. Diffusing or air-drying can reveal whether the layers work with the natural movement.
Curly and coily hair benefit from defining the front sections in the same general way as the rest of the hair, then assessing where those curls actually finish once dry. Stretching only the face frame during styling can make the haircut seem uneven when the hair returns to its usual state.
The haircut should still make visual sense after ordinary styling. A special-occasion blowout can amplify it; it shouldn’t have to rescue it.
What Grow-Out Looks Like in Real Life
Long layers are often fairly forgiving during grow-out because the overall length remains. Face-framing pieces are usually the first area where you notice change.
As those pieces grow, they move from a clearly defined feature toward a softer front layer. This can be convenient if you like evolving shapes. It can be frustrating when you specifically enjoy a short, sweeping section around the cheek area and want to maintain that relationship.
The perimeter also matters. A haircut with moderate long layers can continue to look coherent as it grows because most of the lower edge remains intact. Very layered lengths may begin to lose their intended balance sooner, especially when the shortest layers and longest perimeter drift farther apart.
Your styling habits will change how obvious that grow-out feels. Curled ends camouflage differences between layer lengths. Straighter finishes reveal them more clearly. Hair that is frequently tied back may make growing face-framing pieces more noticeable because they sit at an awkward stage between staying loose and reaching the elastic.
Avoid choosing a maintenance schedule solely because someone else follows one. Reshaping should respond to the cut, condition, desired front length, and how well the current layers are behaving.
Between appointments, reduce unnecessary friction and tangling through the ends. A smooth pillowcase or bonnet can help with friction for some hair types, while gentle detangling helps protect vulnerable lengths. Neither substitutes for addressing damaged or heavily split ends when they become part of the haircut’s appearance.
Ponytails, Buns, and Everyday Wear Can Change the Decision
Long hair often spends part of the week tied up, and face-framing pieces determine whether that feels effortless or annoying.
Shorter front sections create an attractive loose effect around ponytails and buns when that is what you want. They also fall out because they are physically too short to reach the anchor. Repeatedly pinning them back may become part of your routine.
Longer face framing gives you more control. It can stay loose for softness or travel farther toward an elastic. This is the better direction for someone who needs their hair fully secured for work, exercise, cooking, or other activities.
Placement around the ears deserves attention too. A front layer ending in that area can flip outward after being tucked, especially on hair with some natural bend. High coat collars and scarves can also push lower layers outward at the back.
These details rarely appear in haircut photos because the model is standing still with the hair freshly arranged. Think about your least glamorous hair moment instead: the rushed ponytail, the air-dried wash day, the glasses going on and off, or the hair trapped behind a jacket collar. A well-planned layered cut should survive those moments.
What to Discuss Before the Haircut
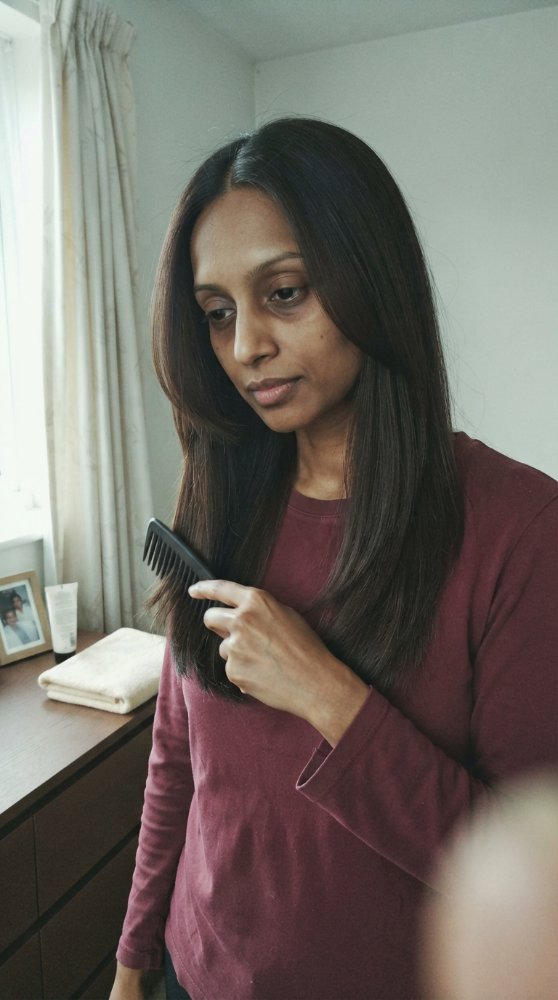
A good consultation for long layers with face-framing pieces needs more than a photograph. The photo shows the destination; your routine determines whether the route makes sense.
Before the cut, be ready to explain:
How much overall length you want to protect.
Whether full-looking ends or maximum movement matters more.
Where you would be comfortable seeing the shortest front piece.
Whether those pieces need to reach a ponytail.
Your usual styling state: straight, wavy, curly, coily, stretched, pressed, or another regular finish.
Whether your reference image depends on a blowout or curling.
Any previous color, chemical processing, or fragile areas that affect the lengths.
Also look at the perimeter in the mirror before deciding how much layering you want. Hair with strong, healthy-looking ends gives a stylist more room to create internal movement. A noticeably transparent lower edge may benefit from preserving or rebuilding that outline before pursuing dramatic layers.
It helps to describe what you don’t want in physical terms. “I don’t want the ends to look stringy,” “I need the front to stay long enough to tie back,” and “I usually air-dry, so I want the shape to work without a blowout” give clearer direction than hairstyle labels alone.
For an uncertain first version, choose the longer face frame and more restrained long layers. It gives you a useful change while preserving flexibility for the next haircut.
Related Hairstyles to Explore
- Prom hairstyles for long hair
- Beach hairstyles for long hair
- Hair styles for long hair
- Formal hairstyles for long hair
FAQs
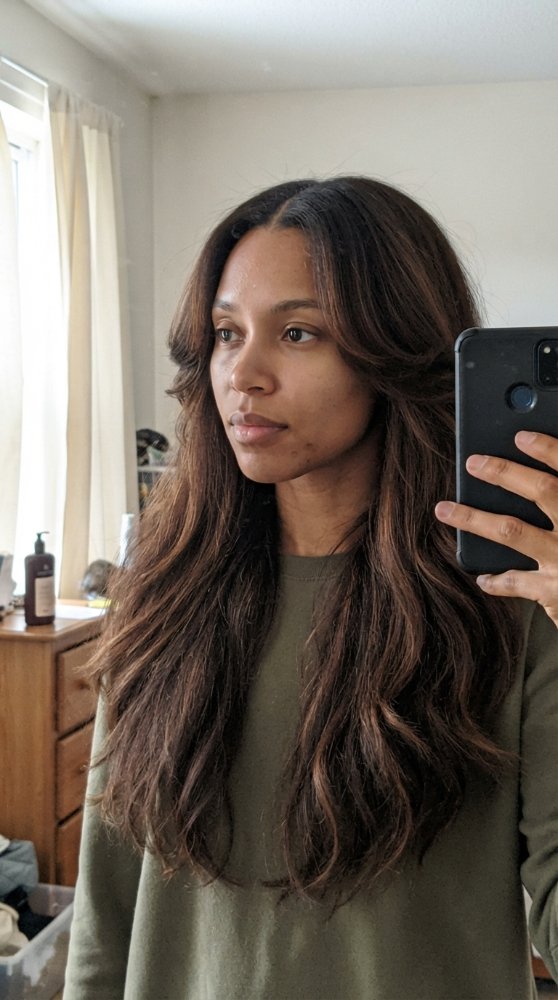
Are long layers with face-framing pieces good for thin-looking hair?
They can be, particularly when most of the perimeter is kept substantial and the strongest graduation is concentrated near the front. Low-density hair can look more separated through the ends after heavy interior layering, so the layer pattern should account for how much visible weight you want to preserve. Fine strands and low density aren’t the same thing.
Can you get face-framing layers without curtain bangs?
Yes. Face-framing pieces can begin much lower than a typical fringe and blend directly into long layers. Starting around the jaw area or below creates movement around the front without giving the haircut the daily behavior of bangs. The exact length should reflect your texture and how much shrinkage or bend occurs after styling.
Do long layers work if I usually wear my hair curly but sometimes straighten it?
They can, but both states should be discussed before cutting. Curly hair may finish much shorter than it appears when stretched, particularly around the face. A shape designed exclusively around a straight finish can look different after the curls return. Prioritize the state you wear most often and check how the front layers will behave in the secondary state.
Can extensions be blended into long layers with face framing?
Potentially, although the extension method, attachment placement, your natural haircut, and the amount of added hair all affect the blend. Face-framing pieces are usually created from hair around the front rather than relying on long added lengths to imitate them. Poorly matched density or abrupt differences between natural hair and extensions can make the layers more obvious, so this is more installation-dependent than the finished photograph may suggest.
Hair Texture & Upkeep Style Matcher
Select your natural hair texture and daily maintenance window to get an instant styling formula and heat safety cap.
Heat Cap: 320°F (160°C)
A versatile three-strand braid beginning at the parietal ridge, securing the top half while allowing natural wave texture to flow freely around the shoulders.
Conclusion
Long layers with face-framing pieces work best when you decide how much weight you want to keep before deciding how dramatic the layers should look. The front section controls much of the personality of the haircut, but the perimeter determines whether your long hair still feels substantial after the initial styling wears off.
For the most flexible version, preserve a solid lower edge, keep the long layers moderate, and place the shortest face-framing piece where it still works with your usual texture, ponytails, glasses, and daily styling. A more dramatic version is worth choosing when visible movement matters enough to justify the extra styling and more noticeable grow-out.
Editorial Standards & Hair Health Guidance
Every style featured on Tress Atlas is curated with a focus on real-world wearability, scalp tension management, and cuticle preservation. When trying protective styles or tight updos, ensure perimeter hairline sections remain tension-free to avoid traction stress on delicate follicles. For heat styling, cap tools below 350°F (180°C) to prevent thermal keratin denaturation.
Scientific Sourcing: Practices aligned with the American Academy of Dermatology (AAD) on traction alopecia risk reduction and cosmetic trichology research on hair tensile strength.